










Ask about Portable Hand-Pump Reverse Osmosis Water Filter
Product Overview
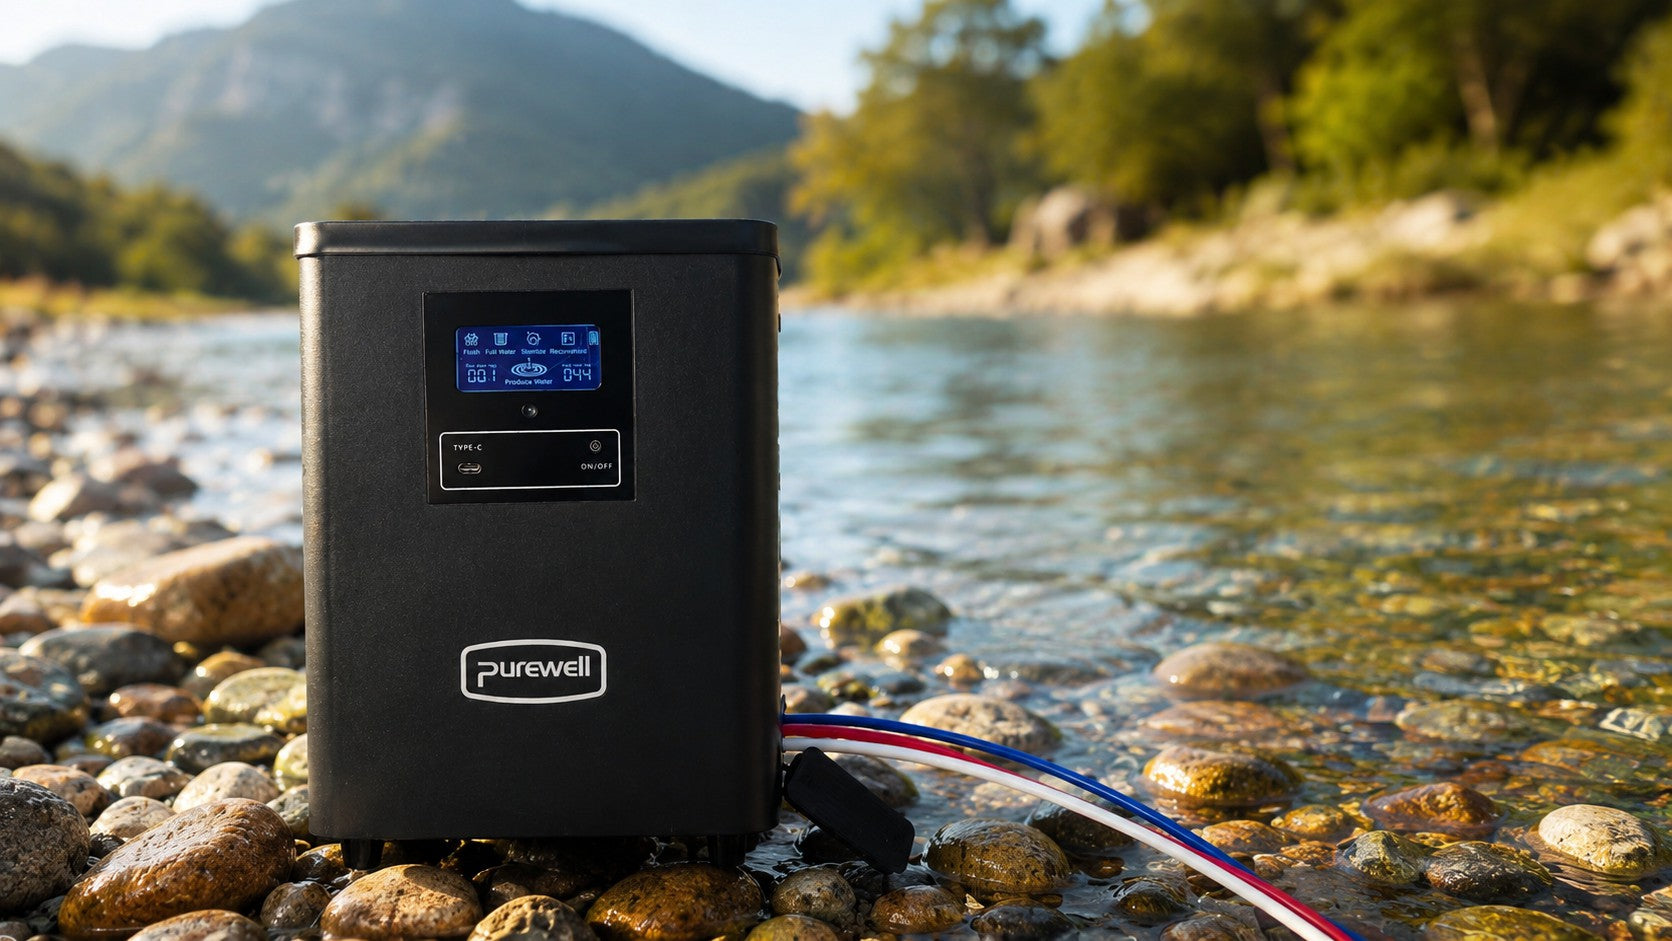
01A compact manual RO filtration system designed for camping, hiking, travel, emergency preparedness, and remote water treatment.
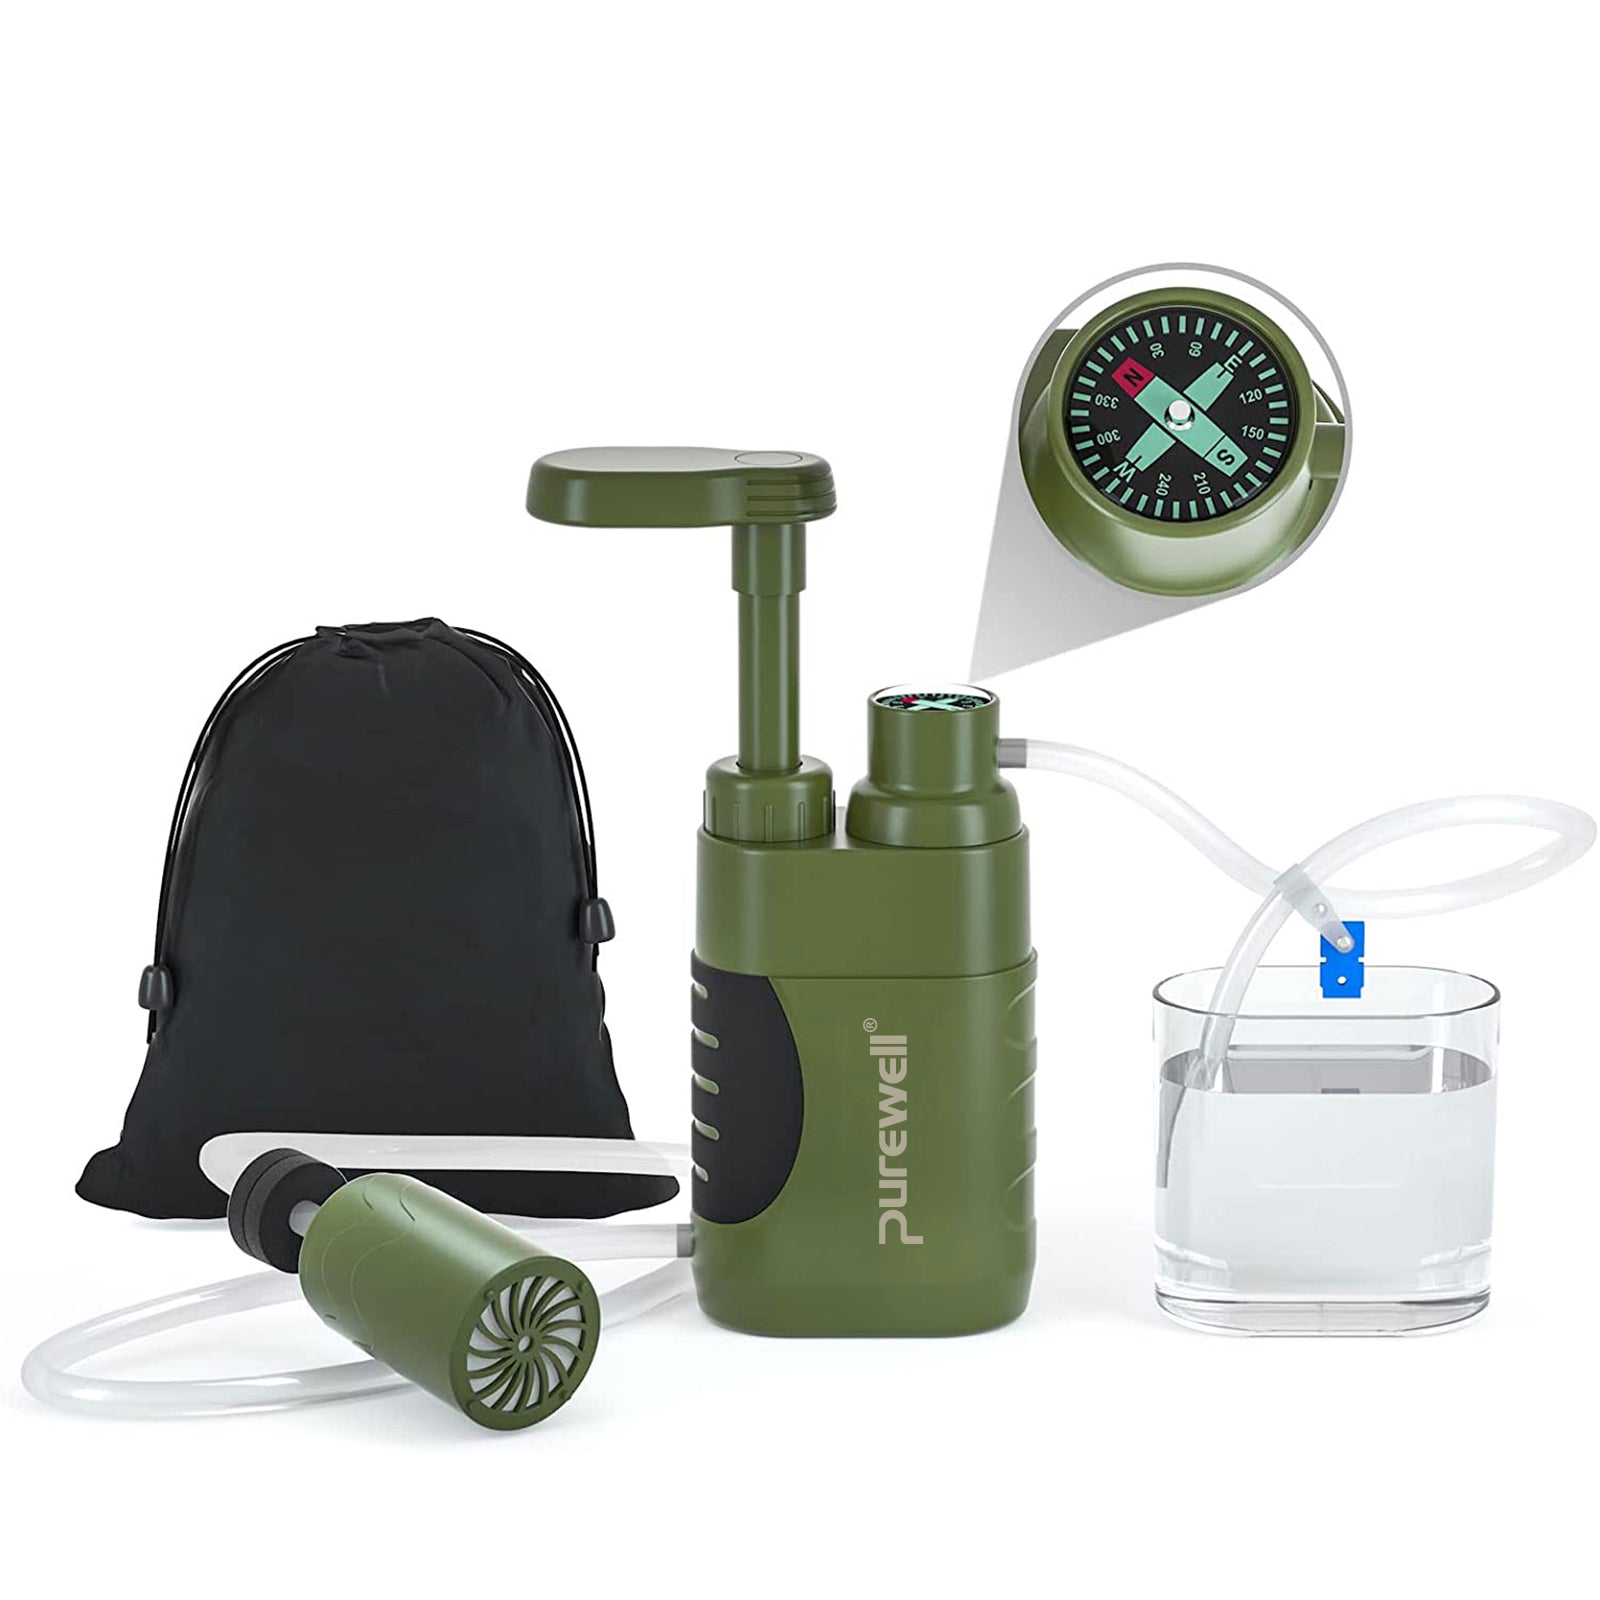
A portable pump-driven filtration system that creates the pressure needed to move source water through an RO membrane without electricity.
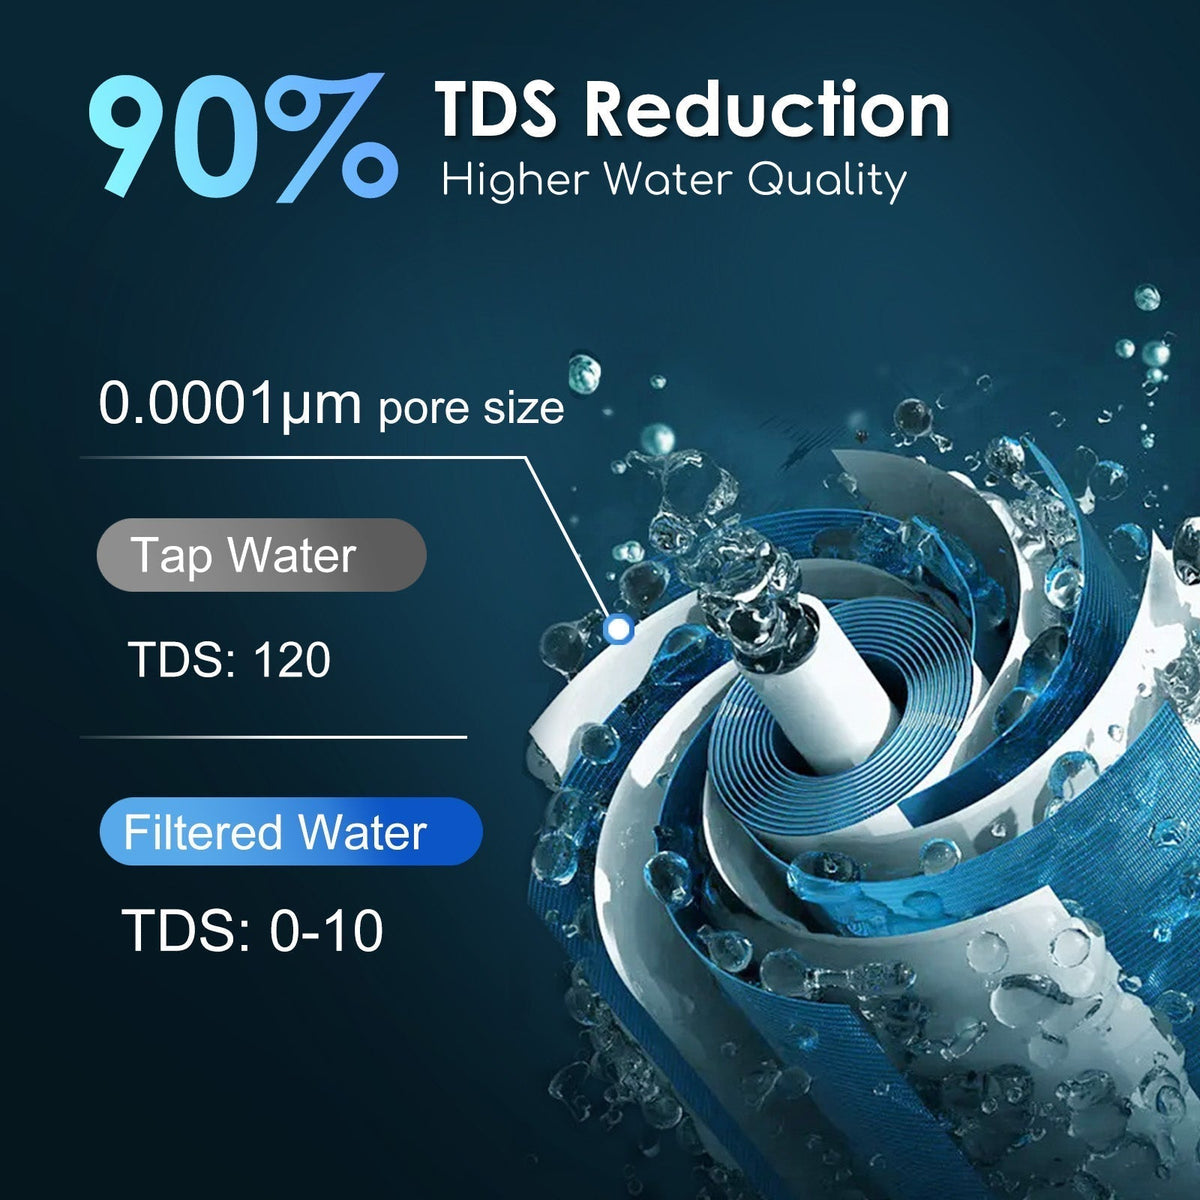
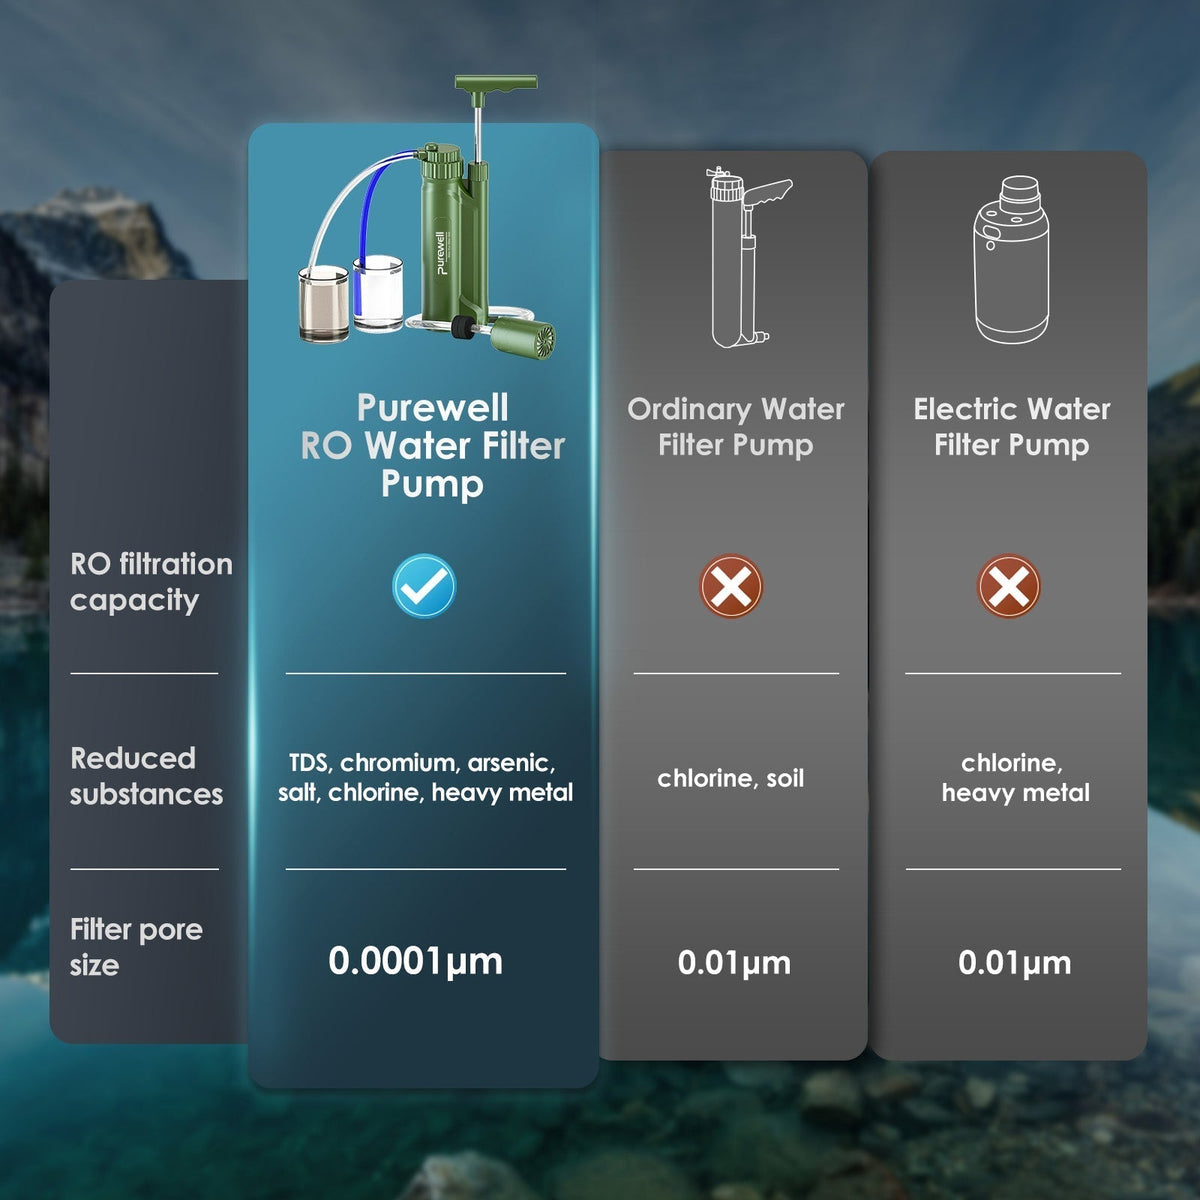
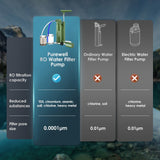
High-precision reverse osmosis filtration designed to reduce dissolved solids and a broad range of contaminants from source water.
Actual filter life may vary according to source-water quality, dissolved solids, sediment, maintenance, and frequency of use.
The integrated hand pump generates filtration pressure without batteries, charging, outlets, or fixed plumbing.
Output may vary according to pumping speed, water quality, temperature, and the condition of the filtration components.
A slim vertical body designed for backpacks, emergency kits, camping equipment, and vehicle preparedness supplies.
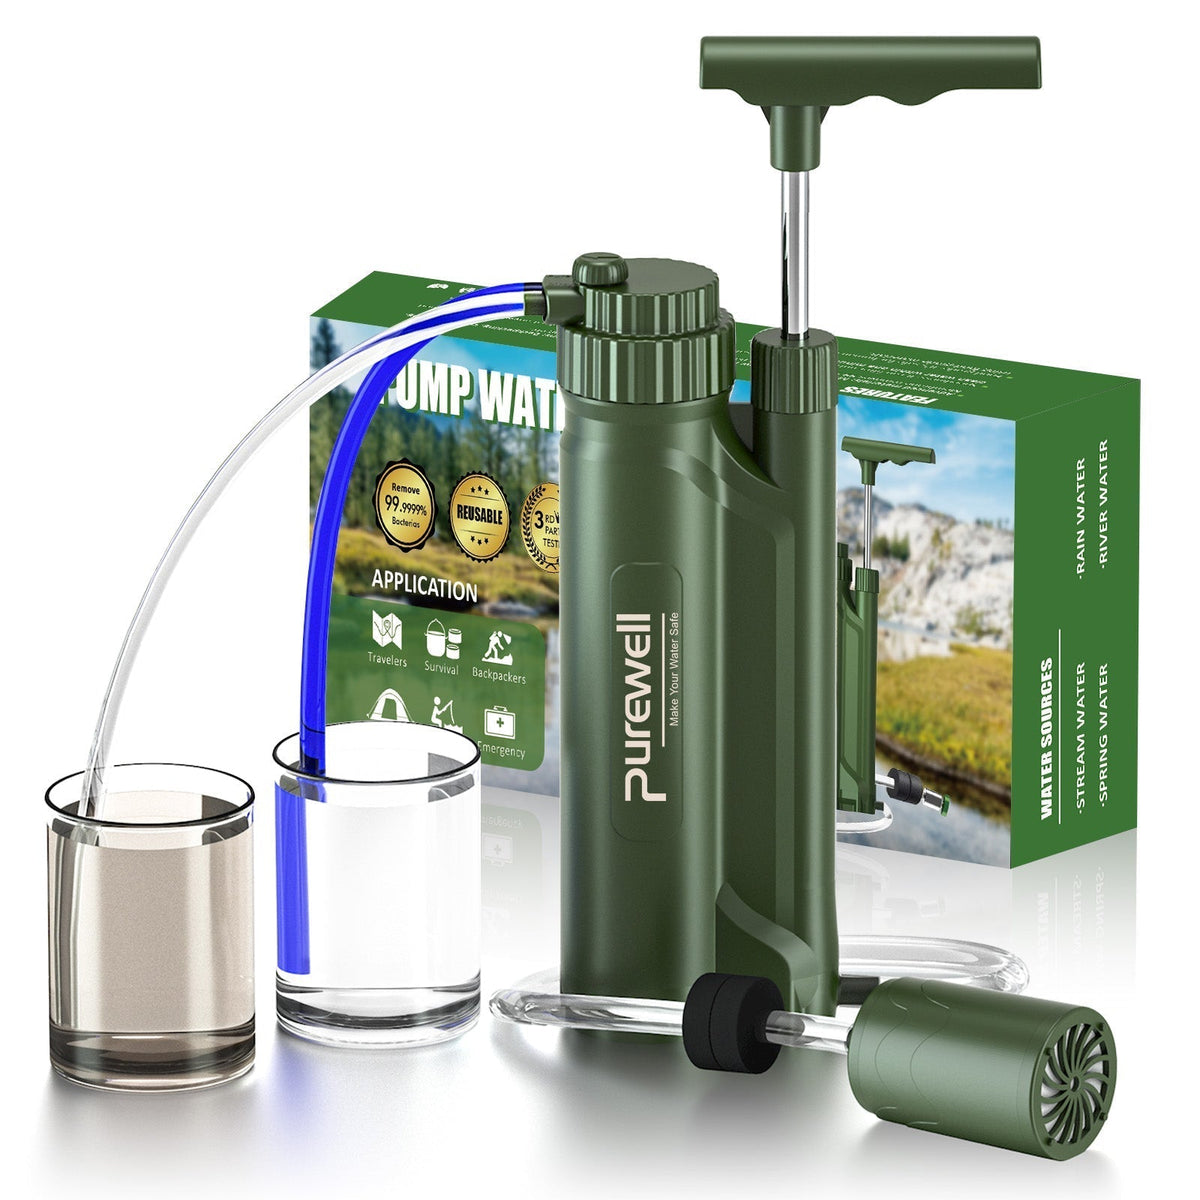
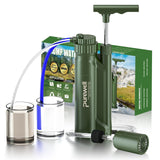
A portable design that integrates the pressure pump, filter housing, filtration components, and hose connections.
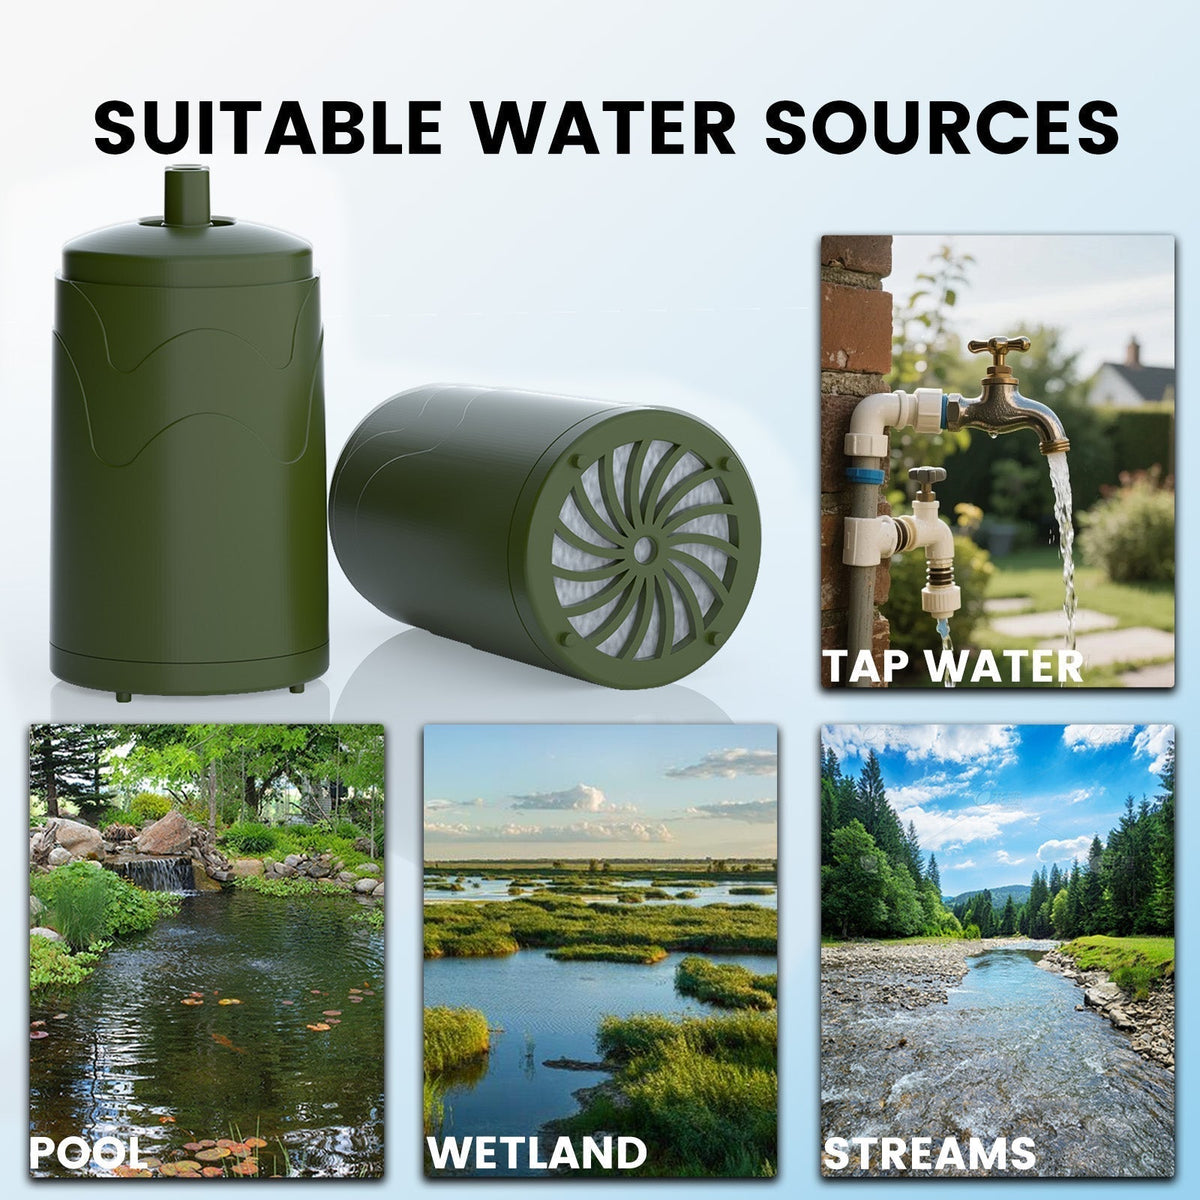
Select the clearest available water source whenever possible to support steadier output and longer filter life.
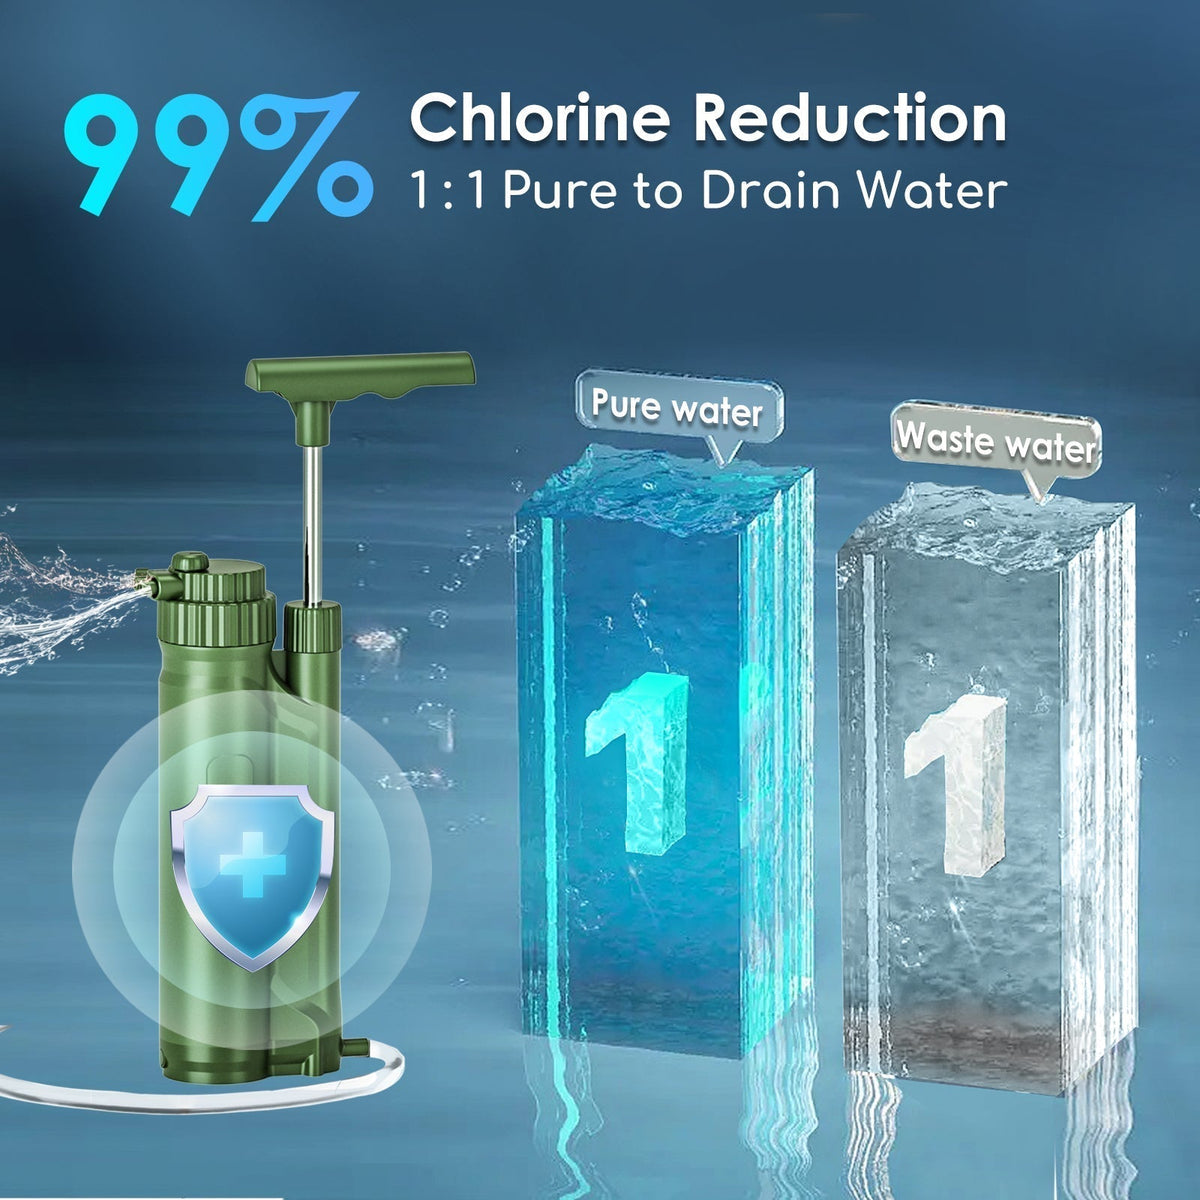
The RO structure separates incoming water into a purified-water stream and a wastewater stream during filtration.
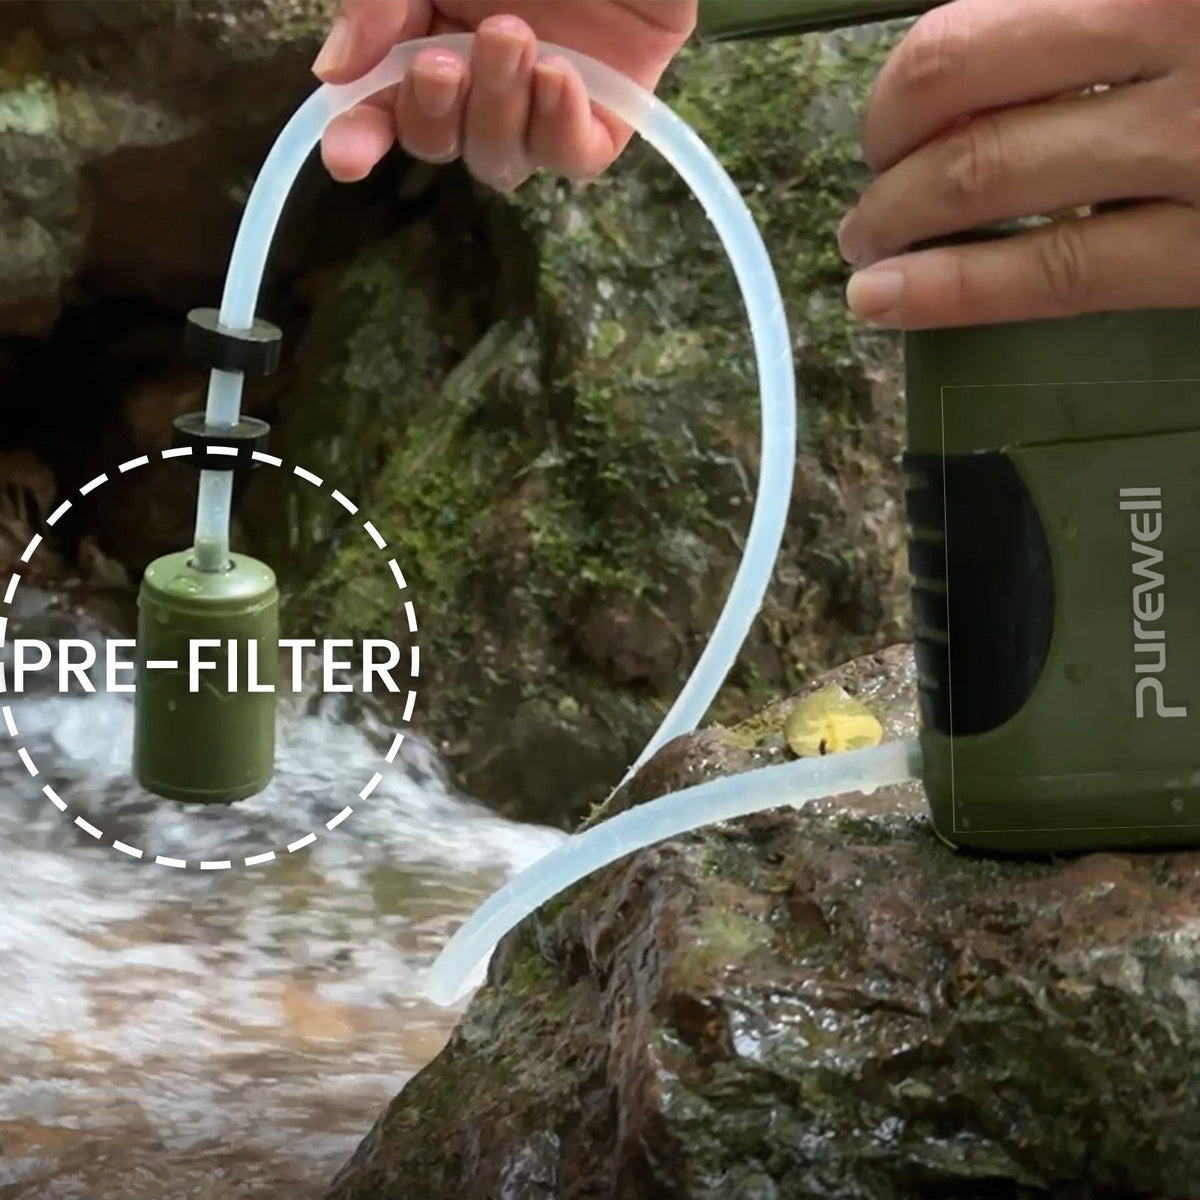
The floating intake helps position the inlet away from heavier sediment that may collect at the bottom of a water source.
Suitable for outdoor recreation, emergency supply kits, remote travel, vehicle preparedness, and temporary off-grid filtration.
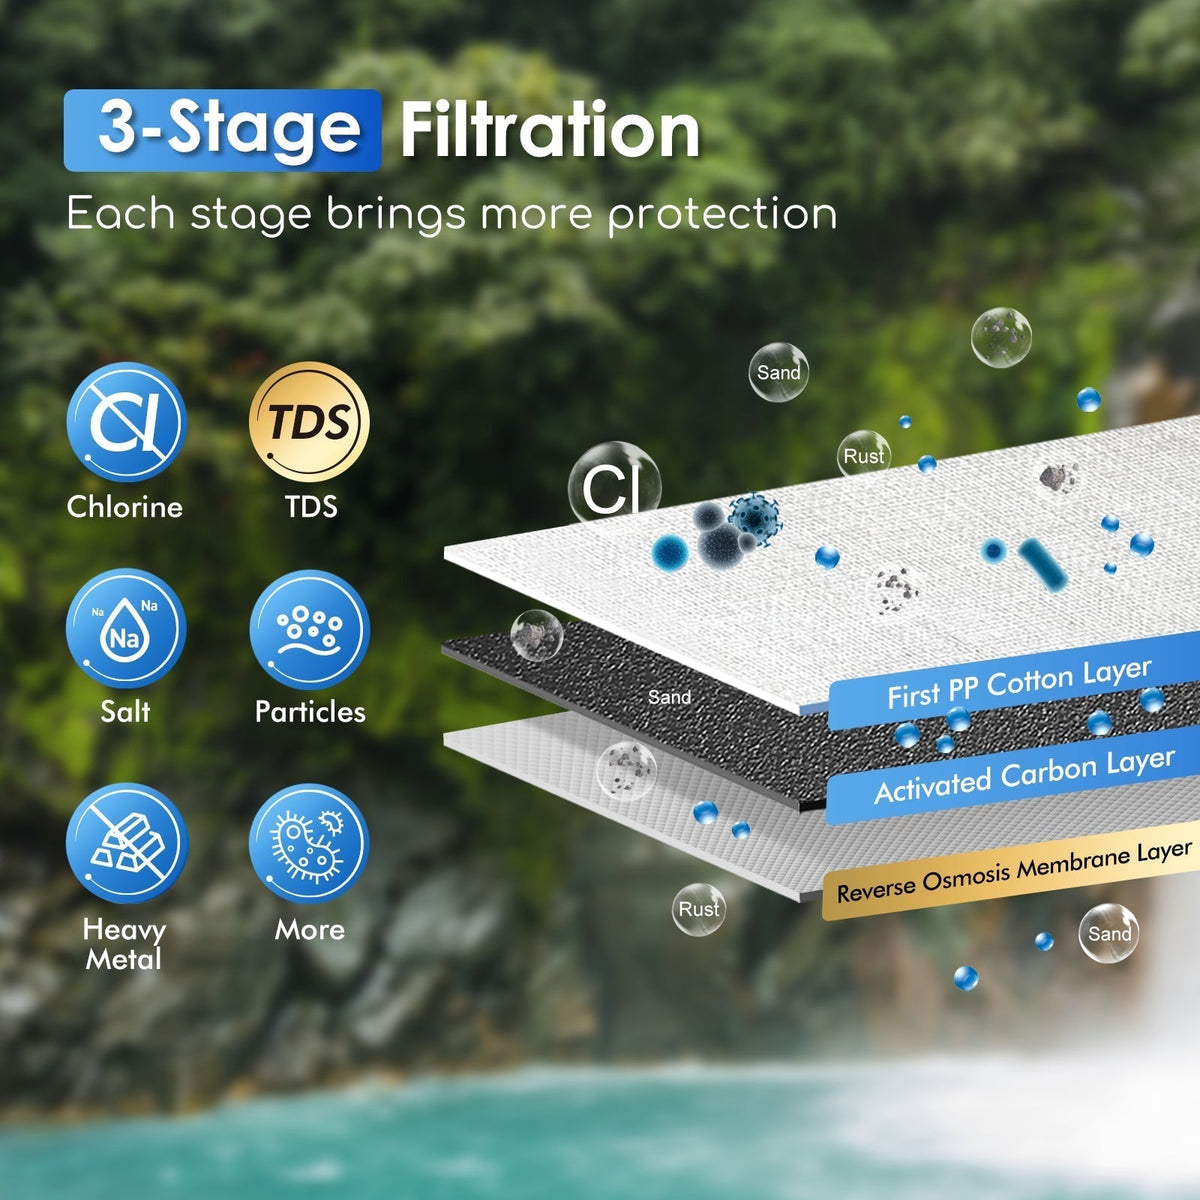
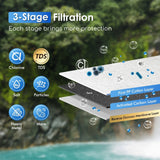
3-Stage Reverse Osmosis Filtration
02Manual Pressure, Multi-Layer Water Treatment
Movement of the hand pump draws source water through the intake assembly and internal filtration materials. Particle control and carbon filtration help prepare the water before it reaches the high-precision reverse osmosis membrane.
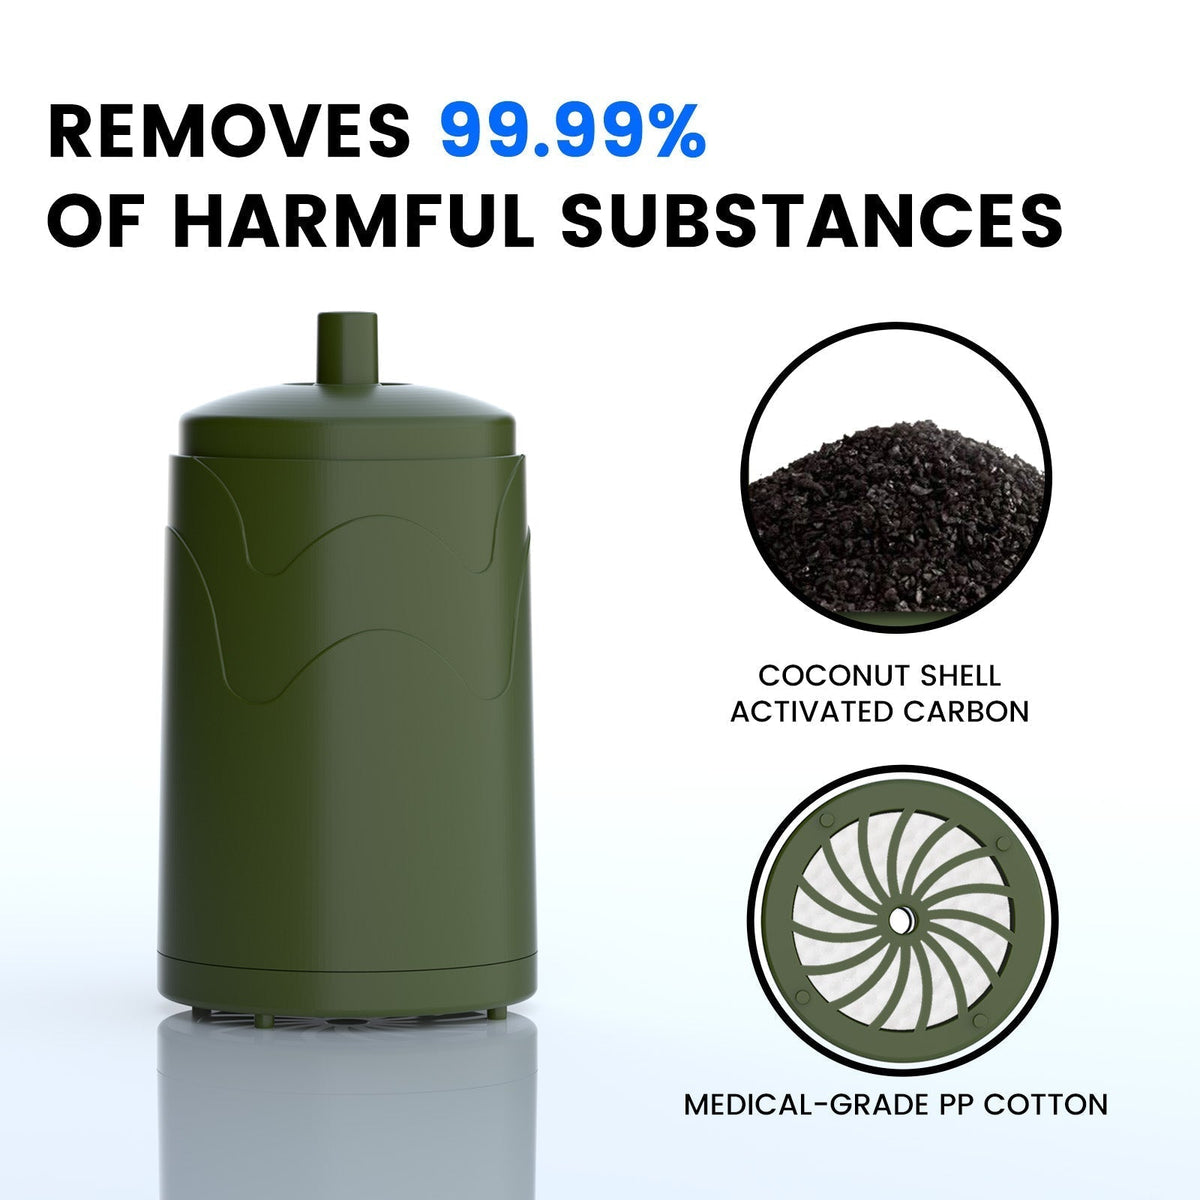
PP Cotton Pre-Filtration
Helps intercept sediment, soil, rust particles, suspended material, and other visible debris before water reaches the finer filtration layers.
Activated Carbon Filtration
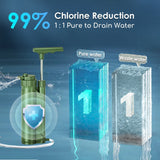
Helps reduce chlorine, unpleasant taste, and odor while helping protect the RO membrane from selected substances in the incoming water.
0.0001 μm RO Membrane
The reverse osmosis membrane provides high-precision filtration designed to reduce dissolved solids, salts, selected heavy metals, and other dissolved contaminants.
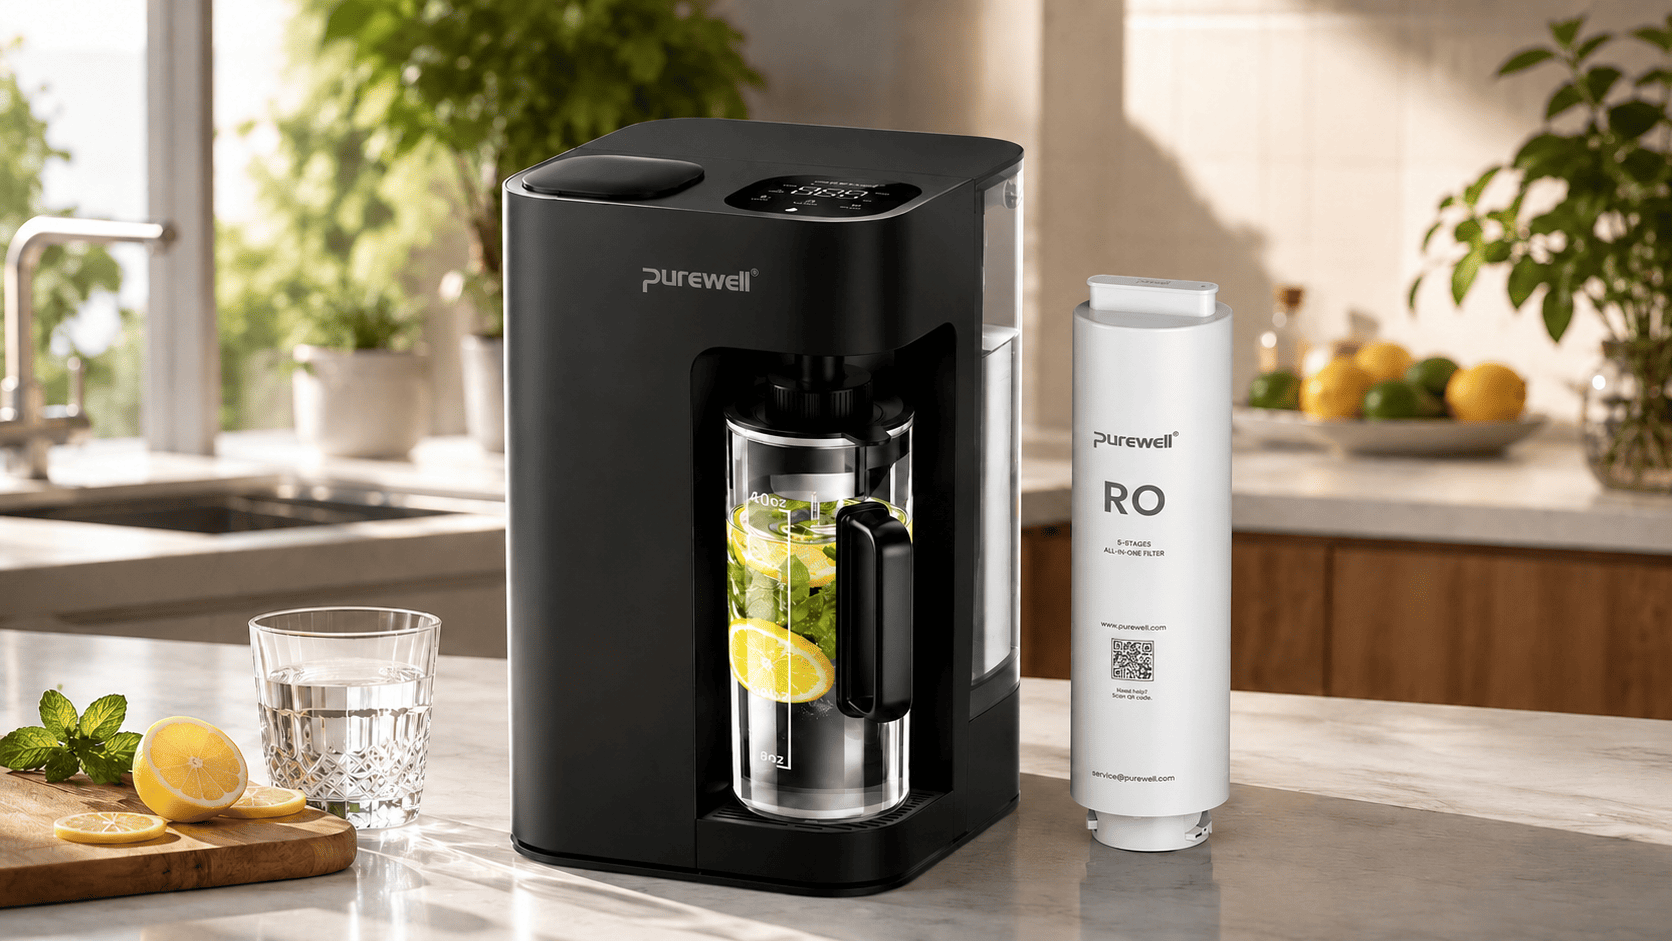
Replacement Filters & Components
03Maintain Performance with Replaceable Components
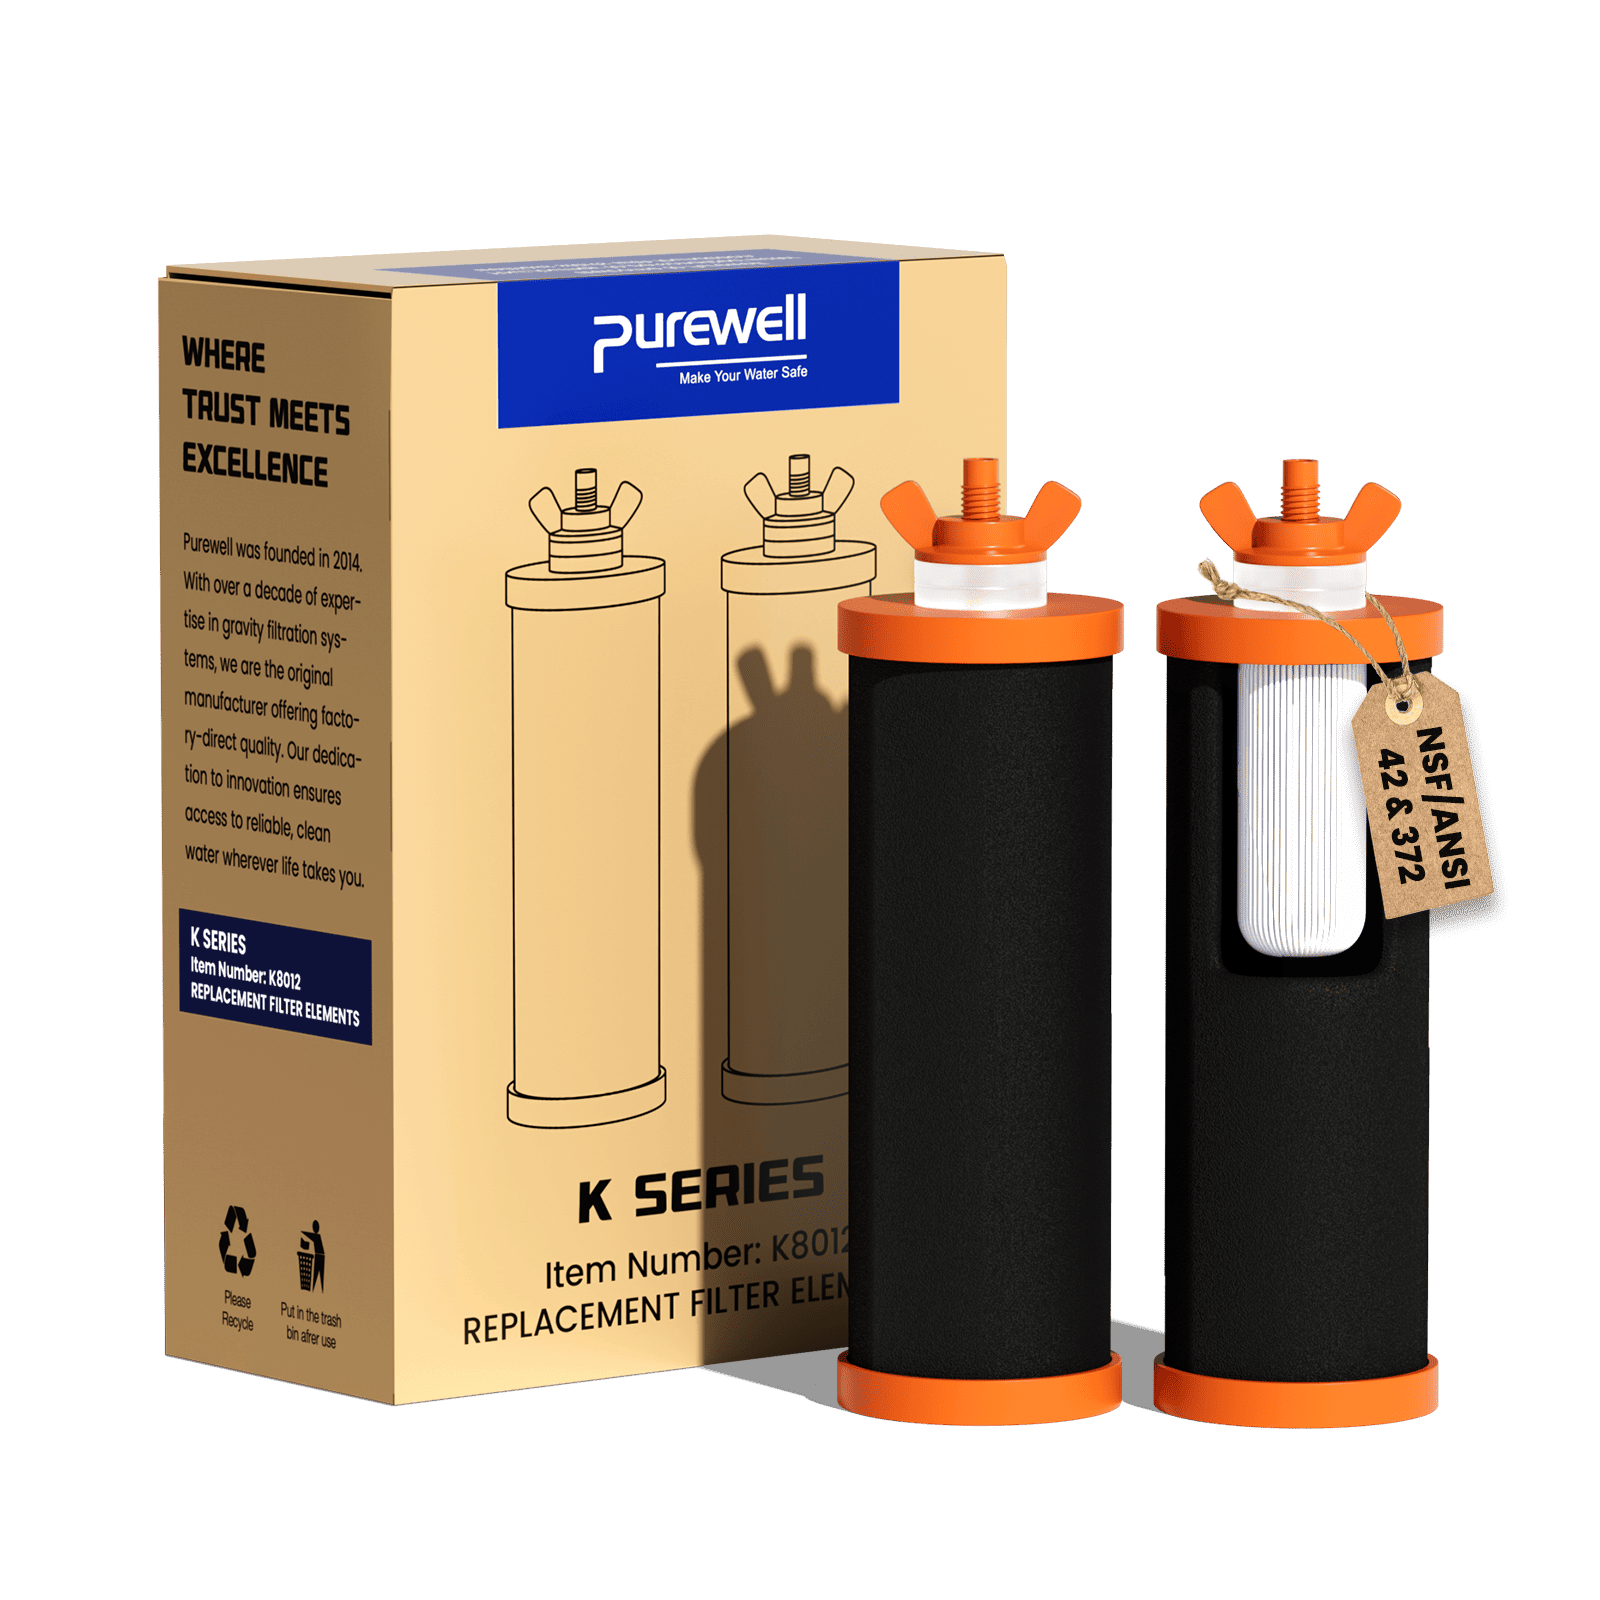
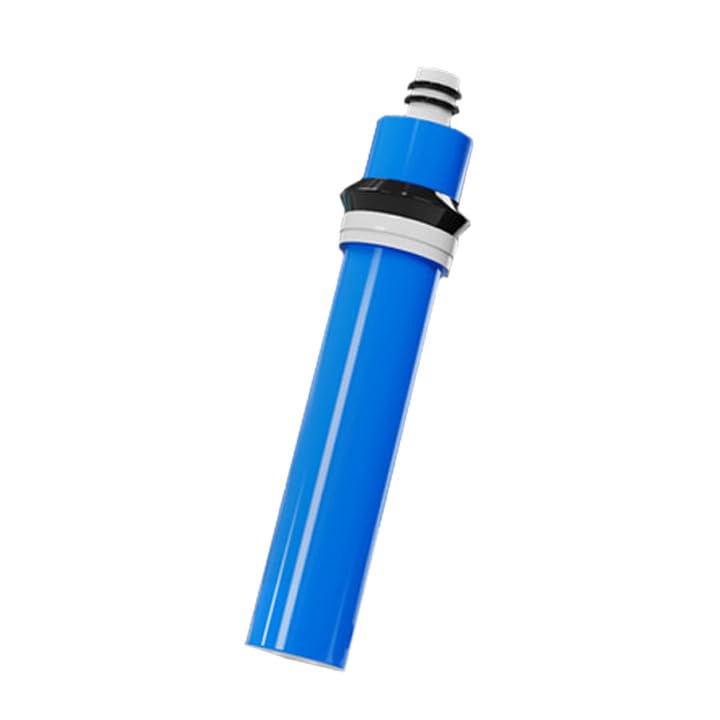
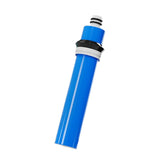
The primary filtration cartridge and external intake pre-filter are serviceable filtration components. Replacing worn parts allows the pump body, handle, hoses, connectors, and other reusable components to remain in service.
The internal cartridge combines PP cotton, activated carbon, and a high-precision reverse osmosis membrane to provide the system’s primary filtration performance.
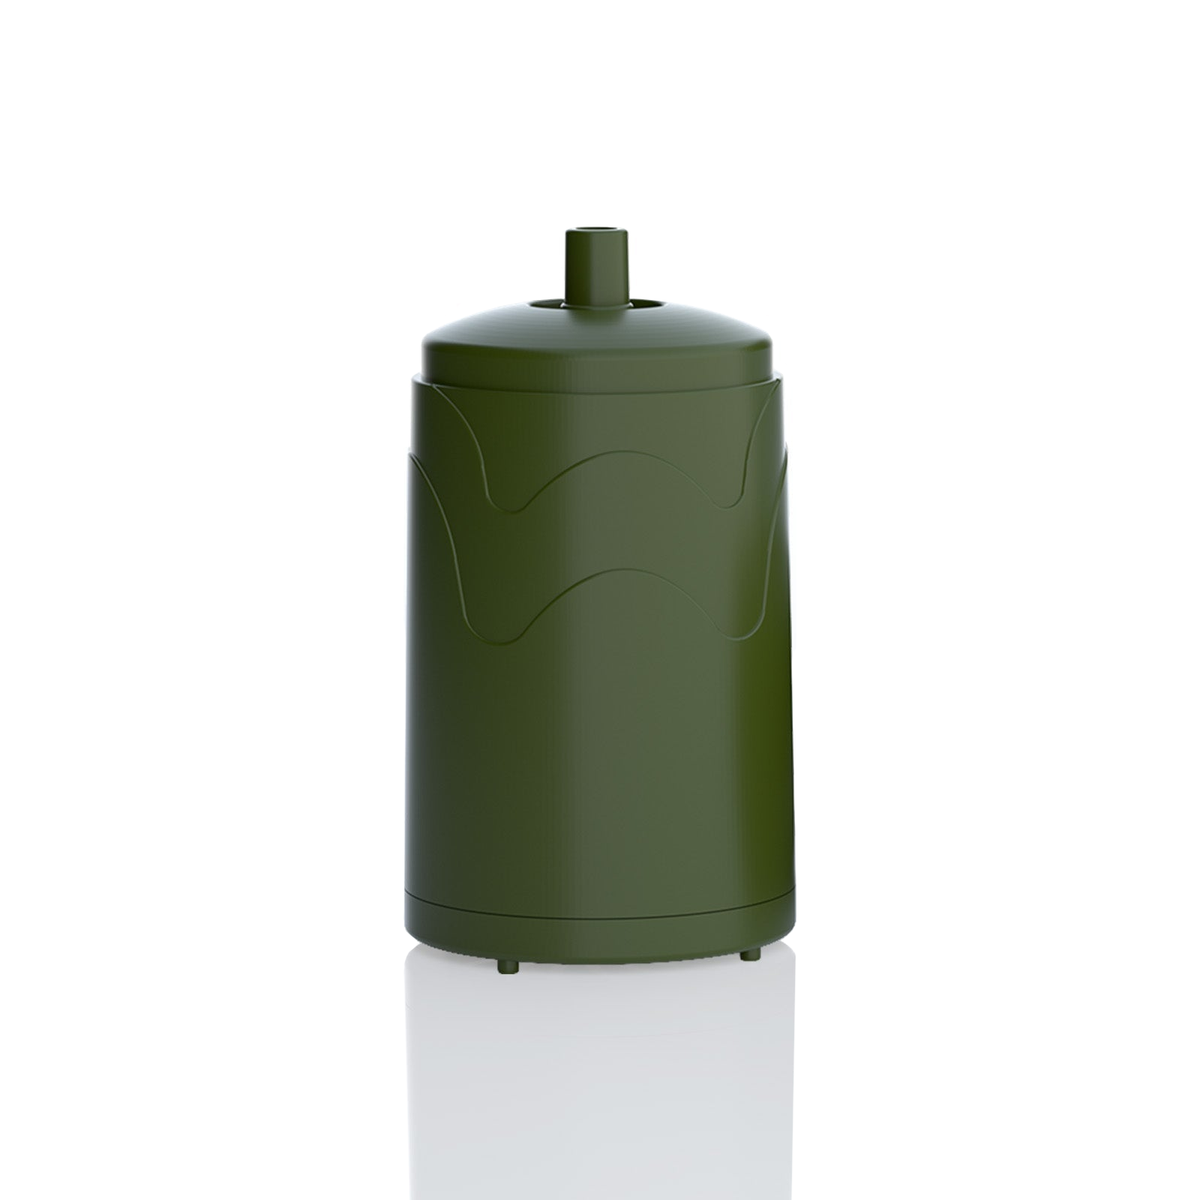
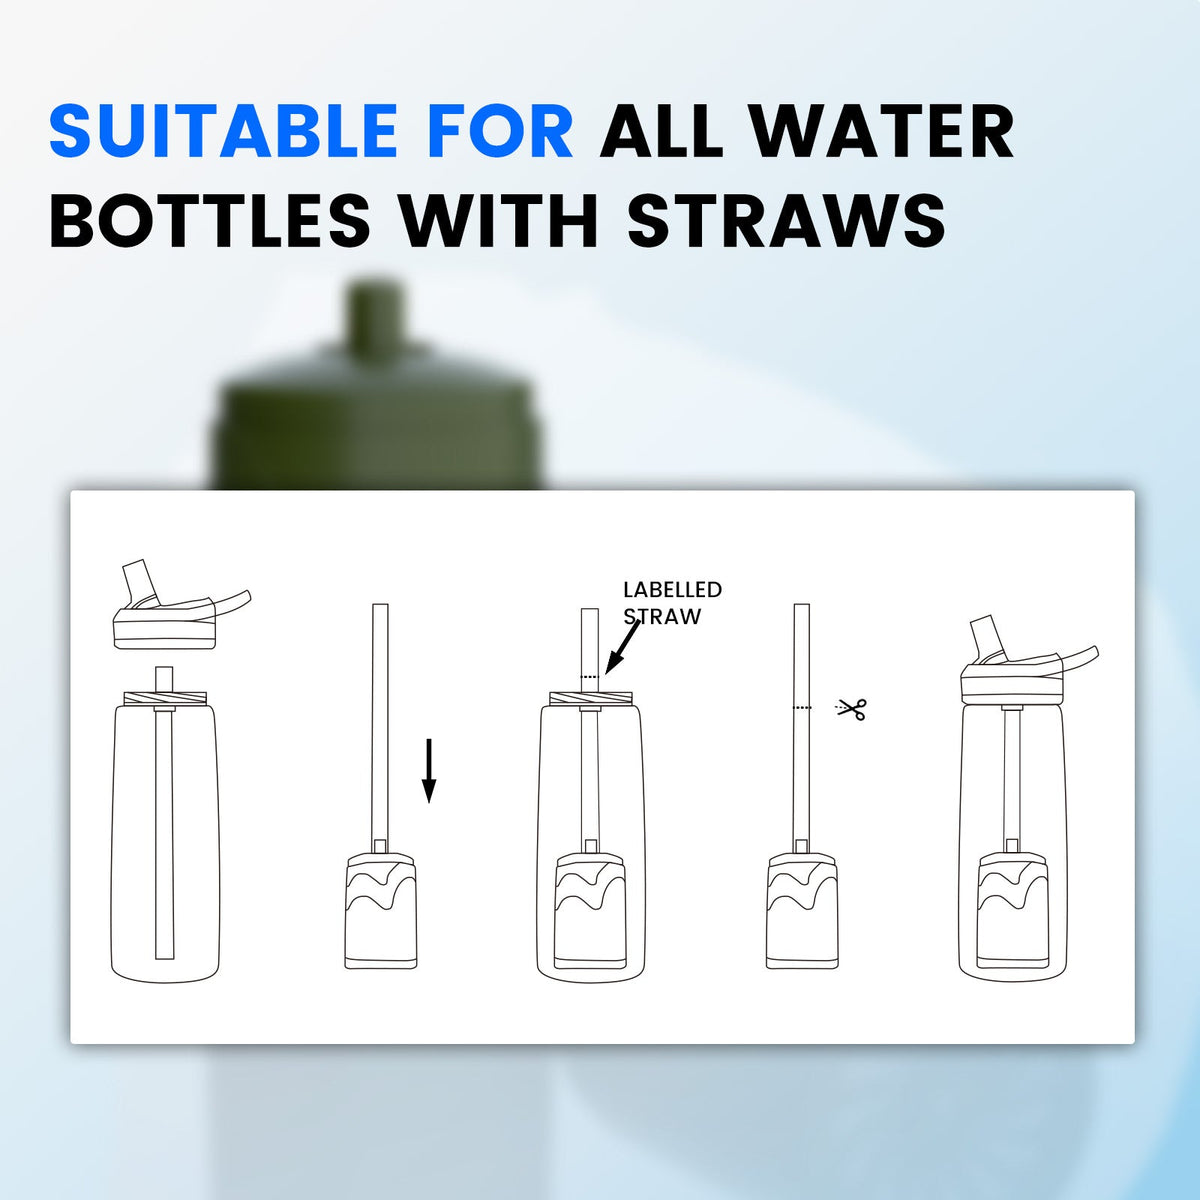
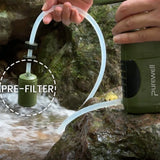
The external pre-filter connects to the source-water inlet hose and helps intercept larger particles before they enter the pump body and main RO cartridge.
Key Product Indicators
04High-precision reverse osmosis membrane filtration designed for dissolved-solids reduction.
Actual service life depends on water quality, dissolved solids, sediment, maintenance, and usage frequency.
Output may vary according to pumping speed, temperature, membrane condition, and source-water characteristics.
Repeated handle movement creates the pressure needed to move source water through the RO filtration system.
Multiple filtration materials work together to control particles, improve taste, and provide RO filtration.
The dual-outlet structure supports the separation process required during reverse osmosis filtration.
A compact vertical form designed for outdoor bags, emergency kits, vehicle storage, and equipment cases.
Portable enough for outdoor and emergency use while integrating the hand pump and filtration housing.
Care & Use Notes
05Protect the RO Membrane and Keep the System Ready
Proper cleaning, wastewater discharge, storage, and routine inspection help maintain water flow and protect the internal filtration components. Detailed assembly and operating steps are provided separately in the product user guide.
Do not use the system for carbonated drinks, sugary liquids, flavored beverages, alcohol, milk, juice, or other non-water liquids.
Do not clean the filter cartridge with soap, detergent, bleach, solvents, corrosive cleaners, or abrasive materials.
During RO purified-water production, keep the wastewater valve open so concentrated water can discharge normally and help reduce premature membrane blockage.
Do not allow the pure-water hose or clean-water container to contact the wastewater hose, untreated water, or contaminated surfaces.
Heavy sediment and muddy water may increase pumping resistance, reduce output, and shorten the life of the pre-filter and RO cartridge.
Inspect the intake pre-filter when pumping becomes harder or water intake slows. Remove visible debris and replace damaged material.
Before outdoor use, check the hoses, connectors, sealing rings, floater, valves, and filter housing for looseness, wear, cracks, or damage.
After use, rinse the washable exterior parts, hoses, intake pre-filter, and filter housing with clean water without using detergent.
Drain water from the hoses, pump body, outlets, and accessible components as thoroughly as possible before packing the system.
Allow washable components to dry in a clean, ventilated area before placing the filter, hoses, and accessories into the storage bag.
Keep the system in a dry, cool location away from direct sunlight, high temperatures, corrosive substances, dirt, and unnecessary pressure.
If the handle becomes stiff after storage, gently rotate and move it before pumping. Do not strike the handle or force it abruptly.
A persistent reduction in output may indicate a dirty pre-filter, restricted hose, closed wastewater valve, or filtration component requiring maintenance.
Replace the main cartridge when its rated capacity is reached or earlier if output, taste, odor, physical condition, or overall performance changes.
Stop using the system when the filter housing, membrane cartridge, valves, hoses, seals, or connectors appear cracked, deformed, or unable to seal correctly.
Store replacement filters and accessories in their clean packaging until needed, and avoid touching water-contact surfaces with dirty hands.
How to Set Up Your Countertop Gravity Water Filter System
Follow these simple steps to assemble the system, install the core filters, flush before first use, and prepare it for daily use.
Prepare and Clean the Parts
Before assembly, check the main parts and clean the system components.
-
1
Wash Your Hands Handle the system with clean hands before setup.
-
2
Check Included Parts Make sure the chambers, lid, spigot, stand, and core filters are ready.
-
3
Clean Before Assembly Rinse the chambers and accessories before first use.
Assemble the Lid Knob
Attach the lid knob to the lid and secure it with the included hardware.
-
1
Place the Lid Knob Insert the lid knob into the center hole of the lid.
-
2
Add Washer and Gasket Place the washer and gasket in the correct position.
-
3
Tighten the Screw Fasten the knob until it feels stable.
Install the Basic Spigot
Install the basic spigot into the lower chamber before stacking the system.
-
1
Insert the Spigot Place the spigot through the lower chamber hole with the gasket and washer.
-
2
Add the Inside Parts Place the remaining washer and gasket from the inside of the chamber.
-
3
Tighten the Hex Nut Use the wrench to secure the spigot vertically.
Install the Core Filters
Use the required number of core filters for your system model.
-
1
Insert the Core Filters Place the core filters through the holes in the upper chamber.
-
2
Secure the Filters Use the filter washer and wing nut to hold each core filter in place.
-
3
Check Stability Make sure each core filter is firmly installed before adding water.
Stack the Chambers and Stand
Set the system together in the correct order before flushing.
-
1
Attach the Anti-slip Mat Place the anti-slip mat on the bottom of the lower chamber.
-
2
Place the Lower Chamber on the Stand Set the lower chamber securely on the stand.
-
3
Add the Upper Chamber and Lid Place the upper chamber into the lower chamber, then cover it with the lid.
Flush Before First Use
Flush the system before drinking water from it for the first time.
-
1
Fill the Upper Chamber Add water and let it move through the core filters.
-
2
Discard the First Batch Pour out the first filtered water from the lower chamber.
-
3
Repeat 2–3 Times After flushing, the system is ready for regular use.
How the Filter System Works
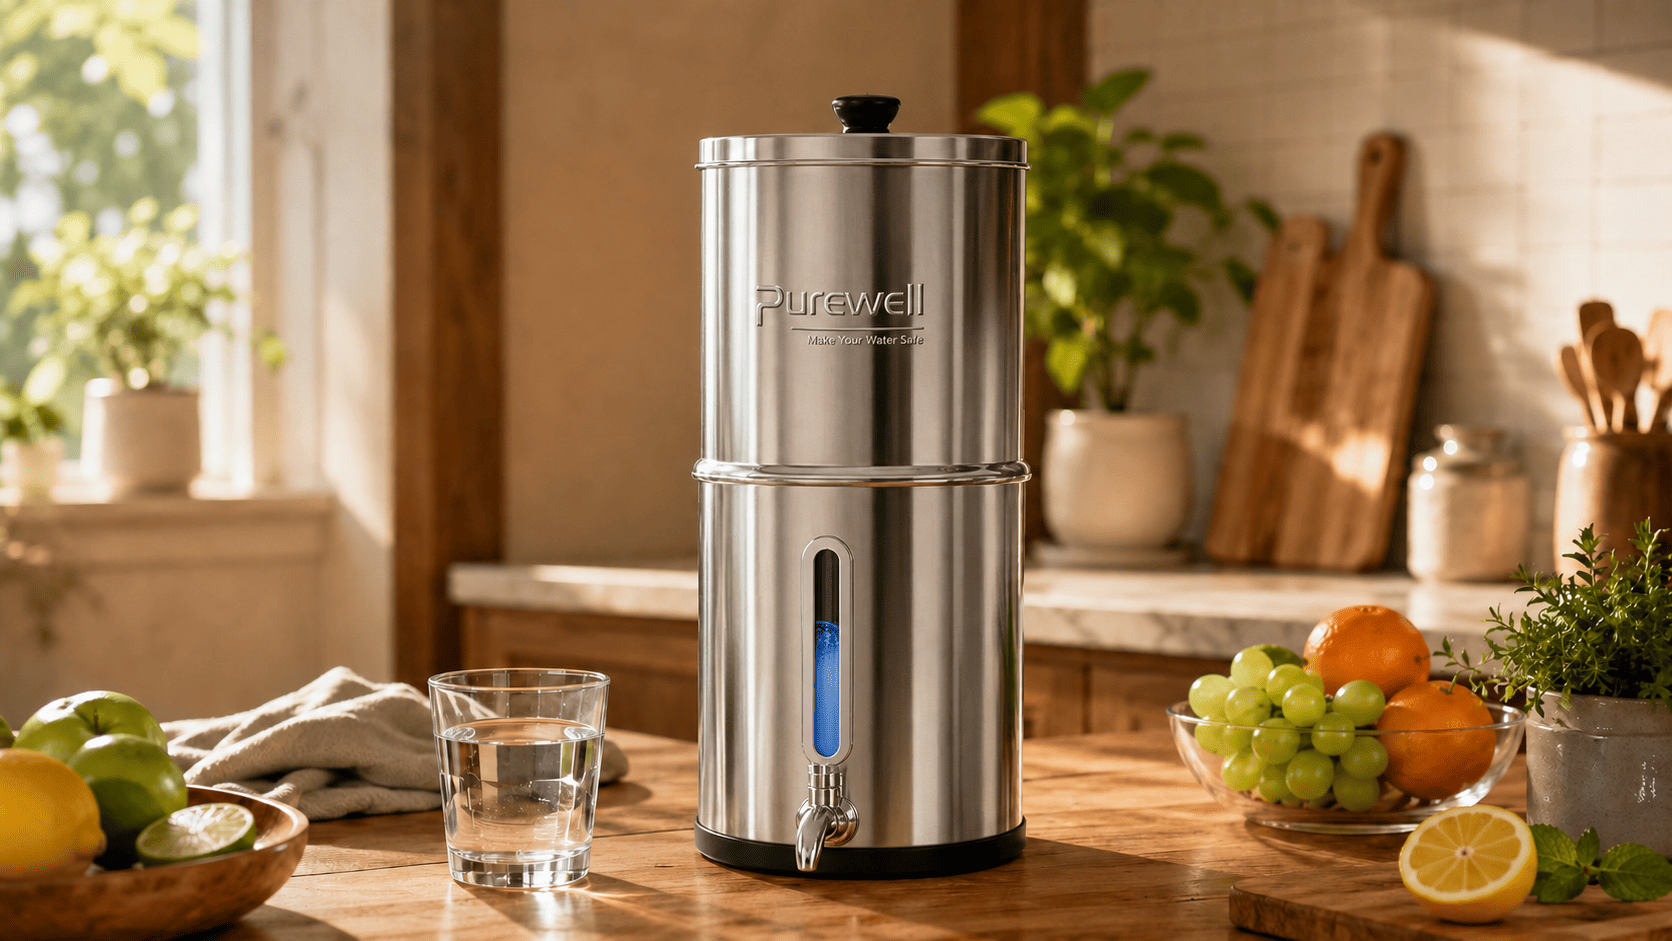
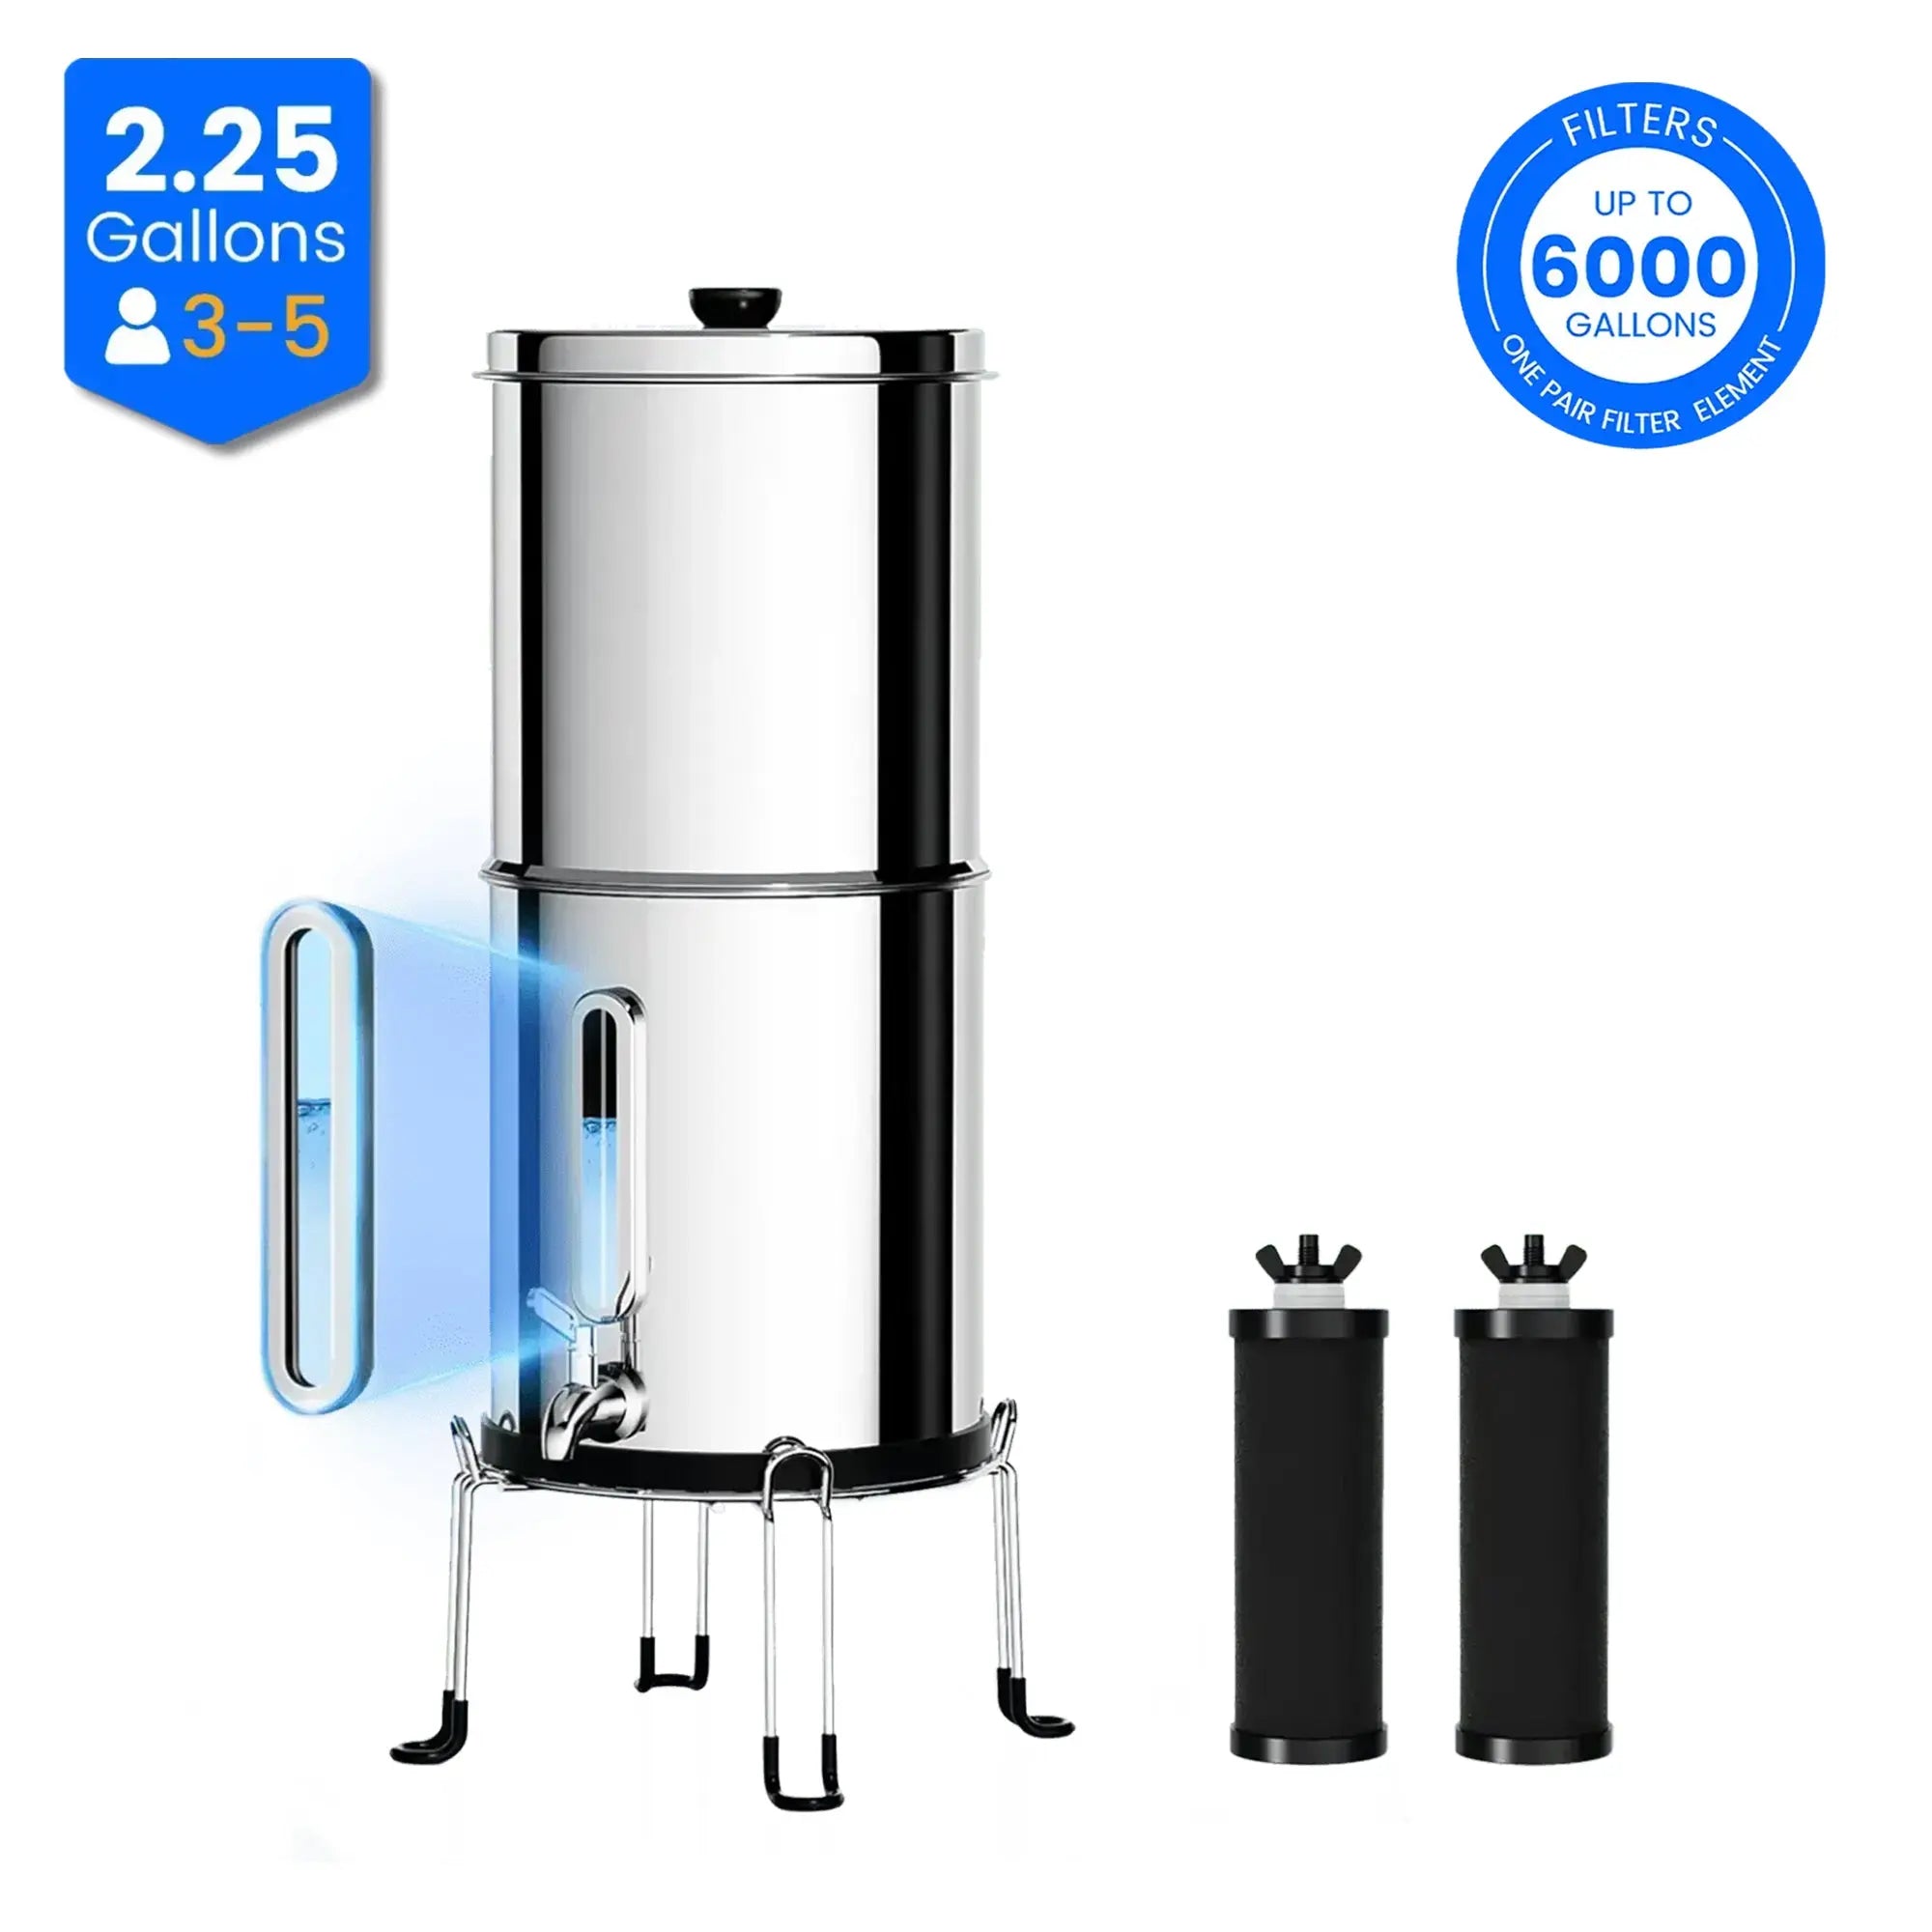
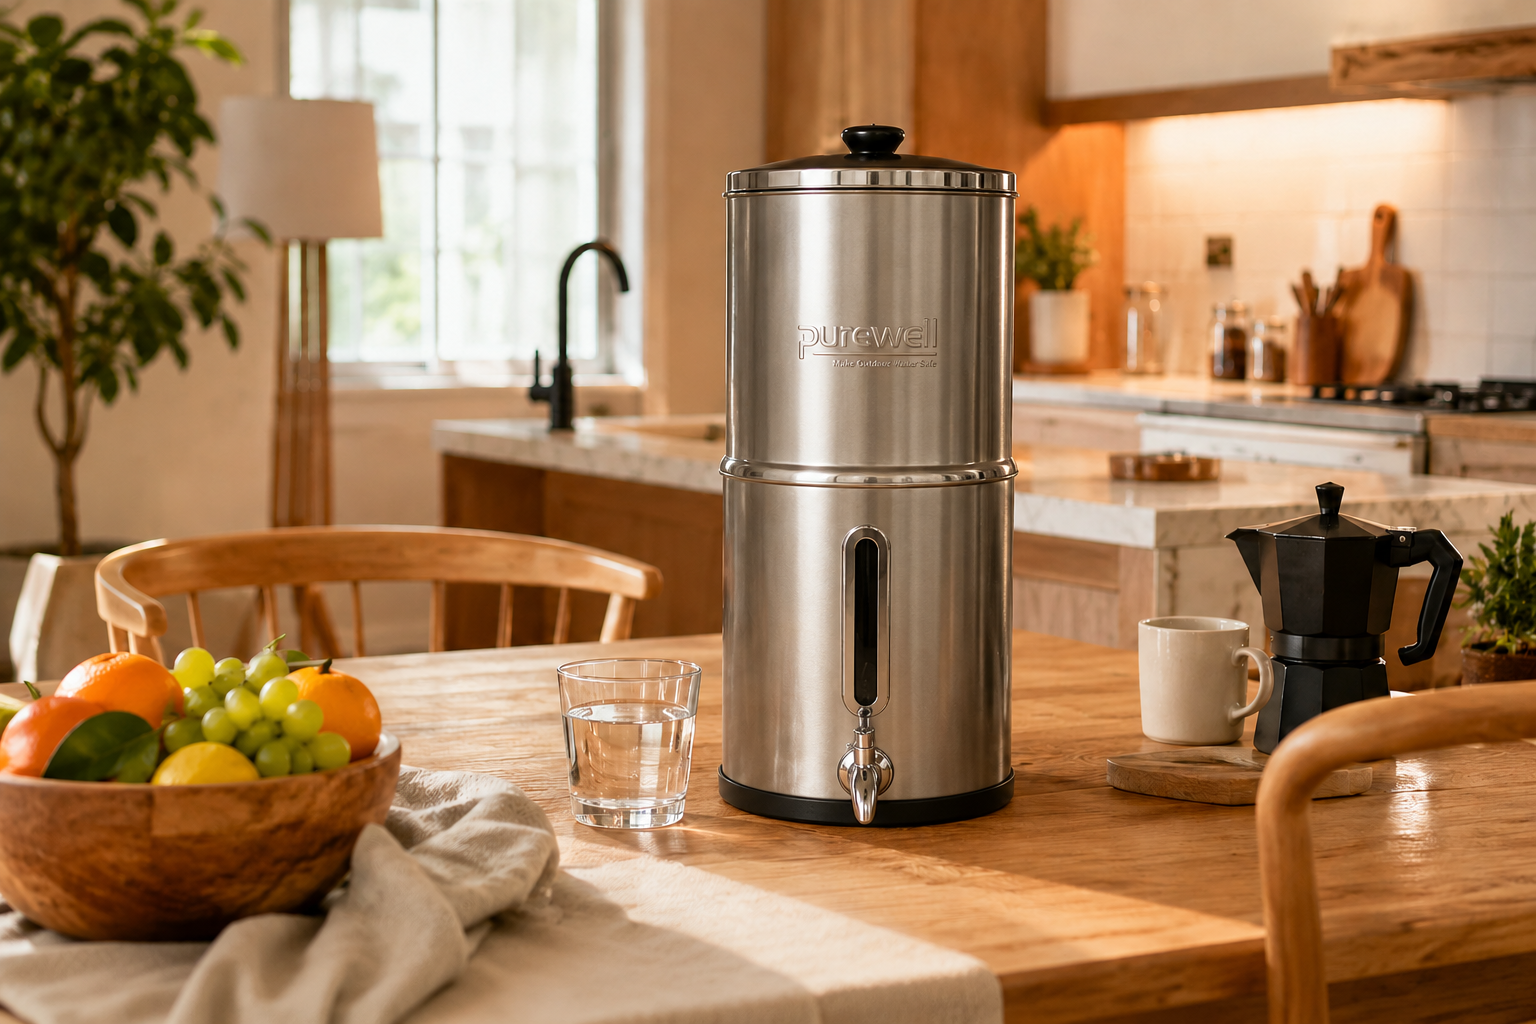
Water is added to the upper chamber and moves through the center filter by gravity. After filtration, water collects in the lower chamber and is ready to dispense from the spigot.
Add water to the top chamber. The system works without electricity, plumbing, or pressure.
Water naturally flows downward through the center filter element, where the filtration process takes place.
After passing through the filter, water collects in the lower chamber for storage and daily use.
Open the spigot to pour filtered water for drinking, cooking, or everyday hydration.
Filter Replacement Guide
Replacing filters on time helps your filtration system keep working properly. It also helps maintain water flow, drinking water taste, and everyday use confidence.
Filter life may vary by water quality, usage frequency, and total water volume filtered.
Replace the filters when they reach the rated lifespan listed for your filter model.
If filtering takes much longer than usual, clean or replace the filters as needed.
If unwanted taste or smell becomes noticeable again, it may be time to replace the filters.
Rain, river, stream, or well water may shorten filter life compared with regular tap water.
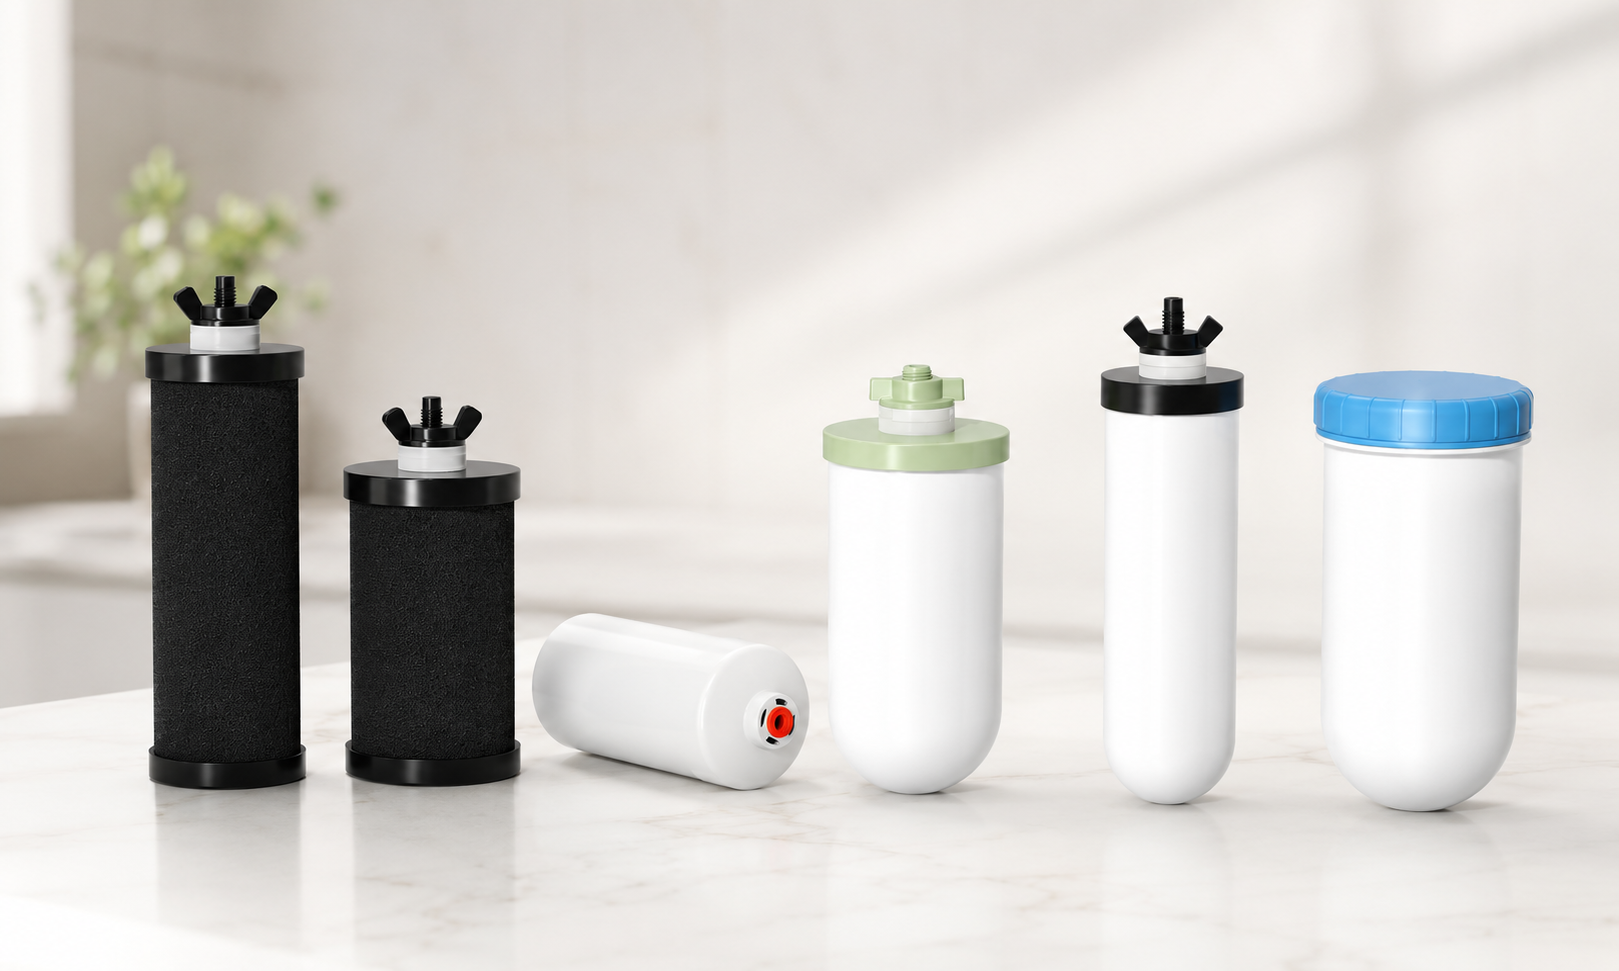
Choose filters that match your filtration system, filter series, and setup.
Prime, rinse, or flush new filters according to the product instructions.
Make sure washers, seals, and threaded parts are installed correctly.
Empty and clean the upper and lower chambers before installing new filters.
If your system uses paired filters, replace matching filters together when needed.
Write down the replacement date and set a reminder based on your usage.
Use this checklist to choose the right replacement filter for your Purewell system and check whether it may also fit select compatible systems from other brands.
| Filter Category | Filter Type | Fits Purewell Systems | Other Compatible Systems |
|---|---|---|---|
| K Series Carbon Filters (Pro) | Core Filter | SS Series and K Series filtration systems. | Select ProOne Big+ / Big II and Berkey BB9-2 style systems. |
| K Series Carbon Filters | Core Filter | SS Series and K Series filtration systems. | Select ProOne Big+ / Big II and Berkey BB9-2 style systems. |
| K Series Carbon Filters (Classic) | Core Filter | SS Series and K Series filtration systems. | Black Berkey Elements style systems and select Berkey gravity systems. |
| K Series Ceramic Filters | Core Filter | SS Series and K Series filtration systems. | Most gravity-fed systems from major brands, including Berkey, ProOne, Alexapure, Waterdrop, Doulton, Boroux, Culligan, and more. |
| SS Series Square Carbon Filters | Core Filter | SS Series and K Series filtration systems. | Select ProOne Big+ / Big II and Berkey BB9-2 style systems. |
| SF Series Multi-Functional Filter | Core Filter | SF Series filtration systems. | Select Zero pitchers and dispensers. |
| BO Series Unique Compound Filter | Core Filter | BO Series filtration systems only. | Not intended for K Series, SS Series, or other gravity filtration systems. |
| K Series Specialty Add-On Filters | Supplemental Filter | Use together with K Series or SS Series core filters. | Select Travel, Big, Royal, Imperial, Light, and Crown Berkey models as an additional filter option. |
System Package
Main parts included for the countertop gravity water filter system.
- Upper Chamber× 1
- Lower Chamber× 1
- Lid× 1
- Anti-slip Mat× 1
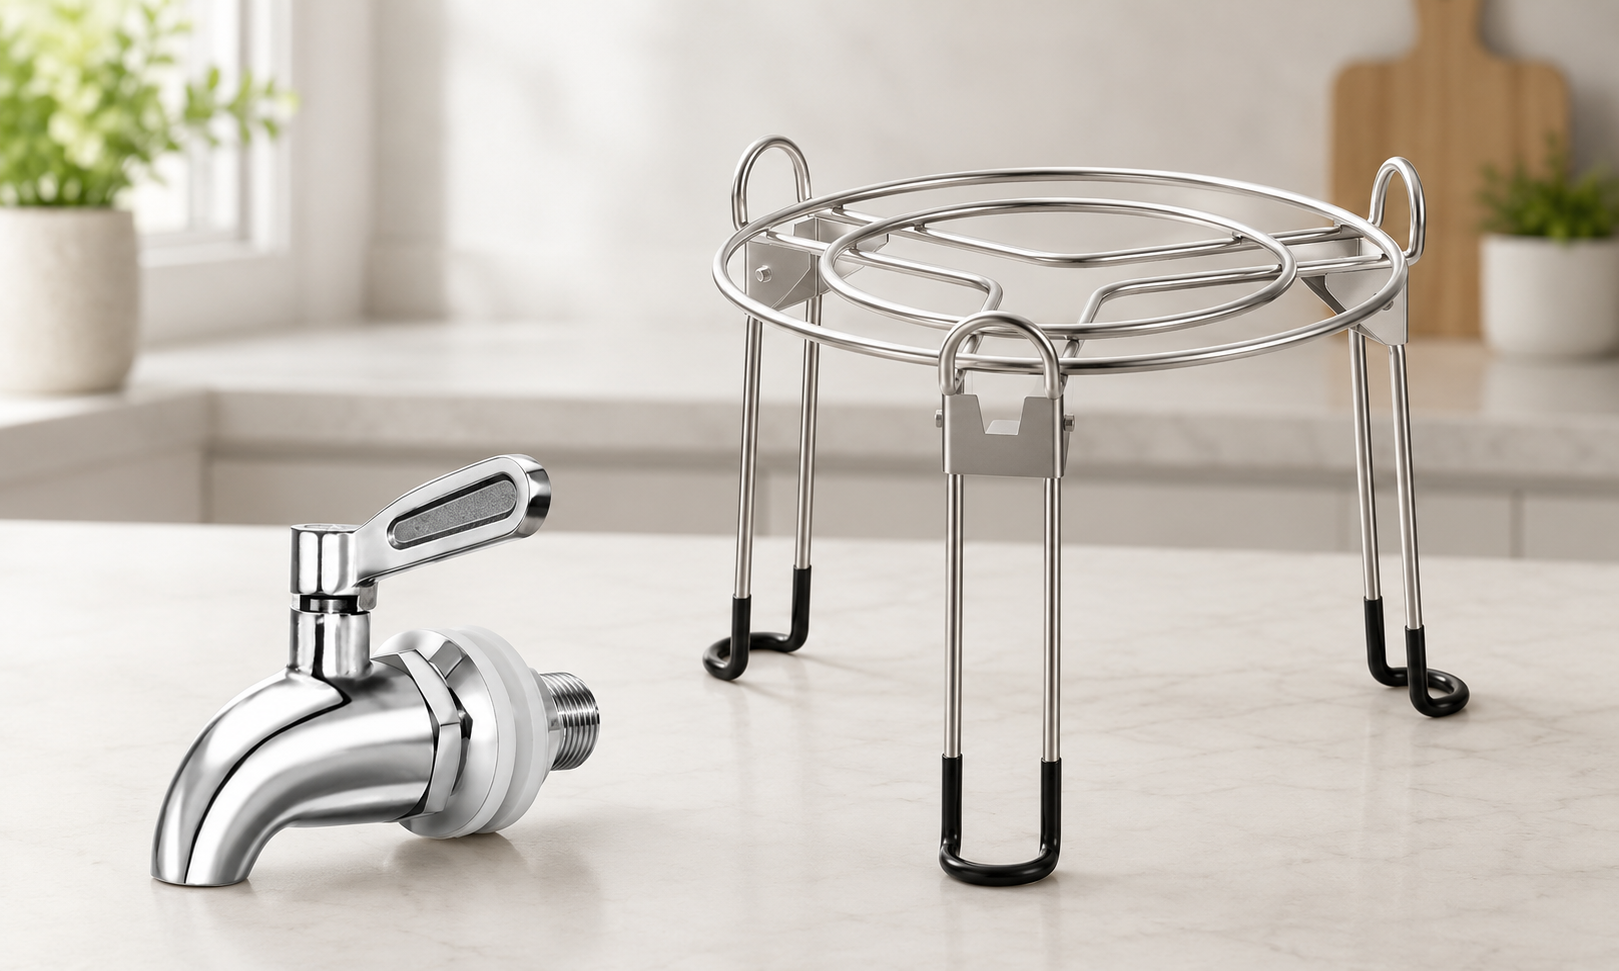
- Stand× 1
- User Manual× 1
Basic Spigot Parts
Parts used to install the basic stainless steel spigot.
- Basic Spigot× 1
- Spigot Gasket× 2
- Beveled Washer× 2
- Spigot Hex Nut× 1
- Wrench× 1
- Screwdriver× 1
- Plastic Spigot× 1
- Silicone Plug× 1
Selected Filter Package
Your package includes the BO Series Carbon Filters selected with this system. The filter option may vary based on your product selection.
- Selected Filters SF Series Core Filter
- Package Quantity 1 Box / 1 Filter
- System Use Install One Filter Only
2.25 Gallon Water Filter System Installation Video
Watch this step-by-step guide to set up your Purewell 2.25 gallon water filter system and install the filter element in the correct position before first use.
2.25 Gallon System Setup & Filter Placement
This video shows how to assemble the Purewell 2.25 gallon water filter system, including how to place and install the filter element properly for daily filtration.
NSF Certified for Your Health
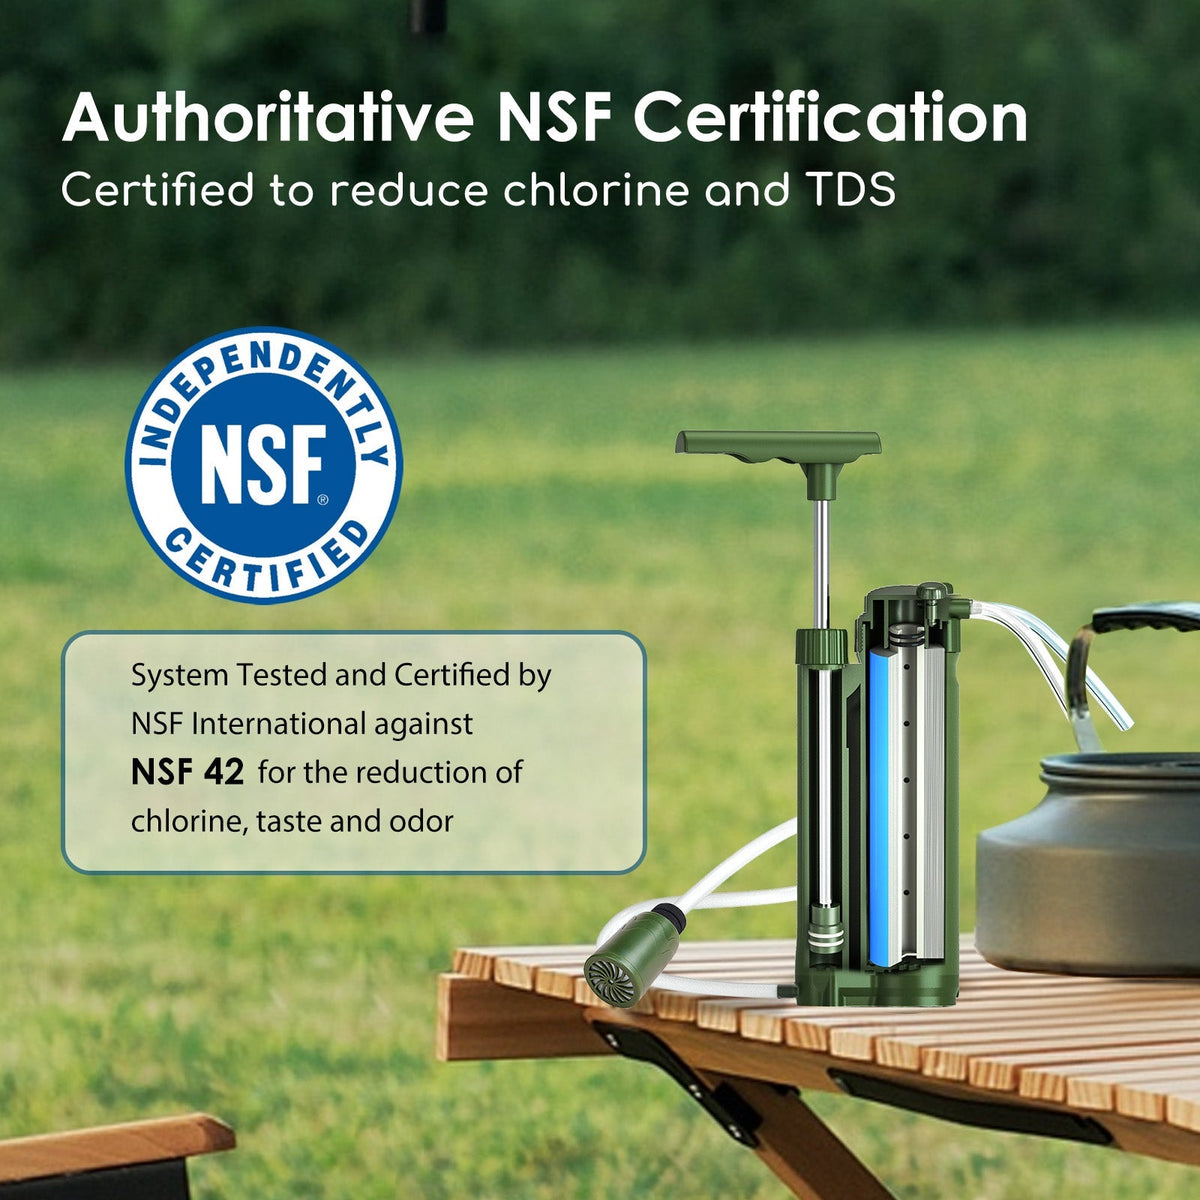
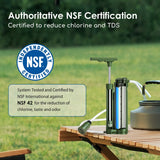
Independently tested to meet NSF/ANSI 42 & 372 standards, the highest level of trust in water filtration.
Lead-Free Guarantee (NSF/ANSI 372)
Certified lead-free materials to keep your water worry-free.