









Skip to content
Fr
  • English
  • Français
  • Deutsch
  • Nederlands
  • Español
  • Ελληνικά
  • Italiano
  • Português (portugal)
CAD $

What are you looking for?

Système portable de filtre à eau RO(UK&ER)

Prix régulier $563.69 CAD $510.88 -11% OFF


/
Taxe inclu.   Livraison calculée au moment du paiement.
Non disponible
Type de produit: Système complet – Noir
PayPal Visa Mastercard American Express Discover Apple Pay Google Pay

Notify me when available

You have already submitted a request for this variant.

Thanks for contacting us. We'll get back to you as soon as product / variant is back in stock.
Usagé $100.00 de plus pour la livraison gratuite
Livraison estimée entre - .

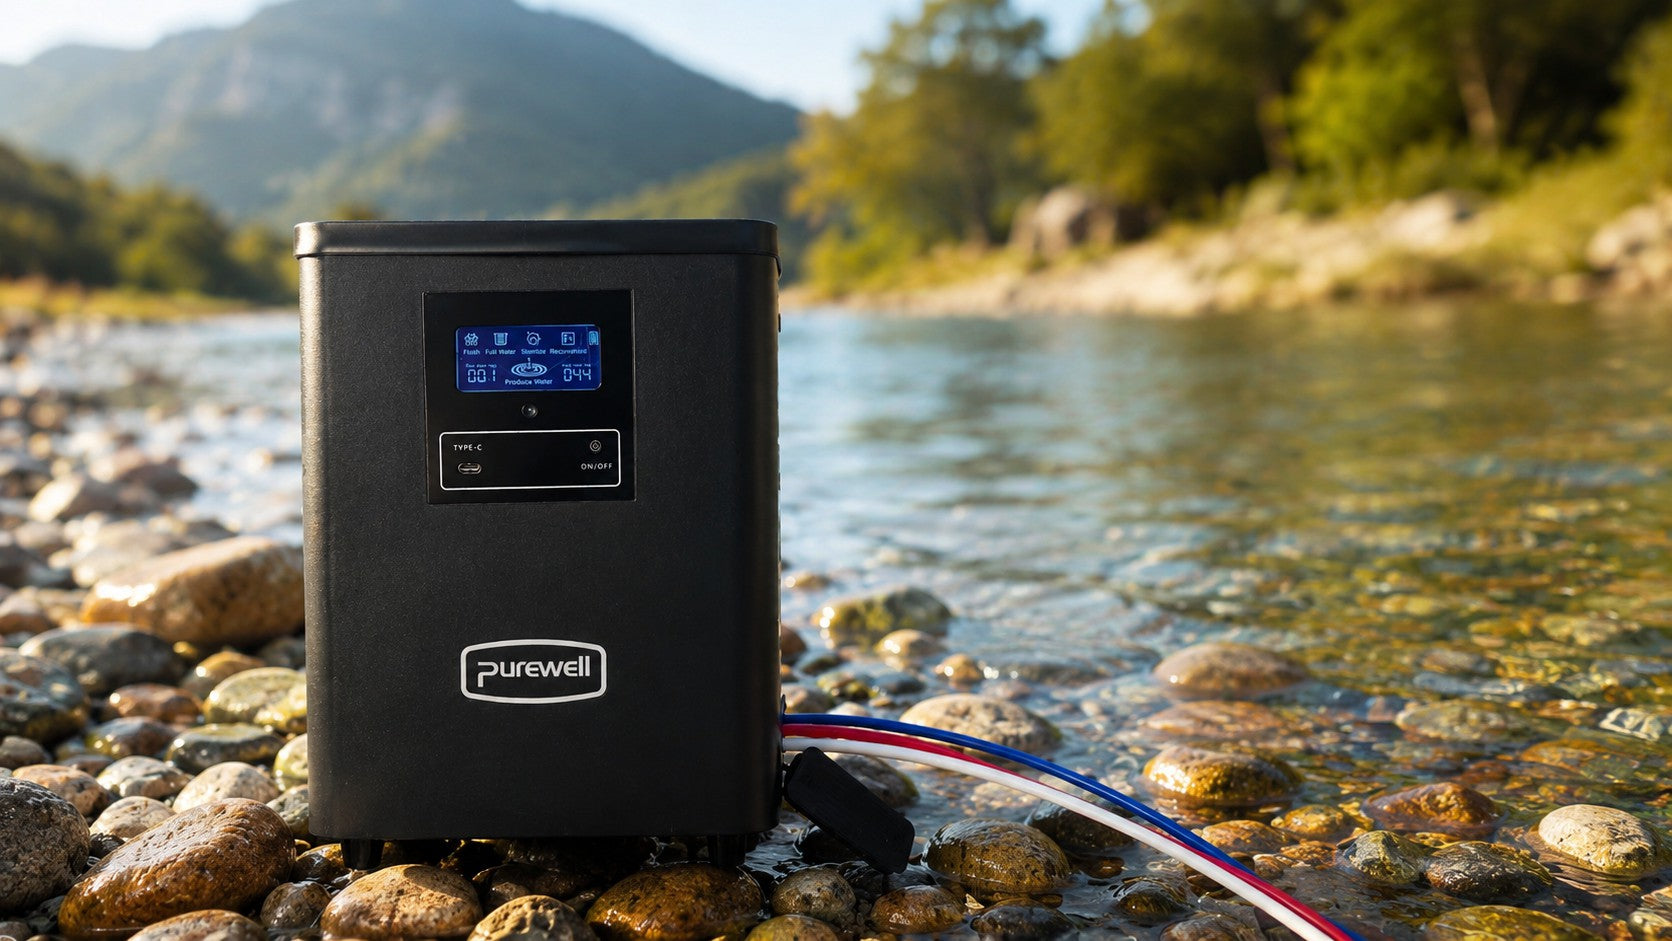
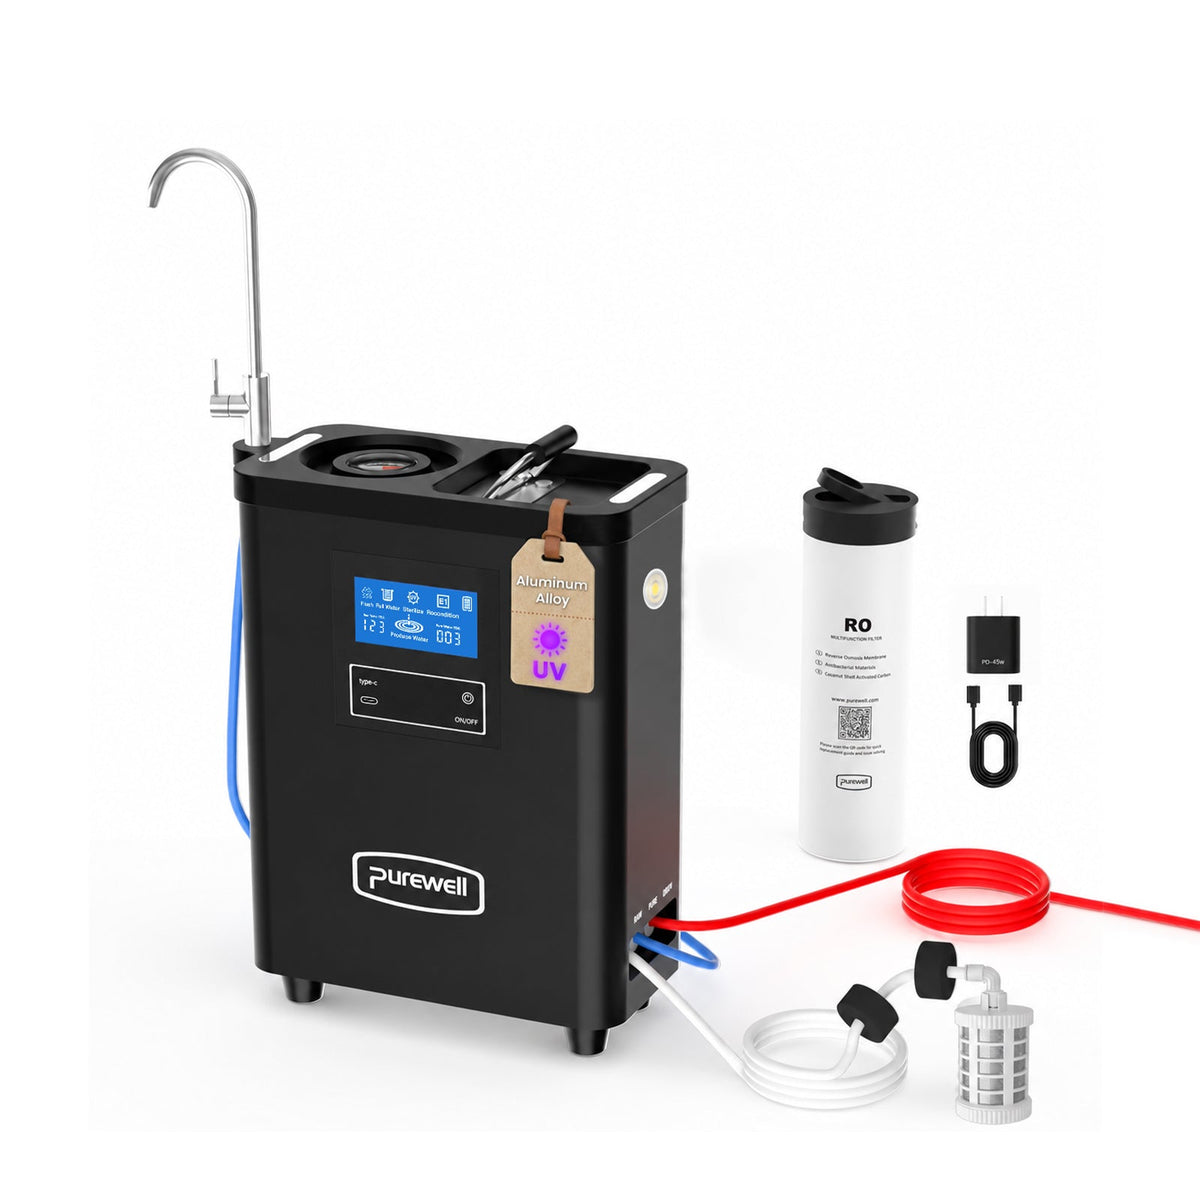
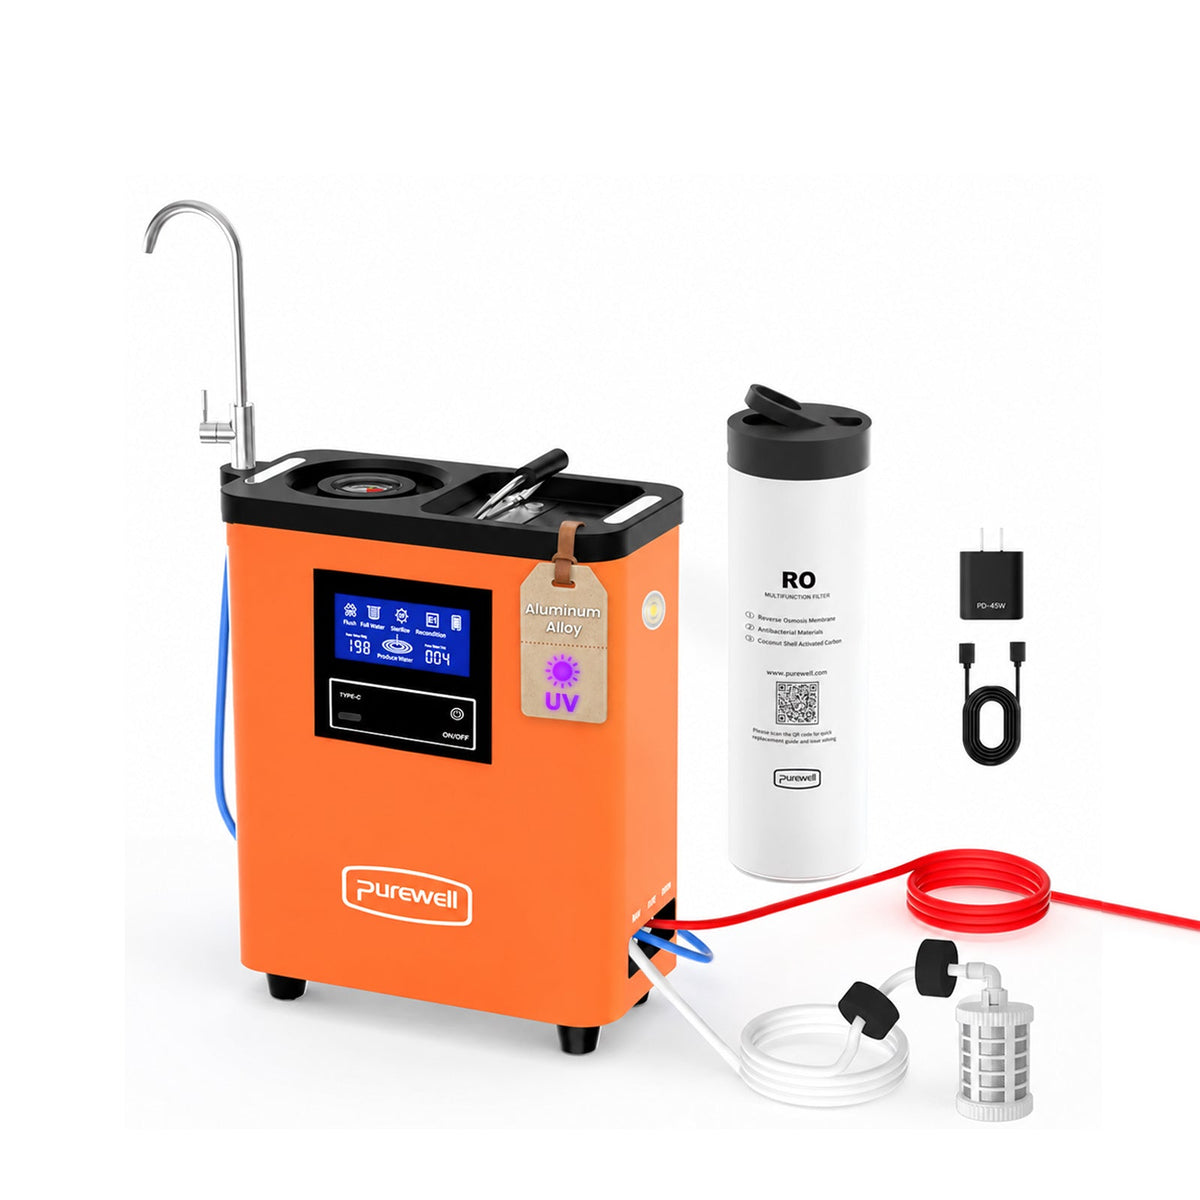
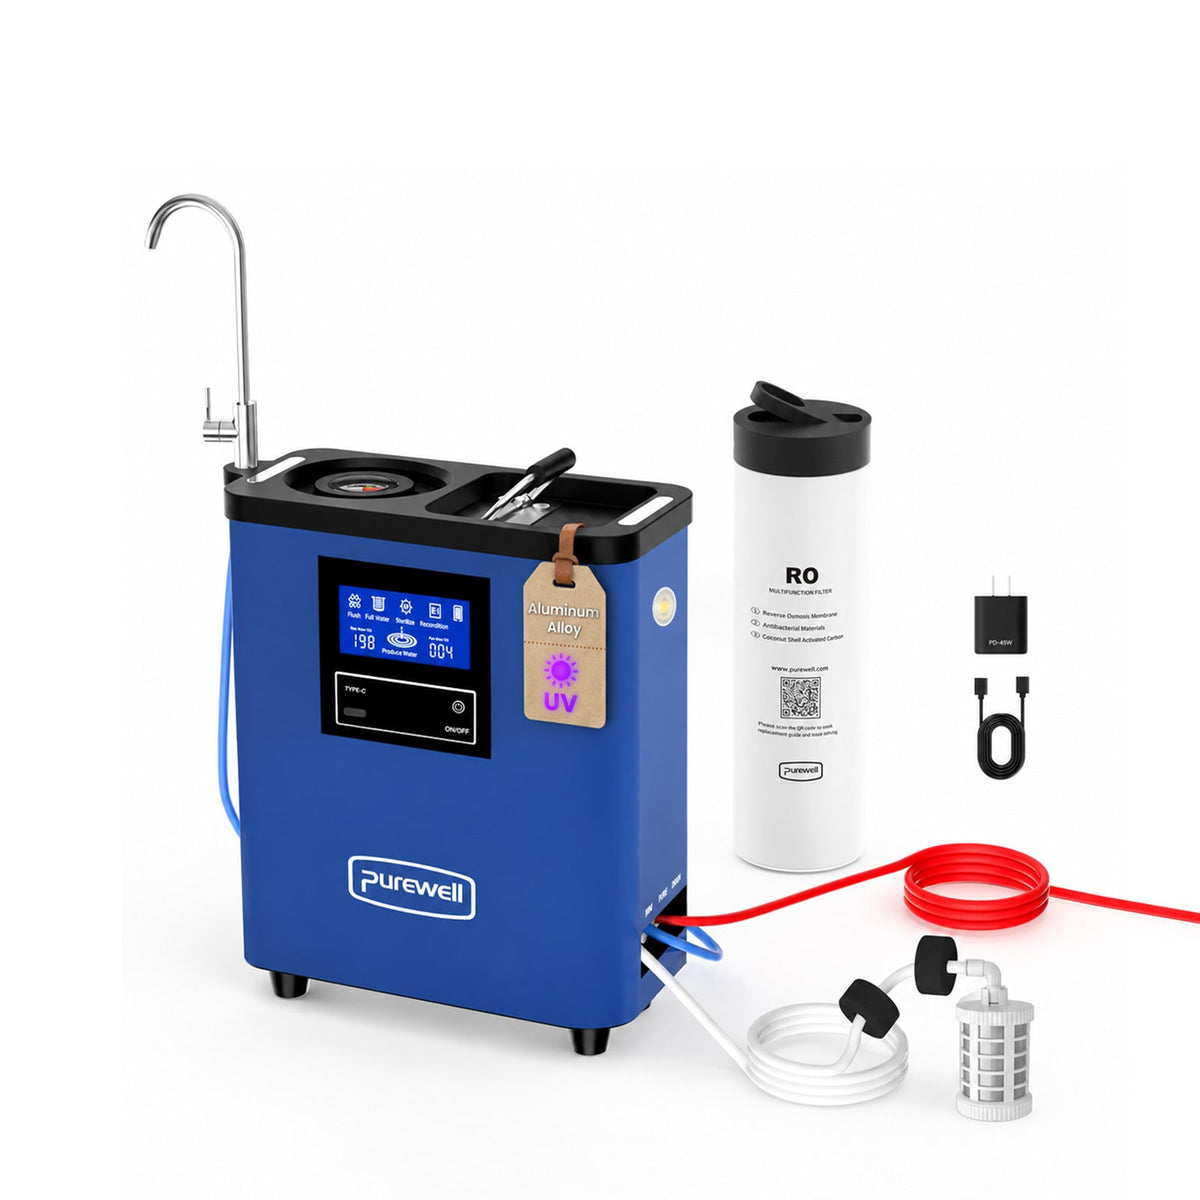
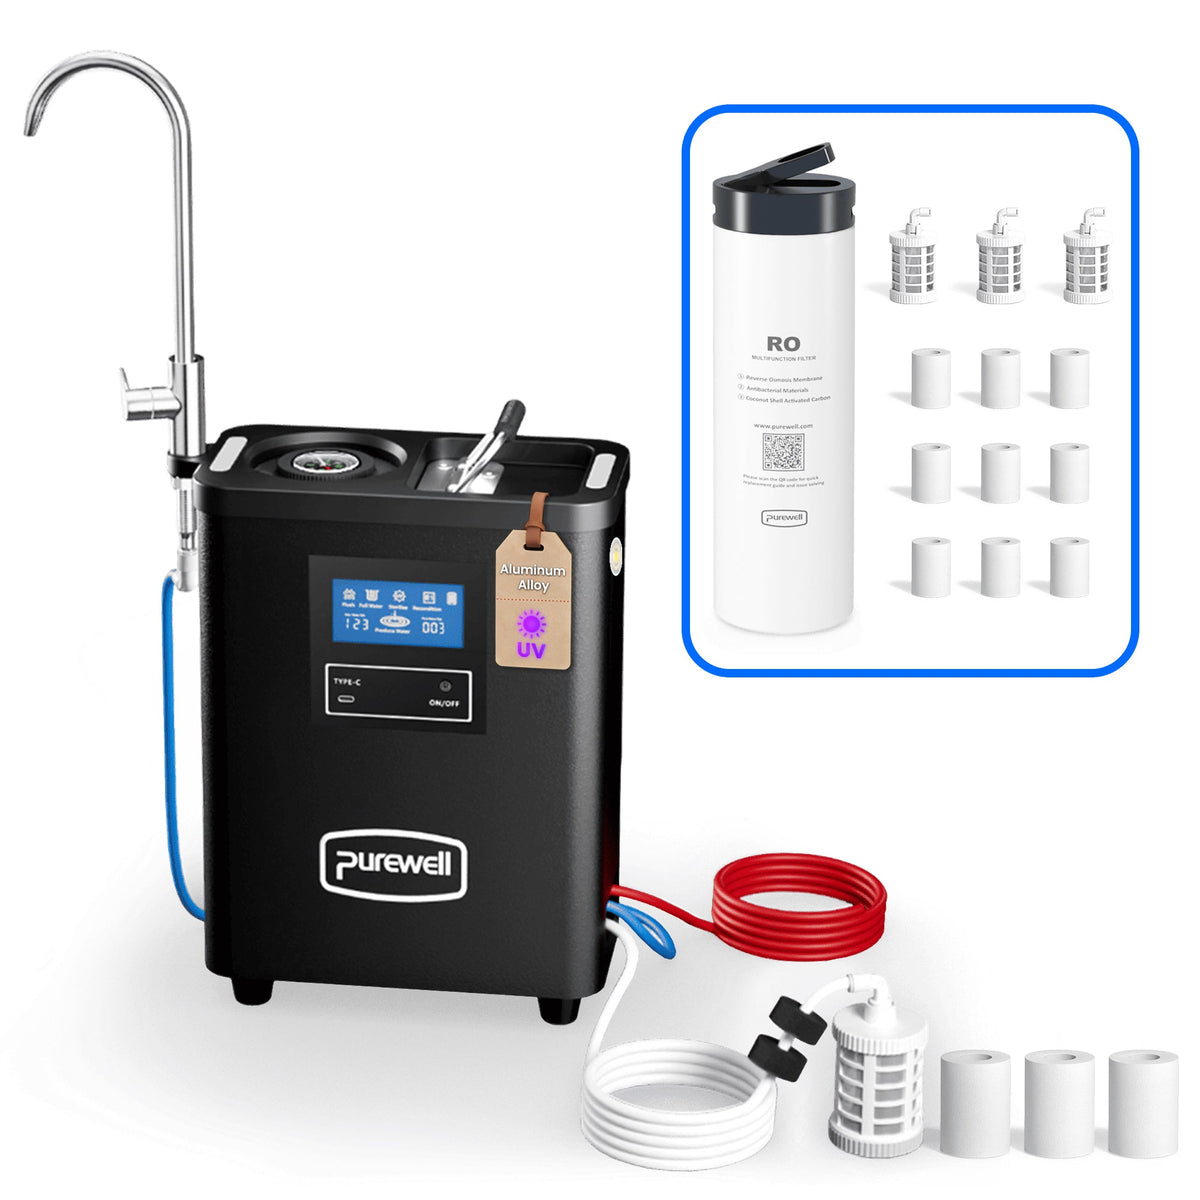
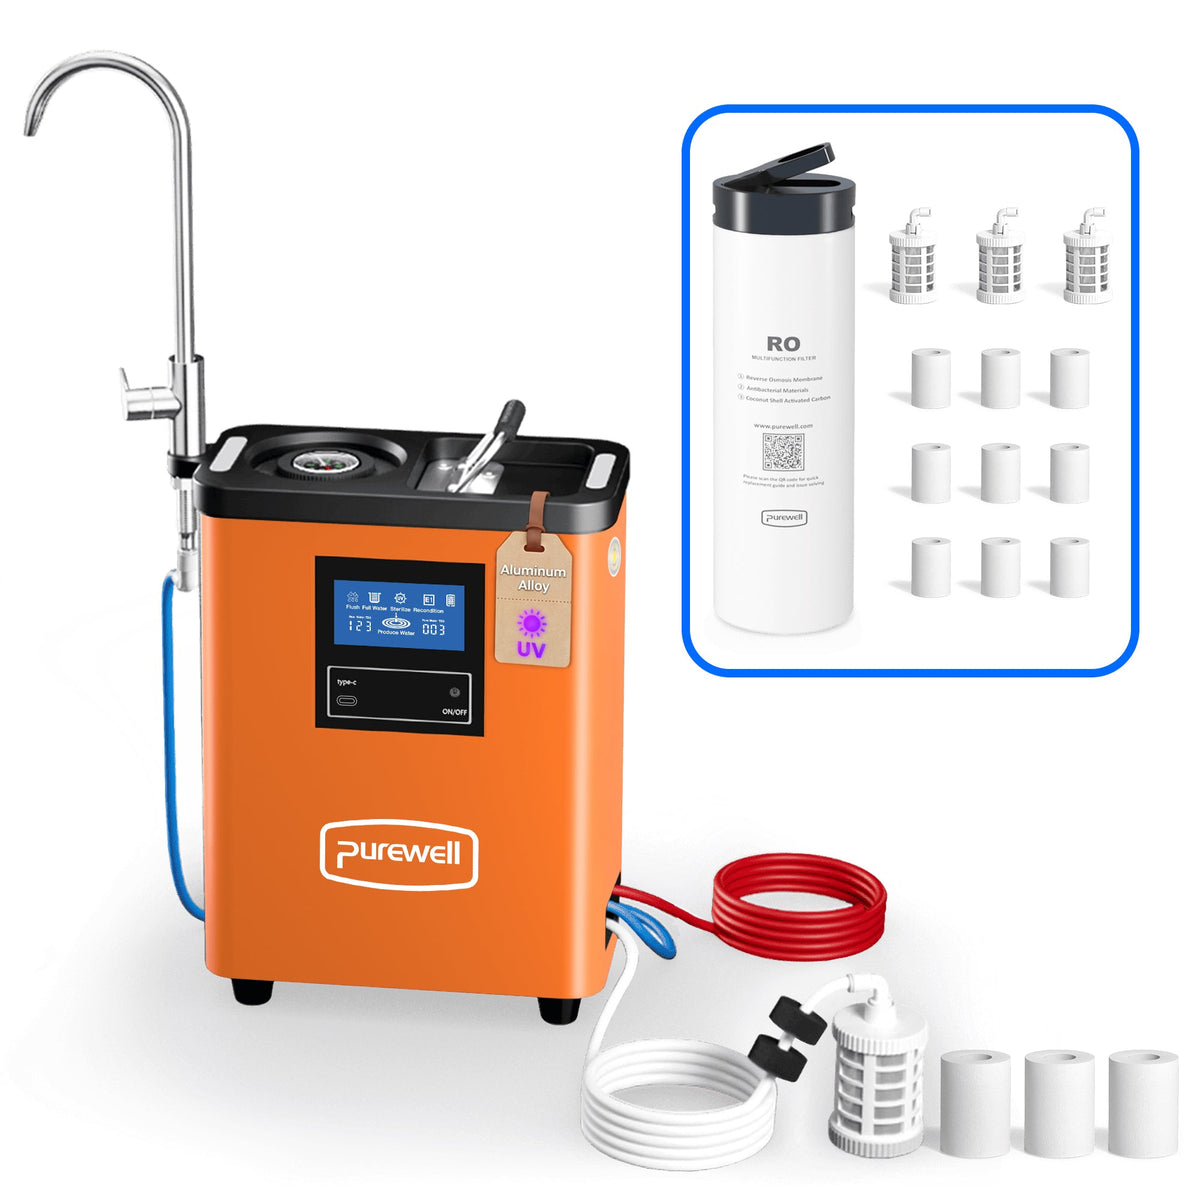
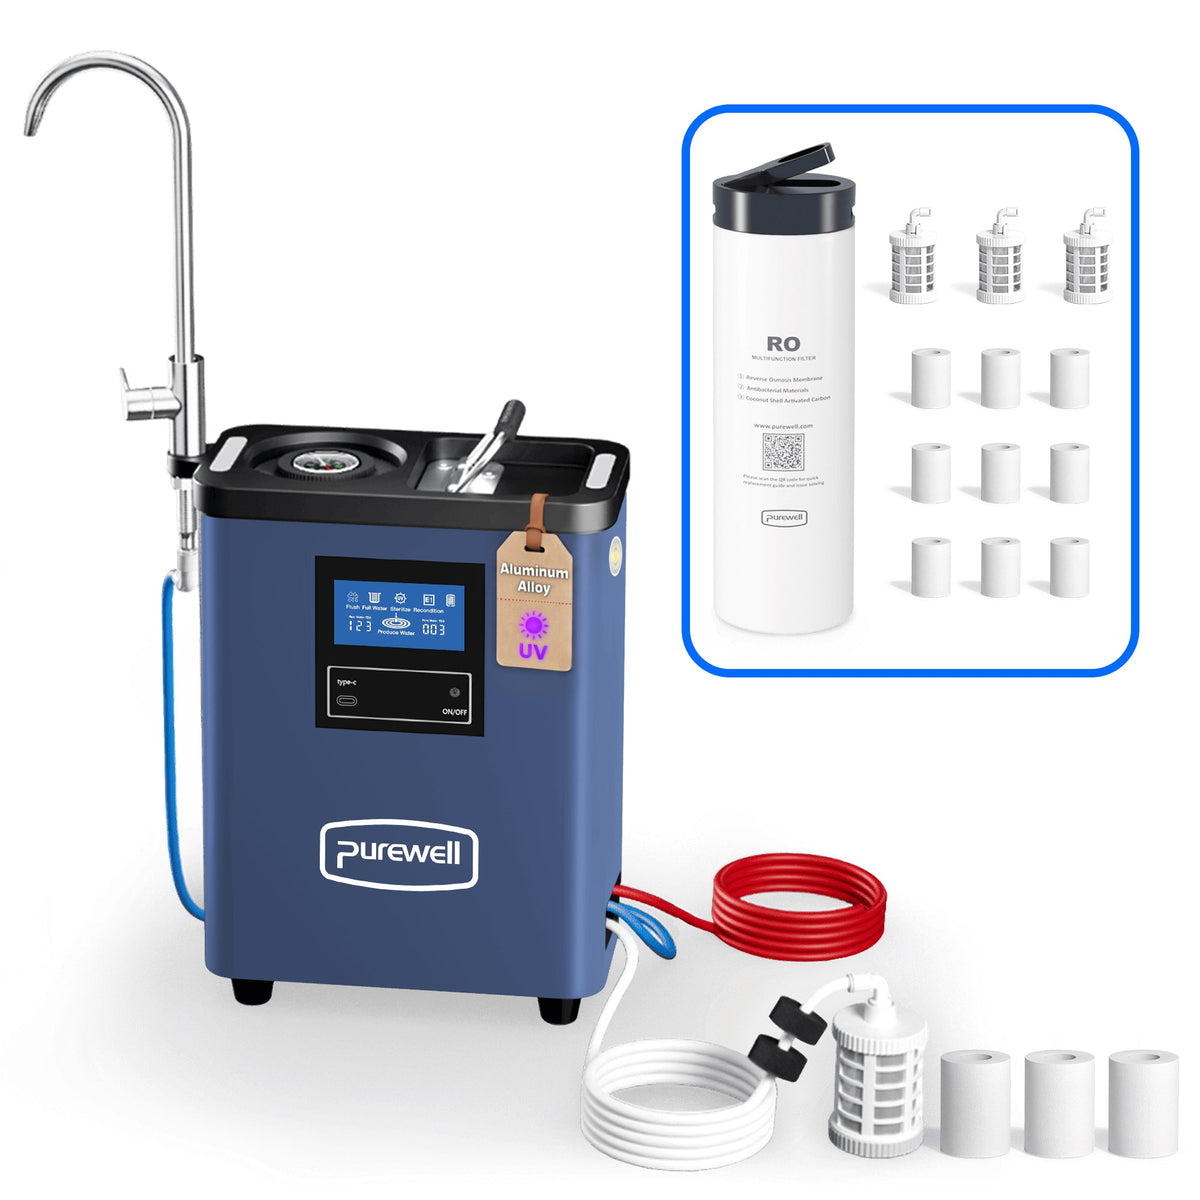
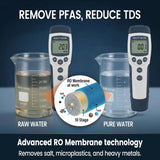
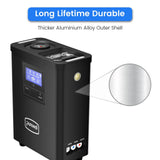
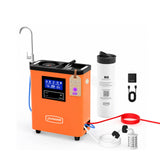
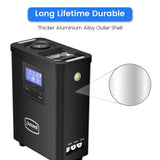
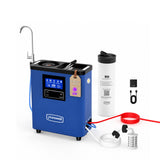
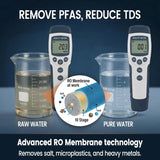
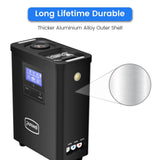
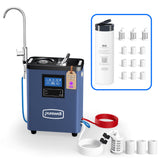
Profitez d'une eau plus propre où que votre voyage vous mène. Le système portable de filtration d'eau RO combine la préfiltration, le charbon actif, la technologie de membrane RO, le traitement UV et la surveillance du TDS en temps réel dans une unité rechargeable – idéal pour le camping, les voyages en camping-car, les urgences et l'utilisation d'eau douce en extérieur.

Ask about Système portable de filtre à eau RO(UK&ER)

Détails du produit

Aperçu du produit

01
Nom du Produit Système de filtre à eau portable par osmose inverse

Un système de purification par osmose inverse rechargeable conçu pour le camping, les voyages en camping-car, l'utilisation hors réseau et la préparation aux urgences.

N° de modèle K8680

Système portable électrique de purification par osmose inverse avec surveillance du TDS, traitement UV, éclairage et multiples raccordements d'eau.

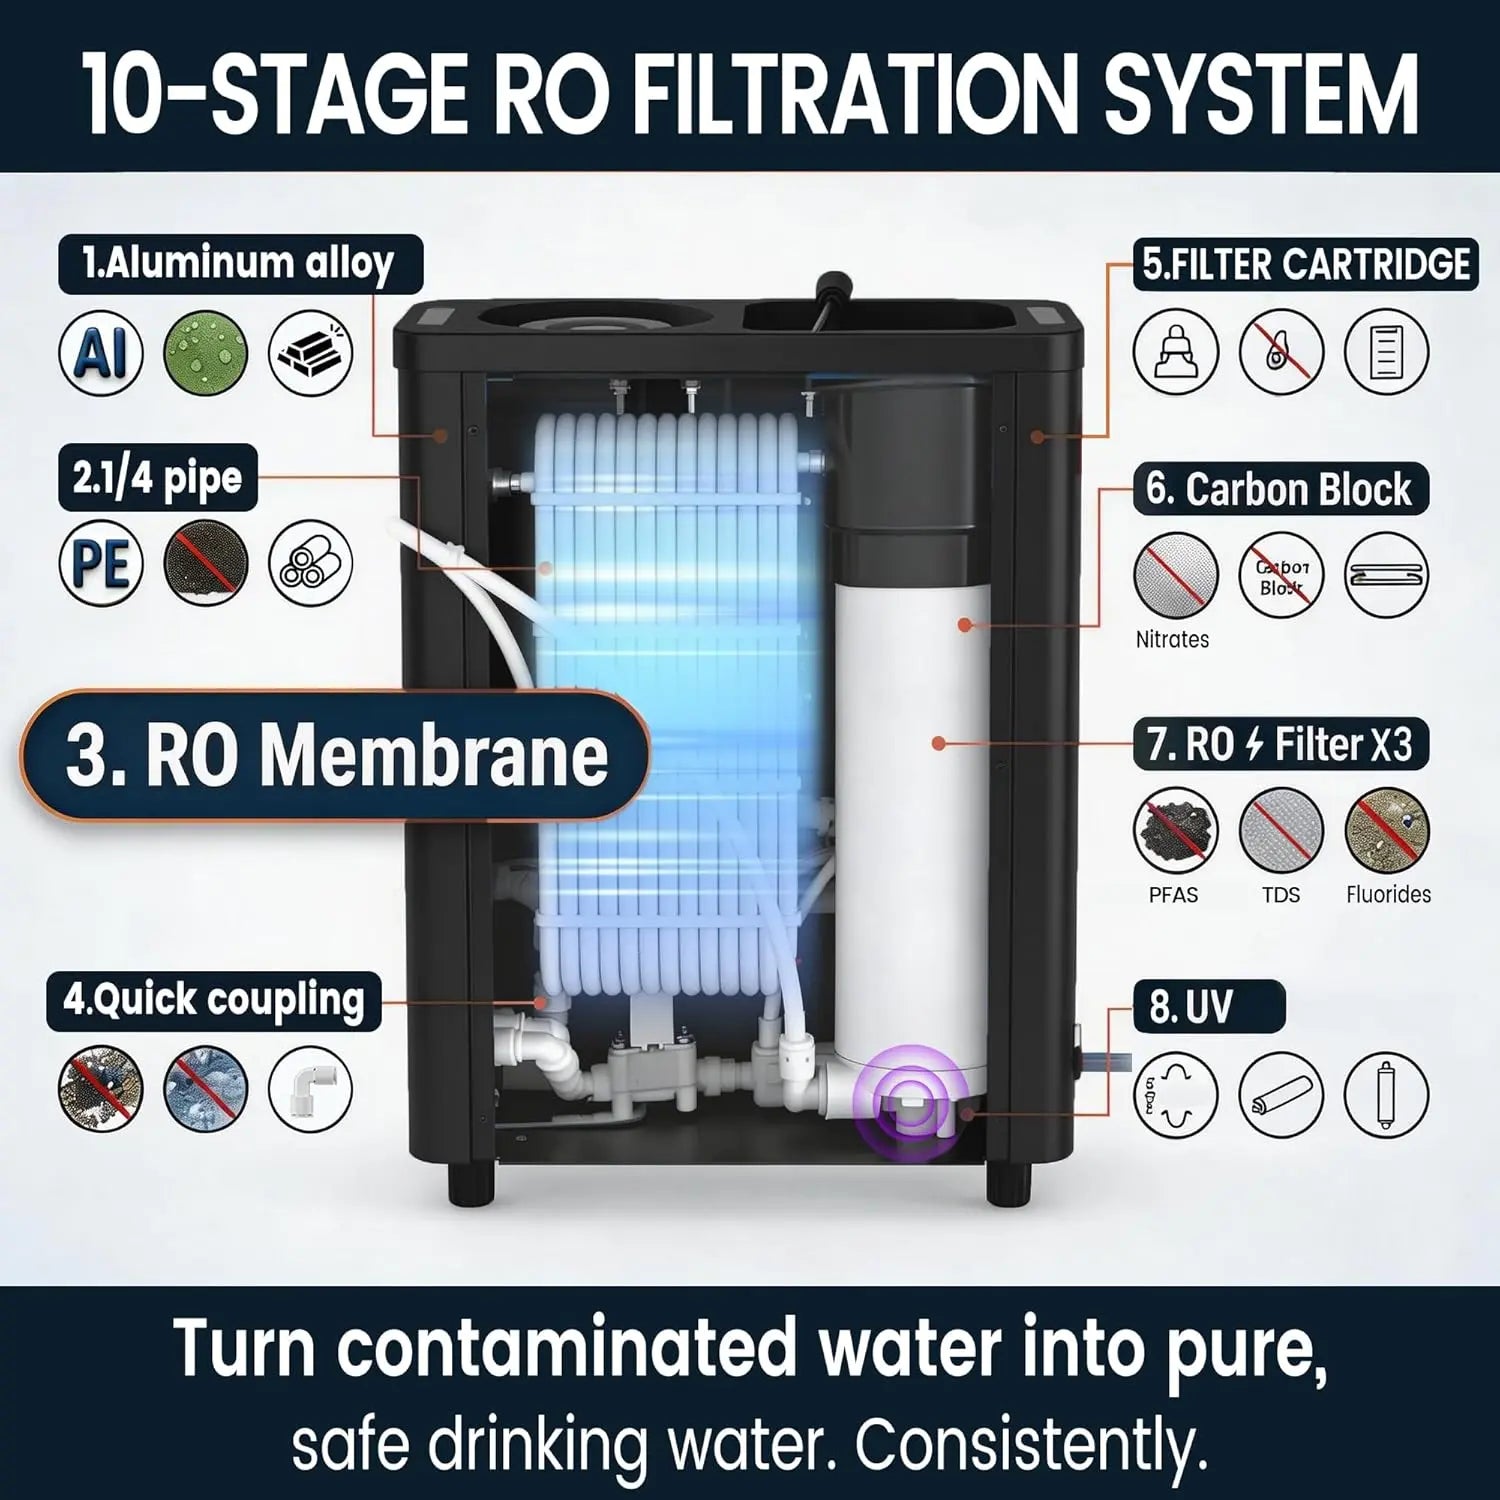
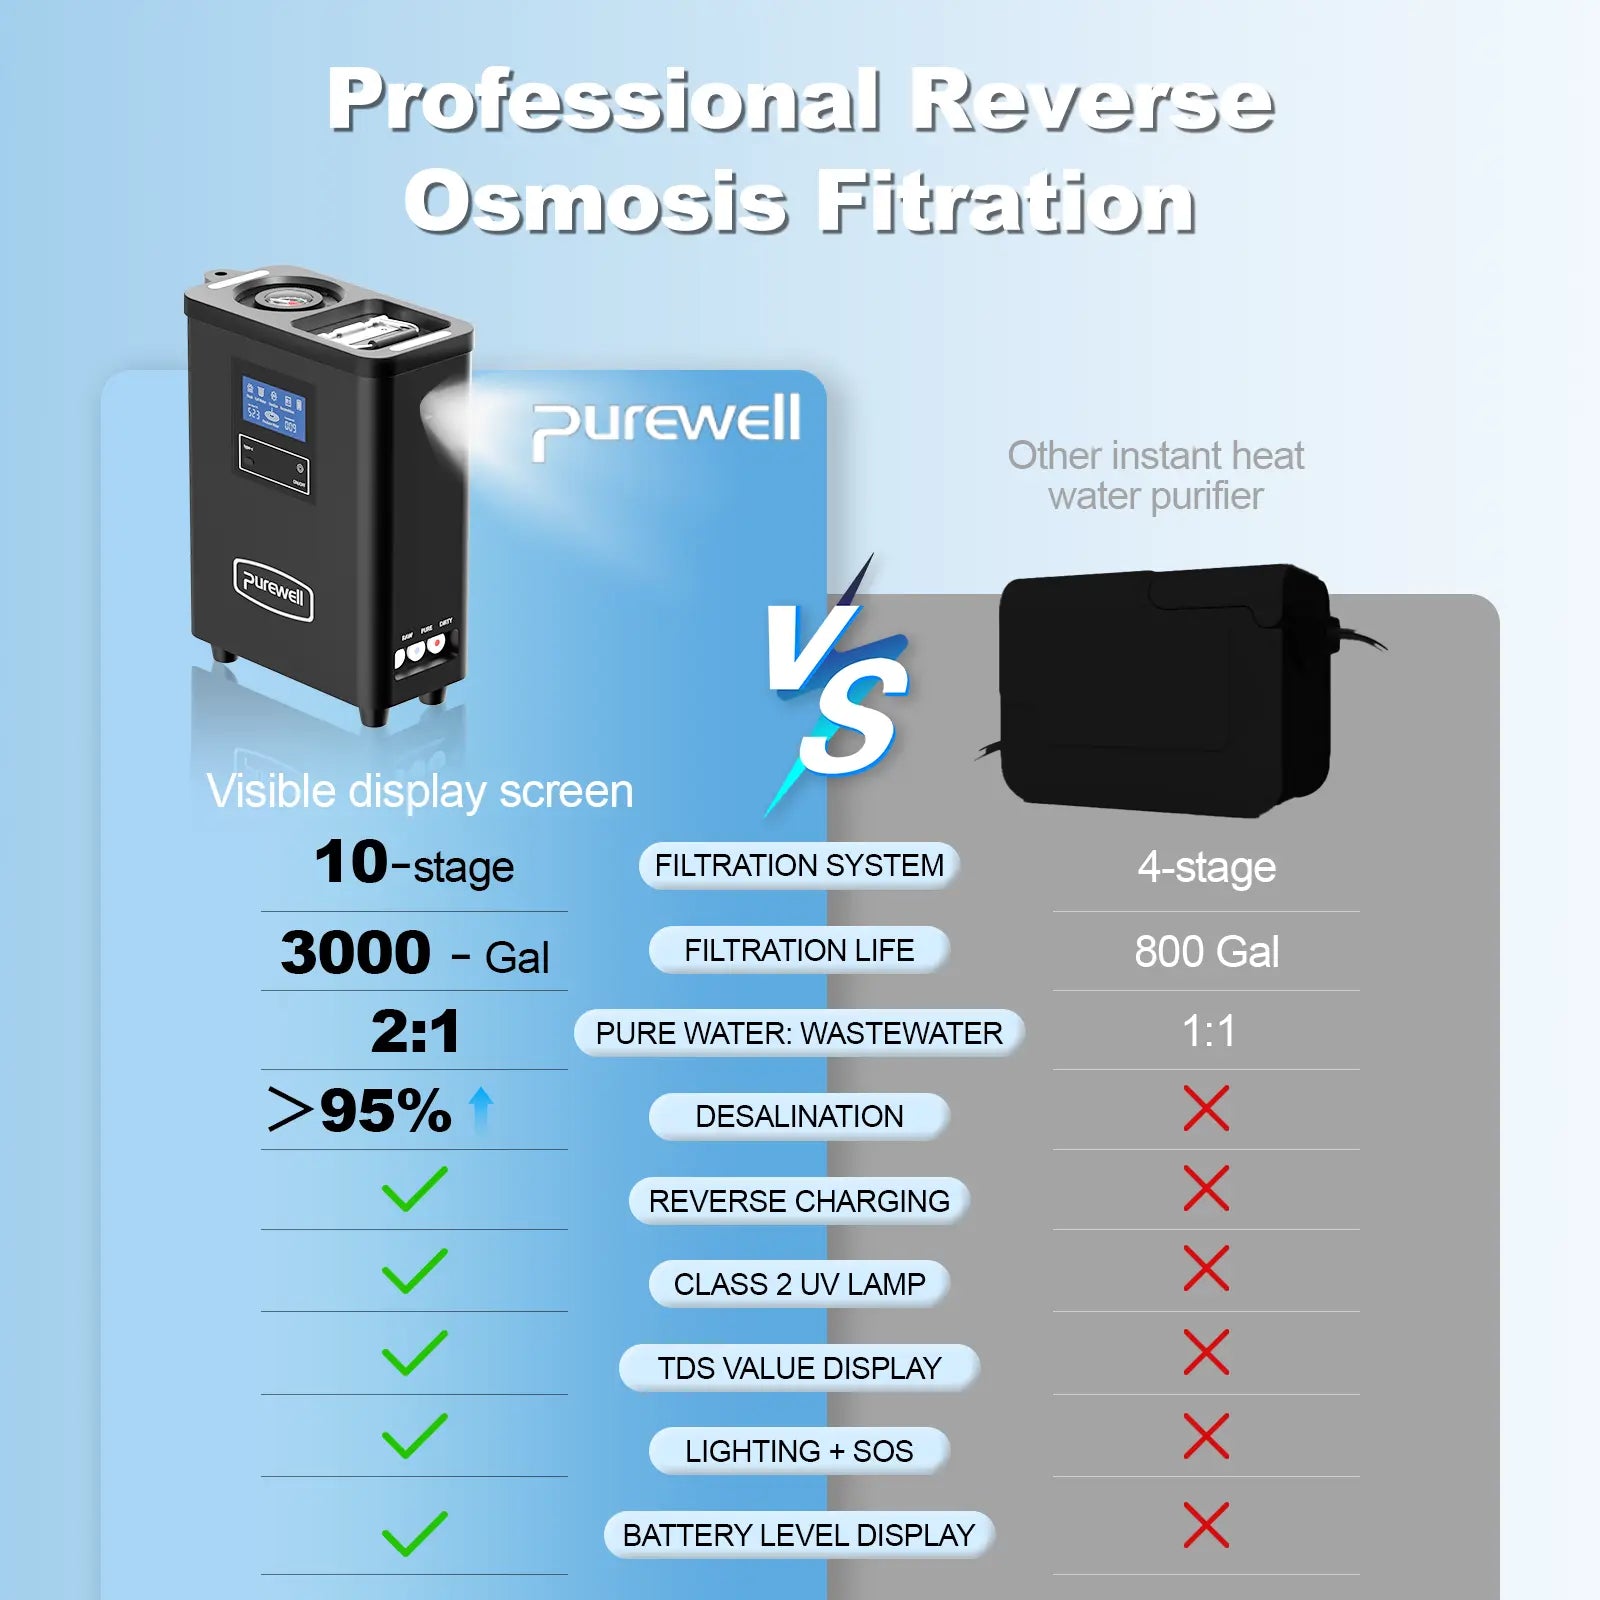
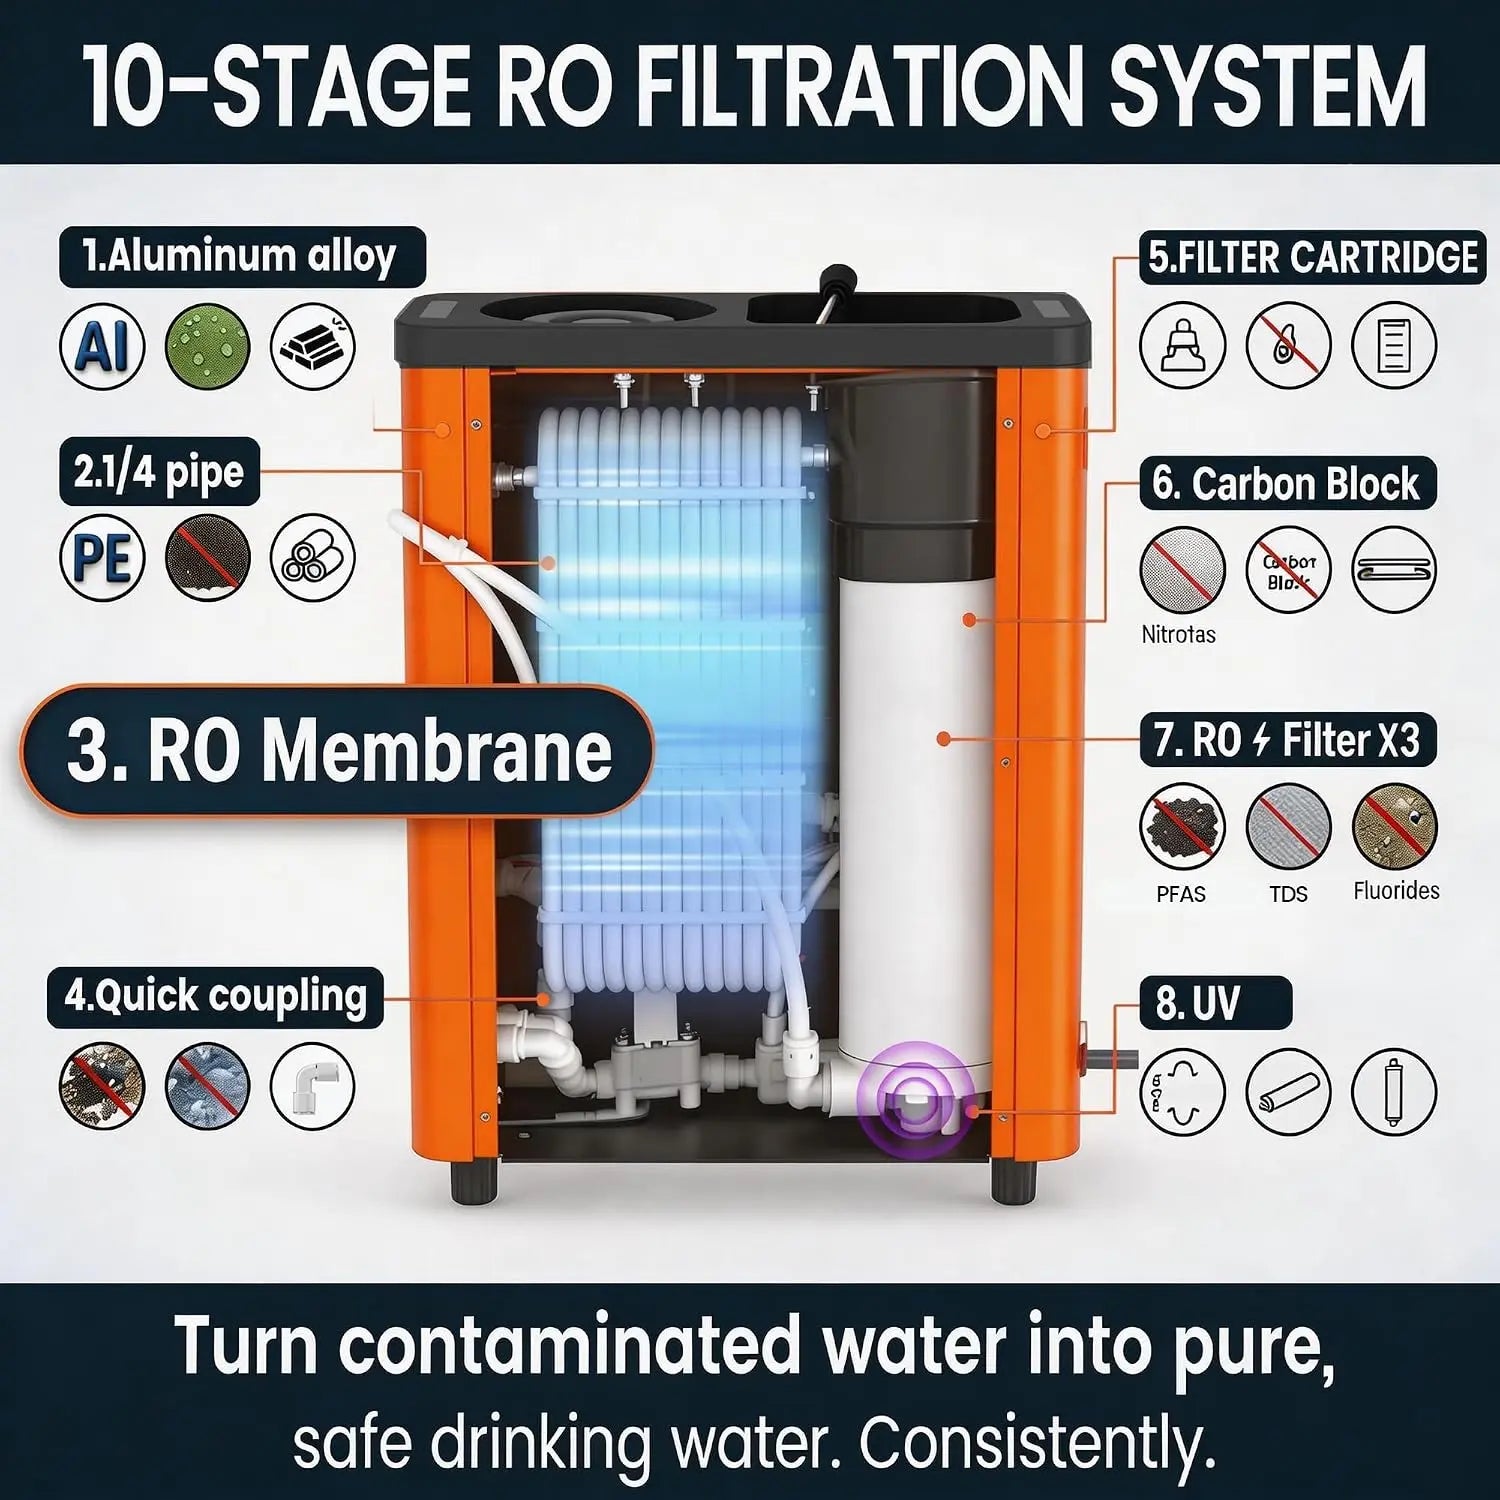
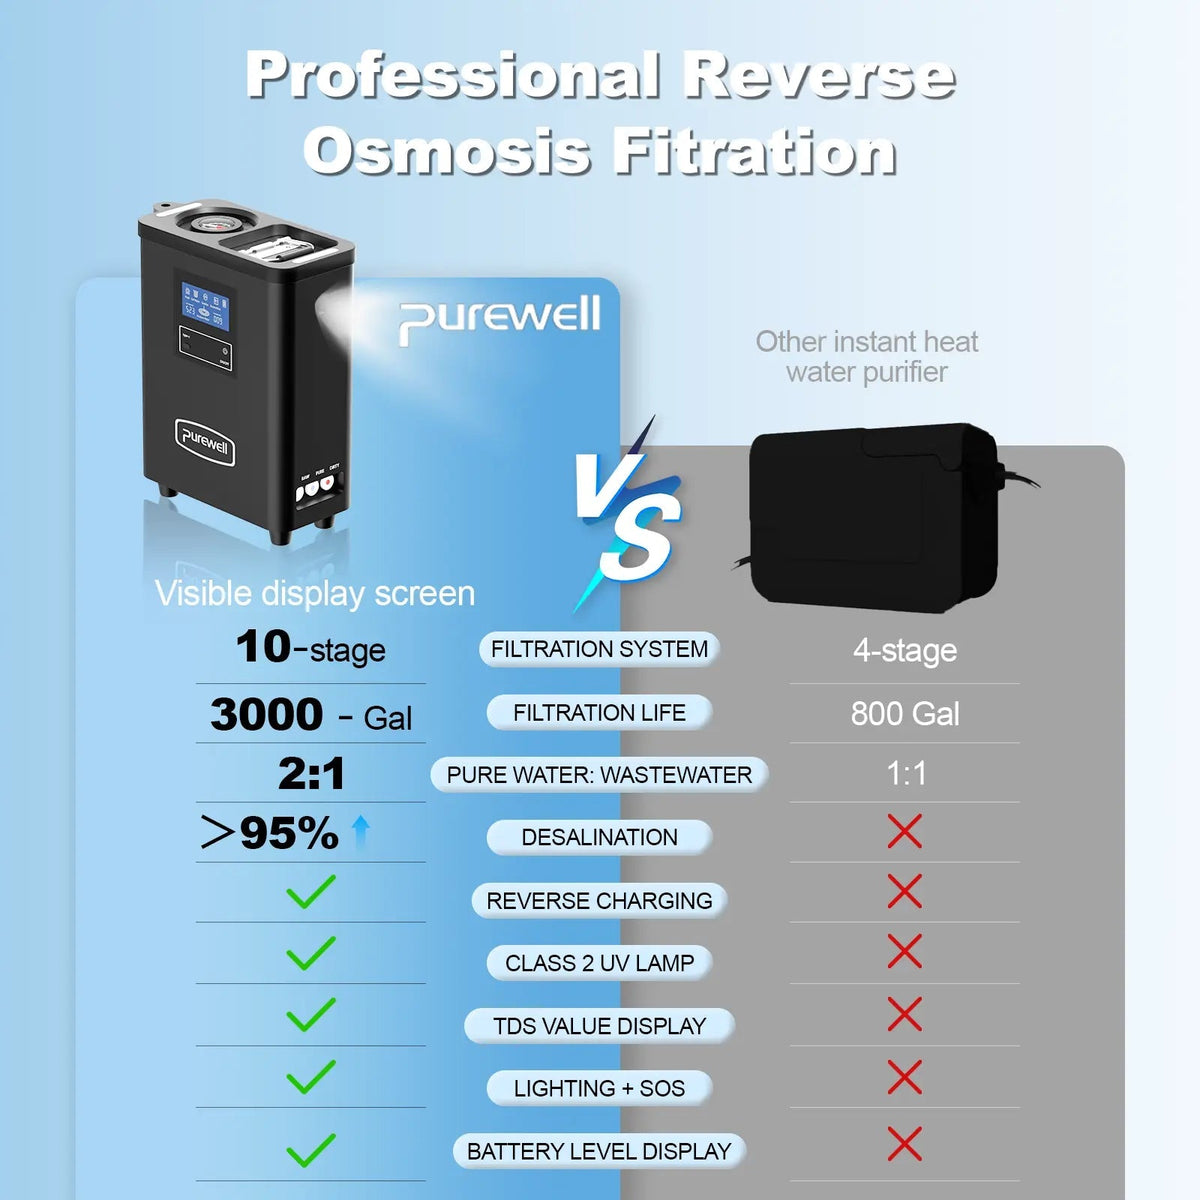
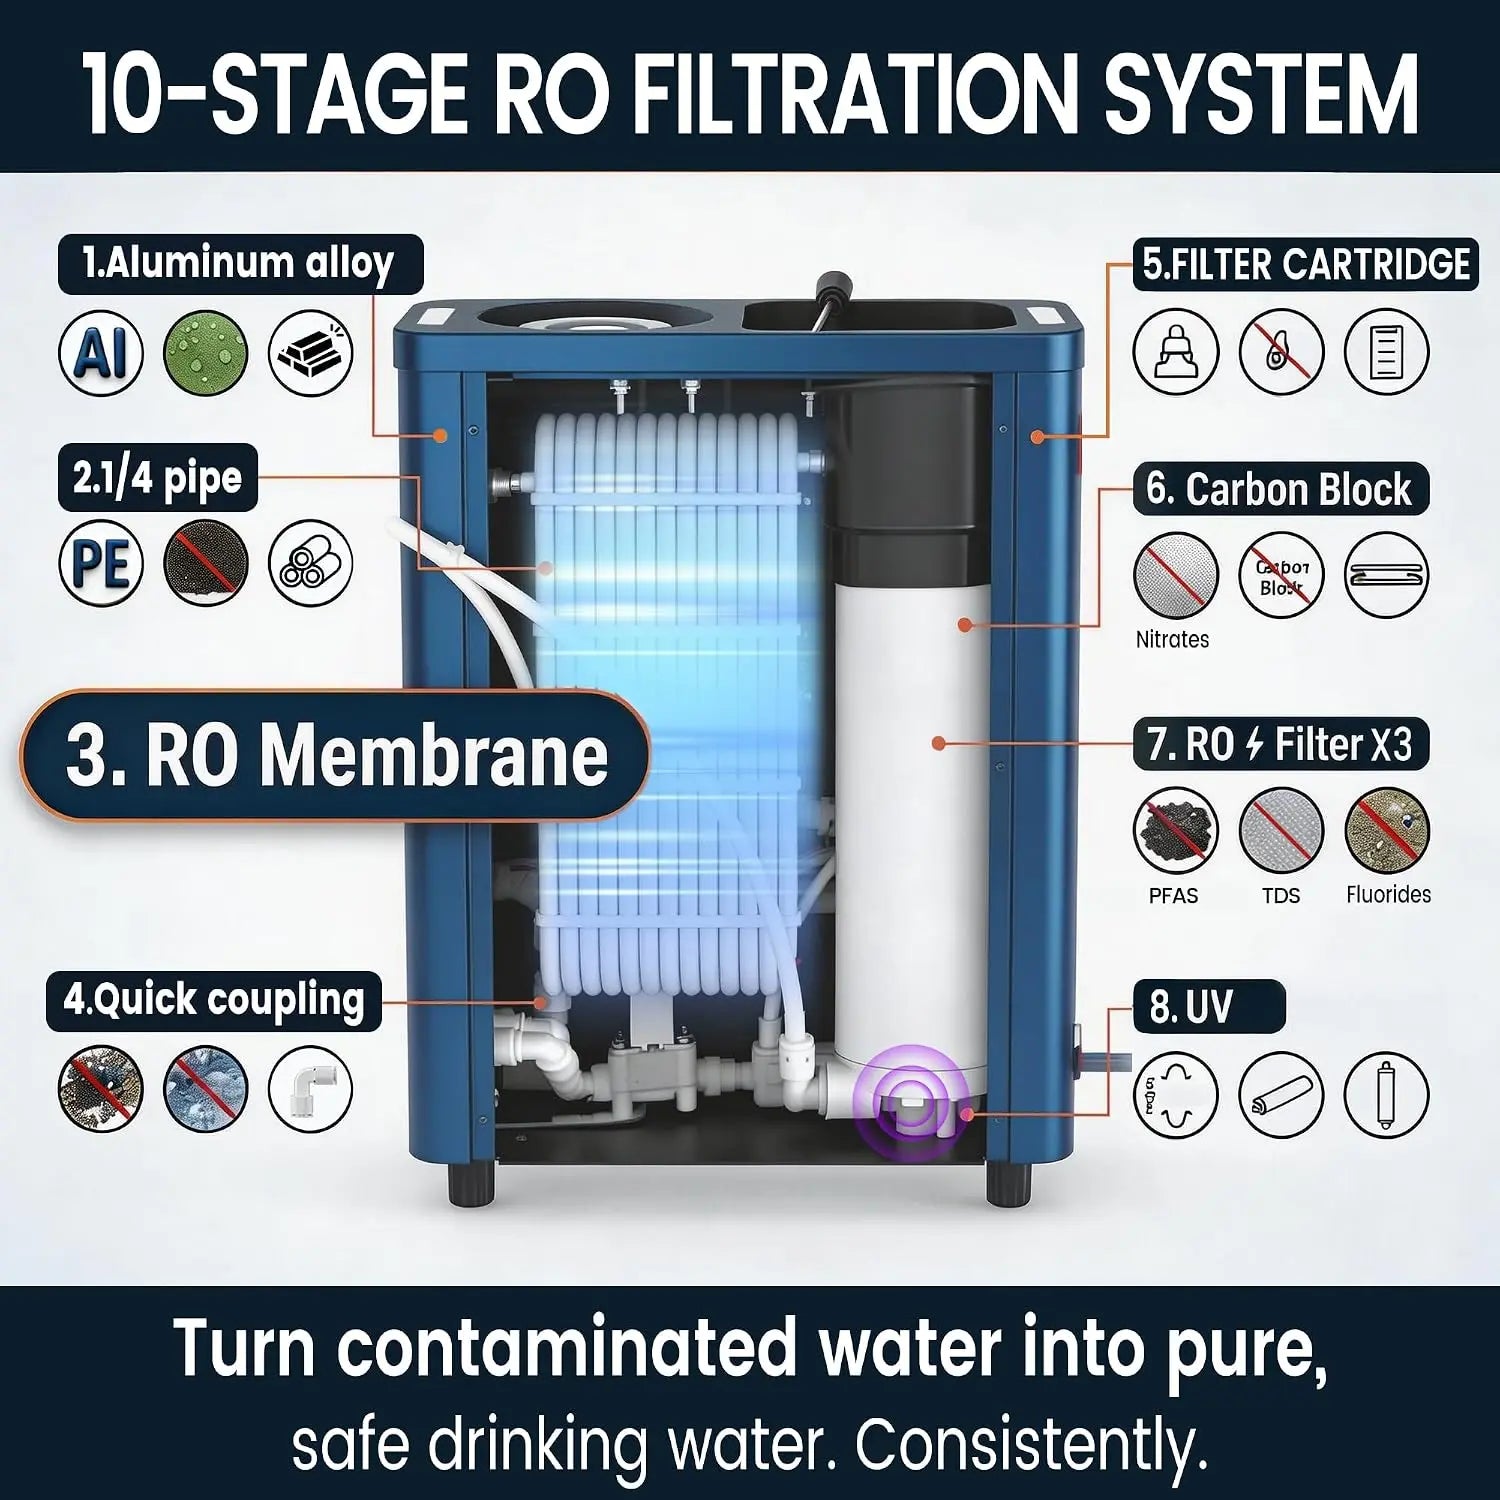
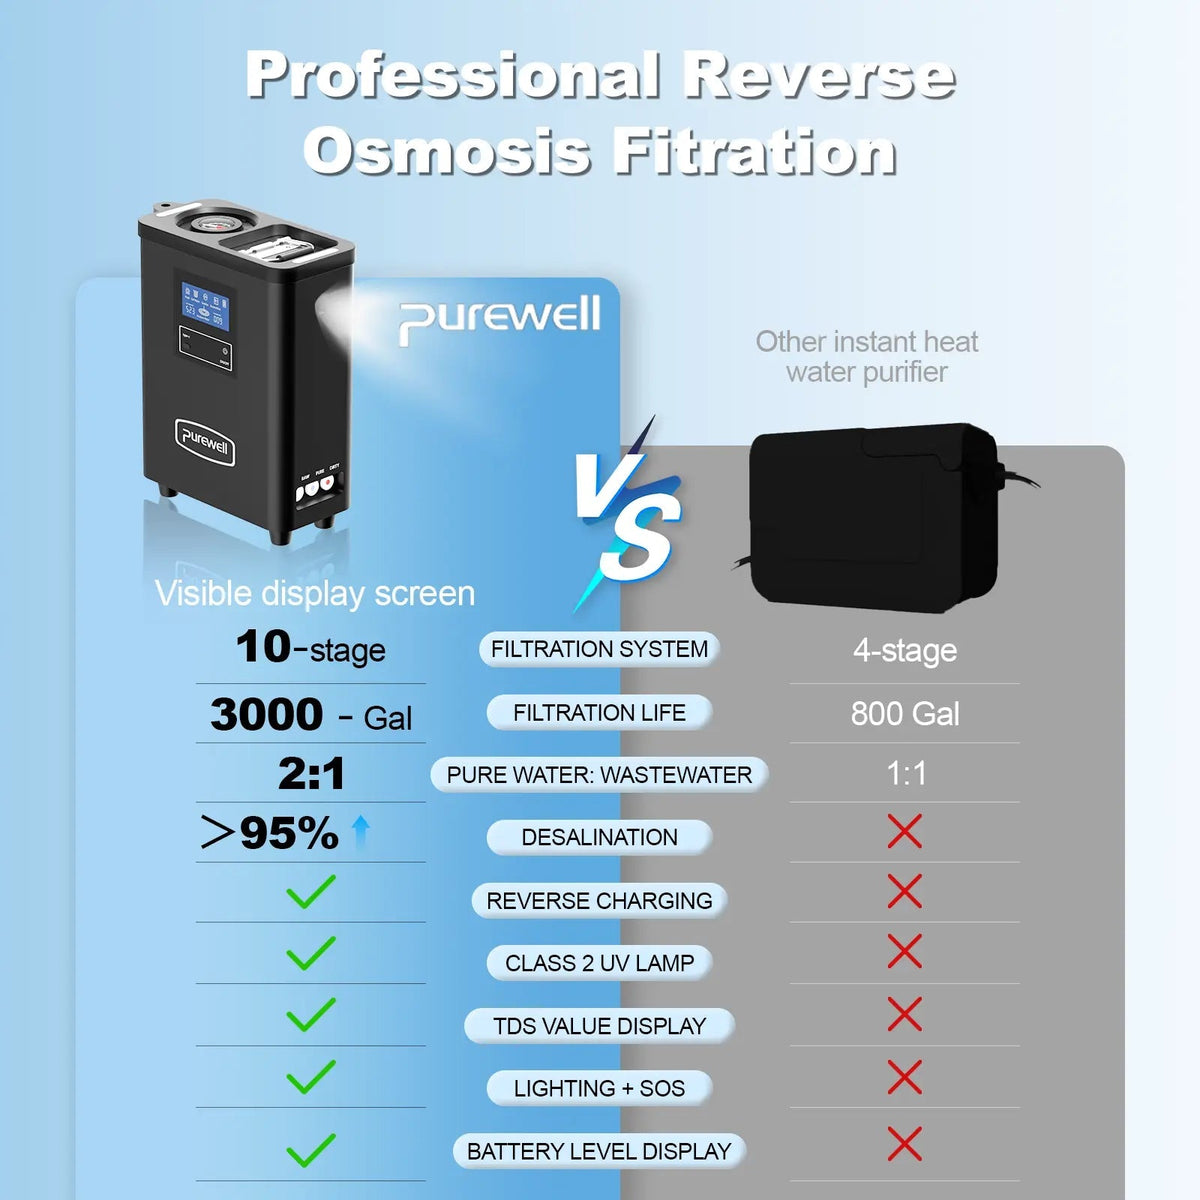
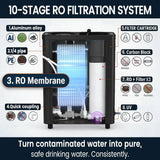
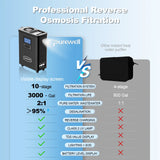
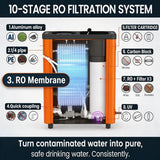
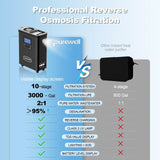
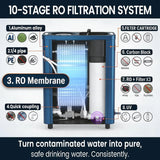
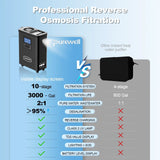
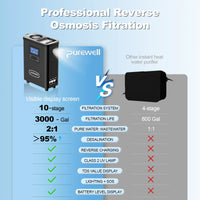
Niveau de filtration Filtration en 10 étapes

Combine préfiltration, charbon actif, filtration par membrane d'osmose inverse et traitement UV.

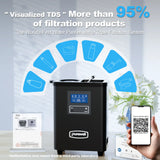
Taux de dessalement 95%

Conçu pour réduire les solides dissous dans les sources générales d'eau douce en extérieur.

Eau pure vers eau usée 2:1

Le rapport indiqué est basé sur les spécifications de fonctionnement fournies dans le manuel du produit.

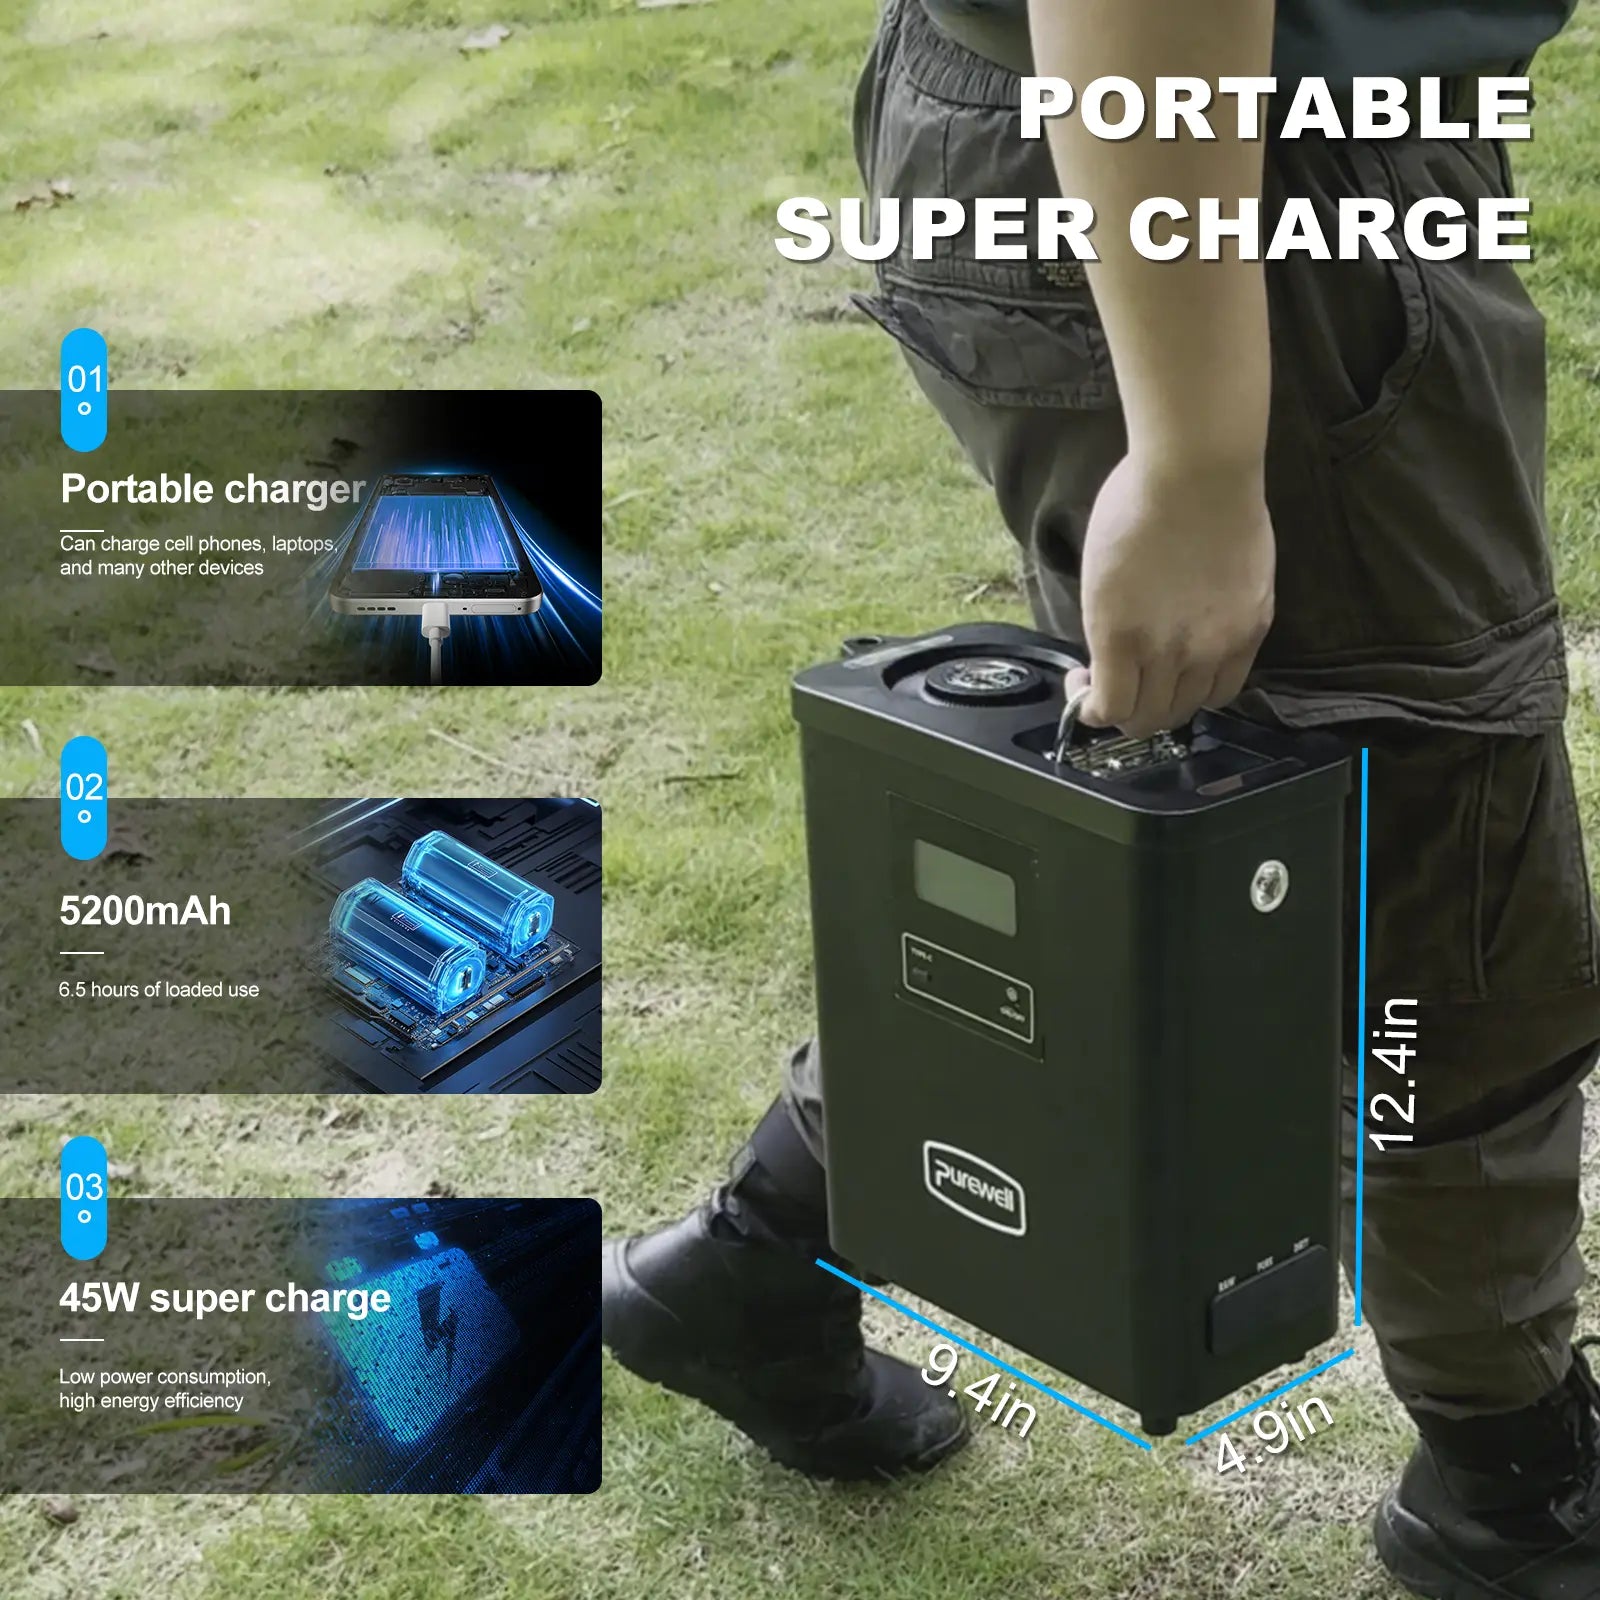
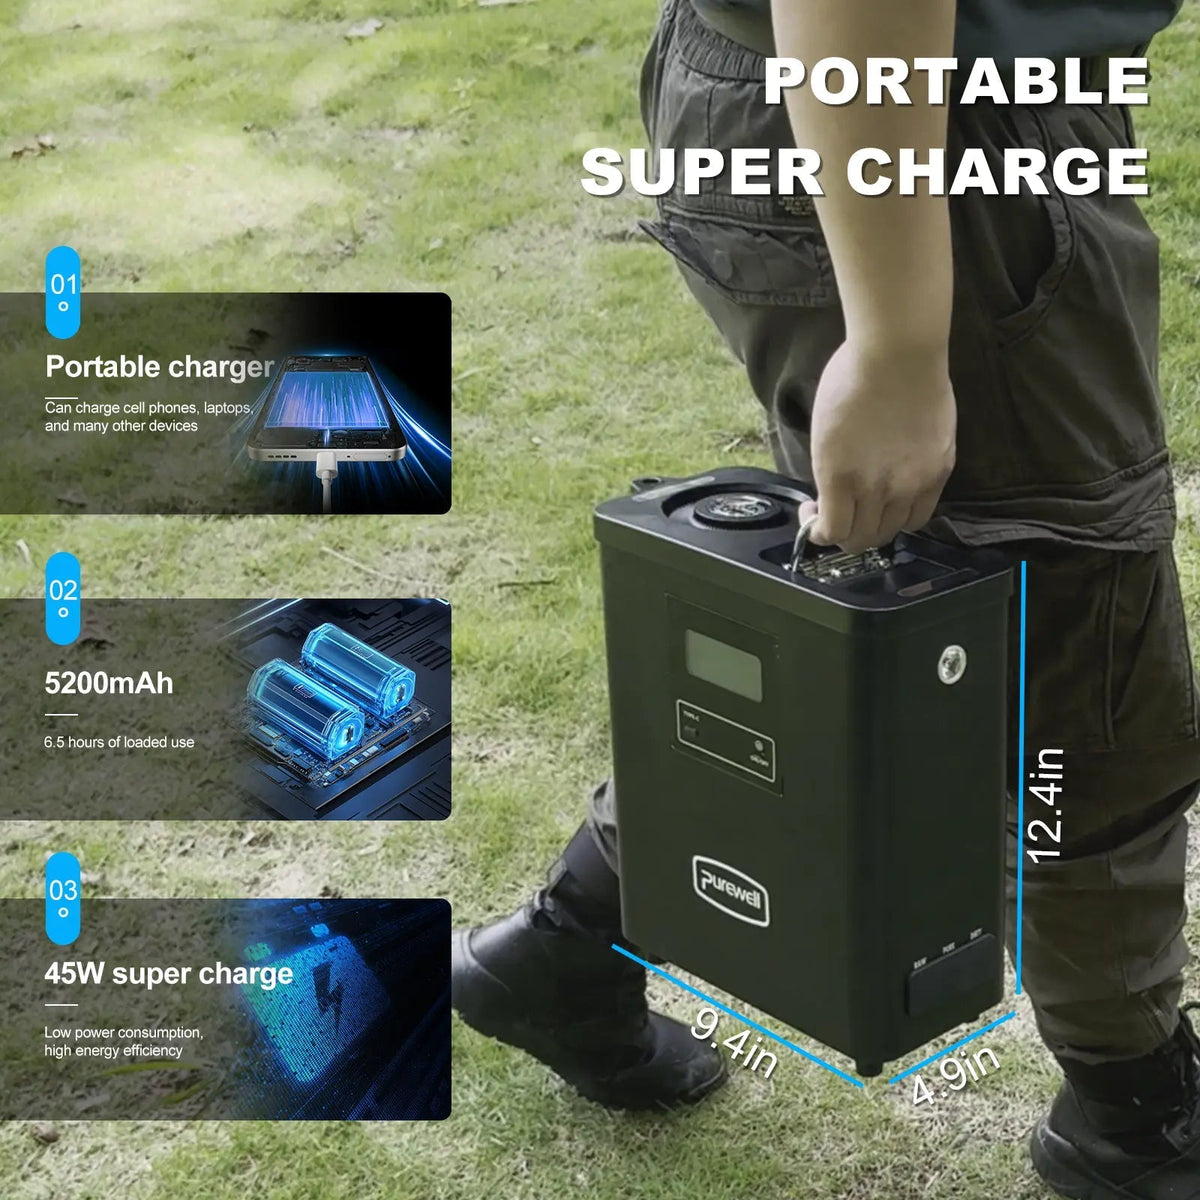
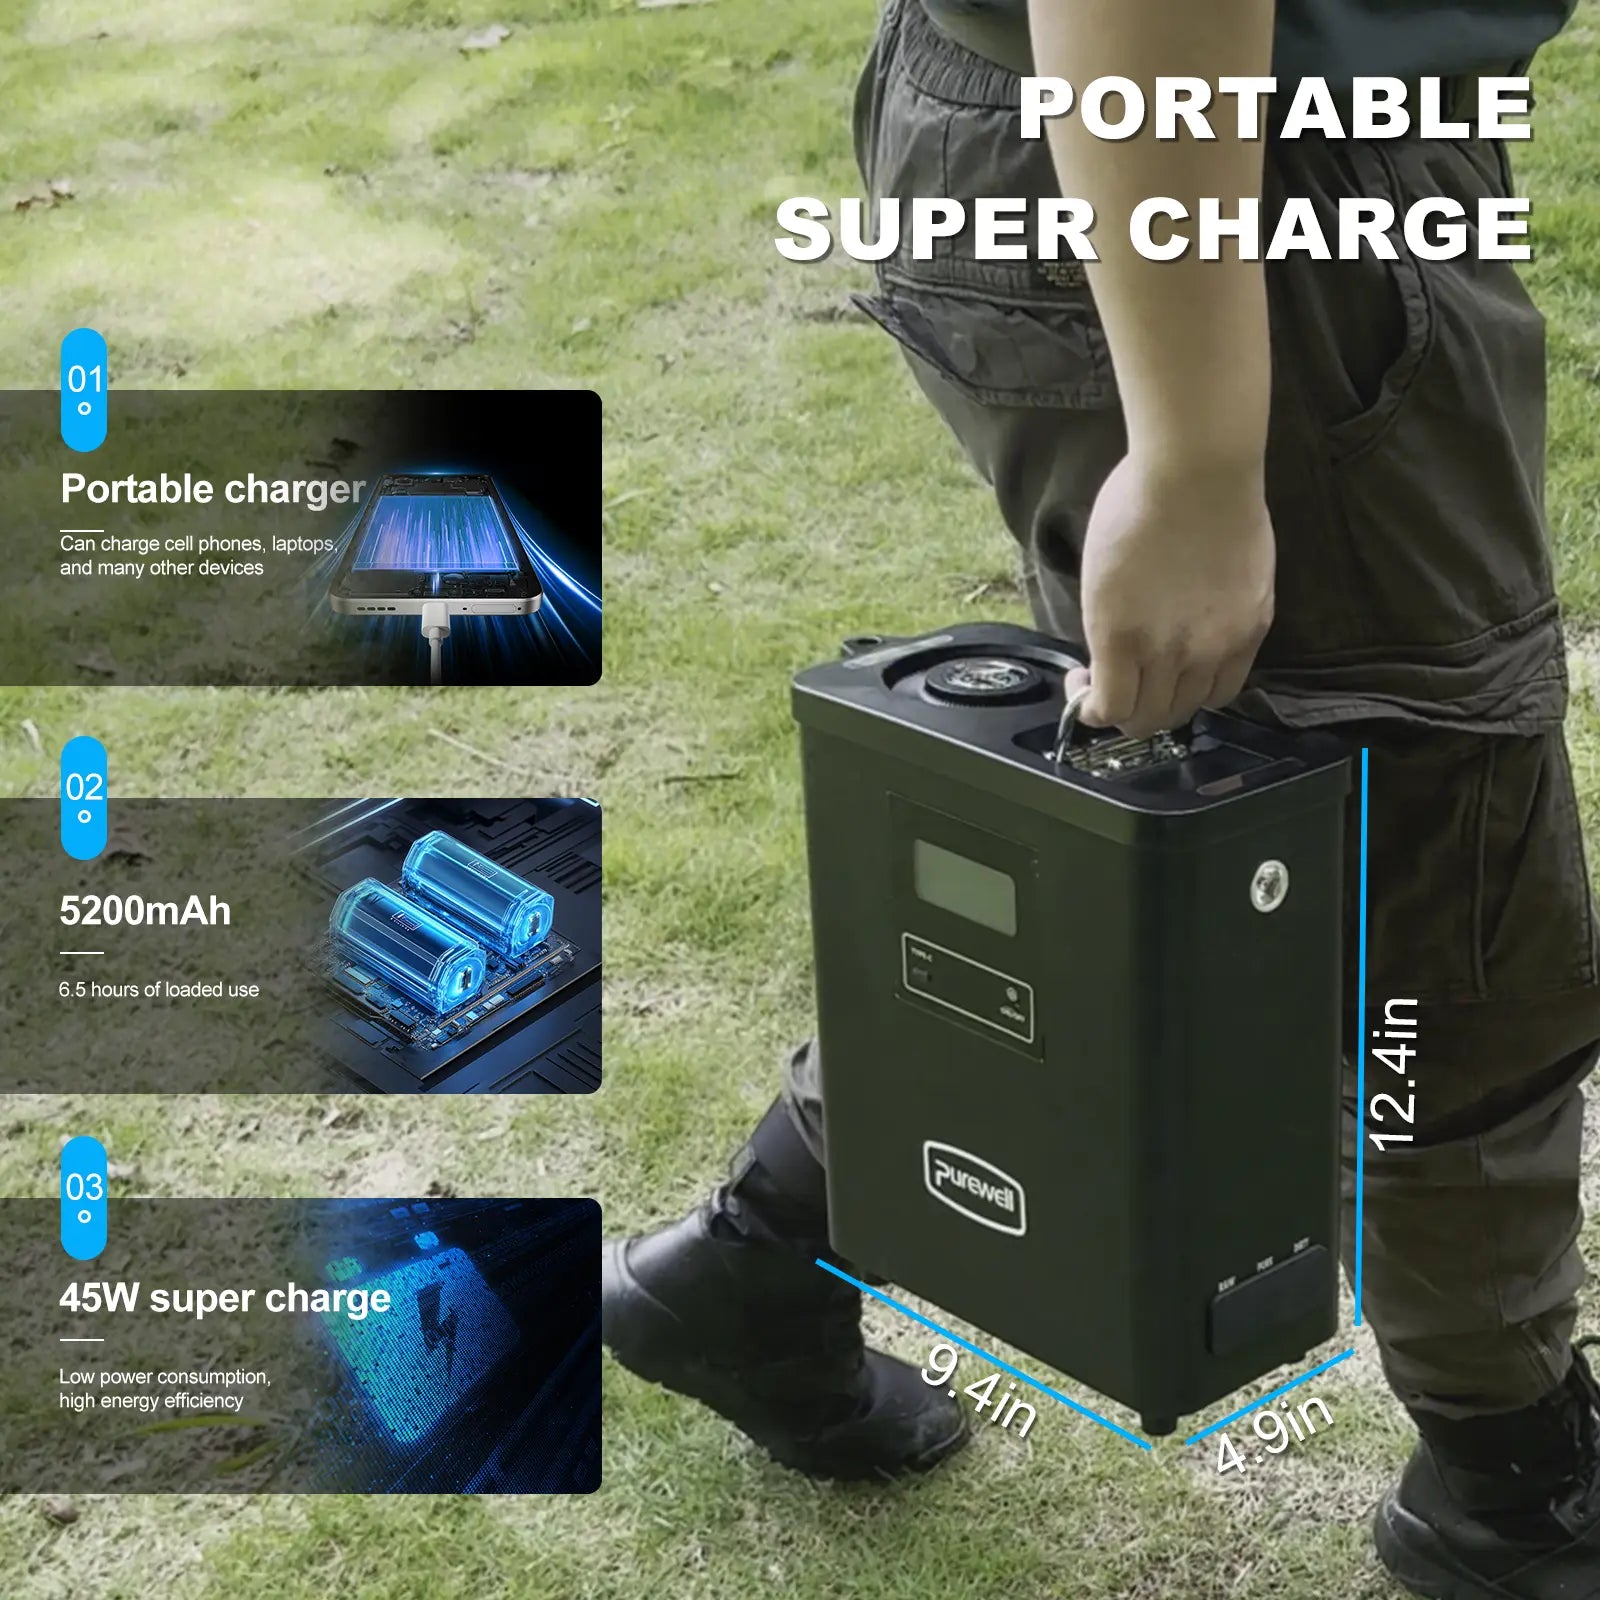
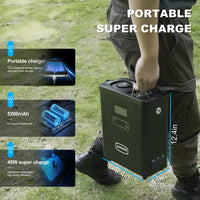
Taille du produit 240 × 125 × 315 mm

Environ 9.45 × 4.92 × 12.40 pouces.

Poids Net / Brut 9.3 lb / 13.7 lb

Convient au camping assisté par véhicule, aux voyages en camping-car, à l'usage collectif en extérieur et au stockage d'urgence.

Source d'eau Sources Générales d'Eau Douce en Extérieur

Utilisez la source d'eau douce la plus claire disponible chaque fois que possible pour favoriser un meilleur débit et une durée de vie plus longue du filtre.

Avis concernant la source d'eau : Ce système est conçu pour les sources d'eau douce générales en extérieur. Il n'est pas destiné à l'eau de mer, à l'eau contaminée chimiquement, aux eaux usées industrielles ni à l'eau hors de la plage de température recommandée.

Filtration par Osmose Inverse & Traitement UV

02

Plusieurs niveaux de traitement dans un seul système portable

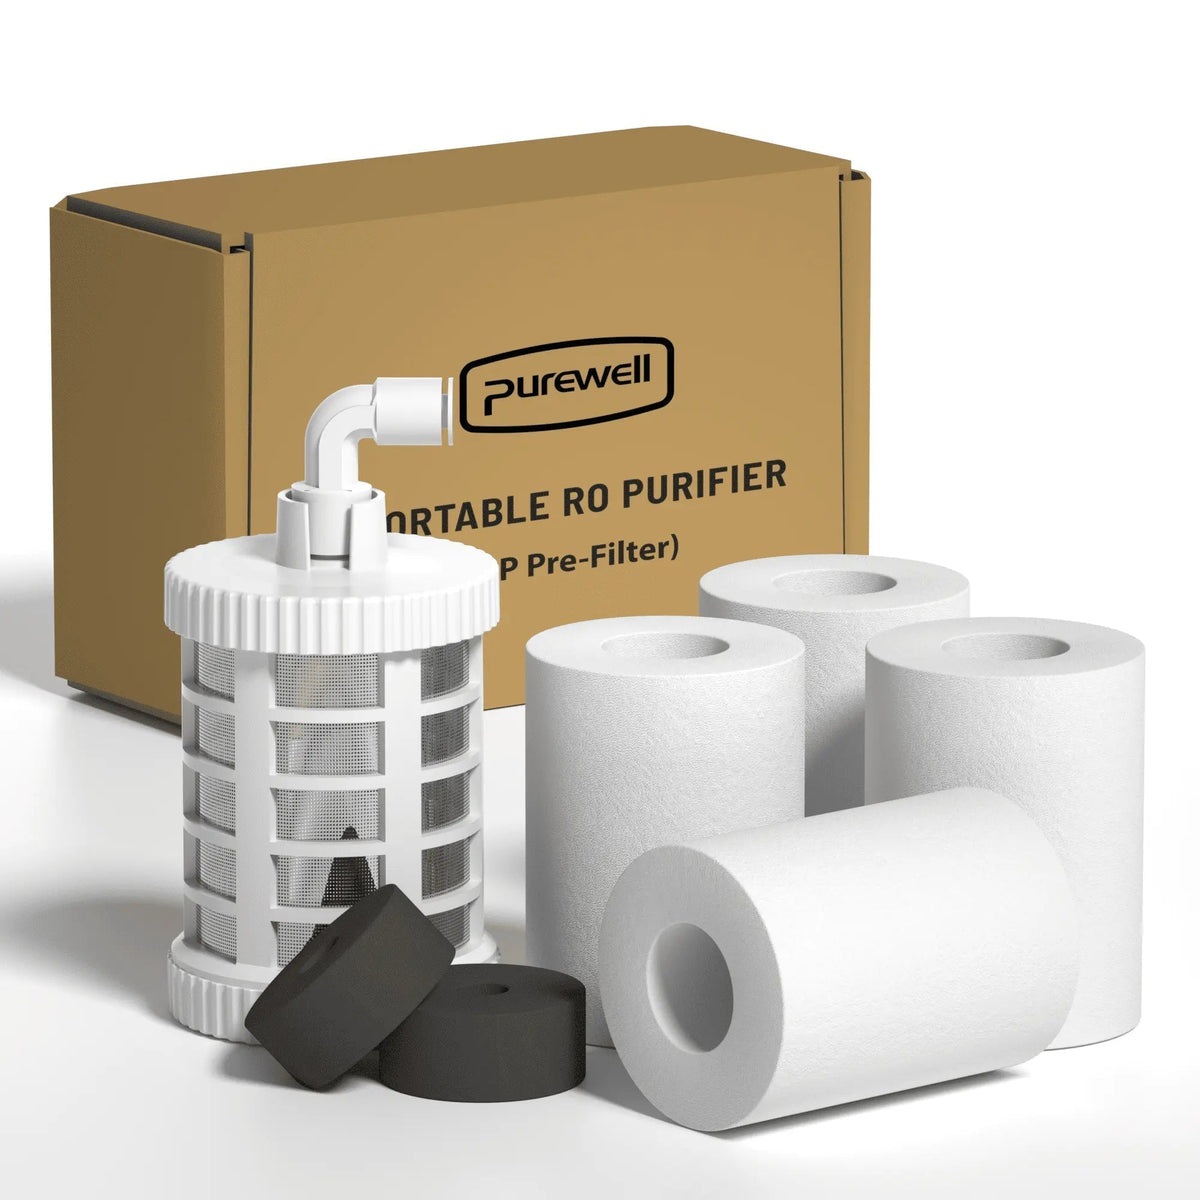
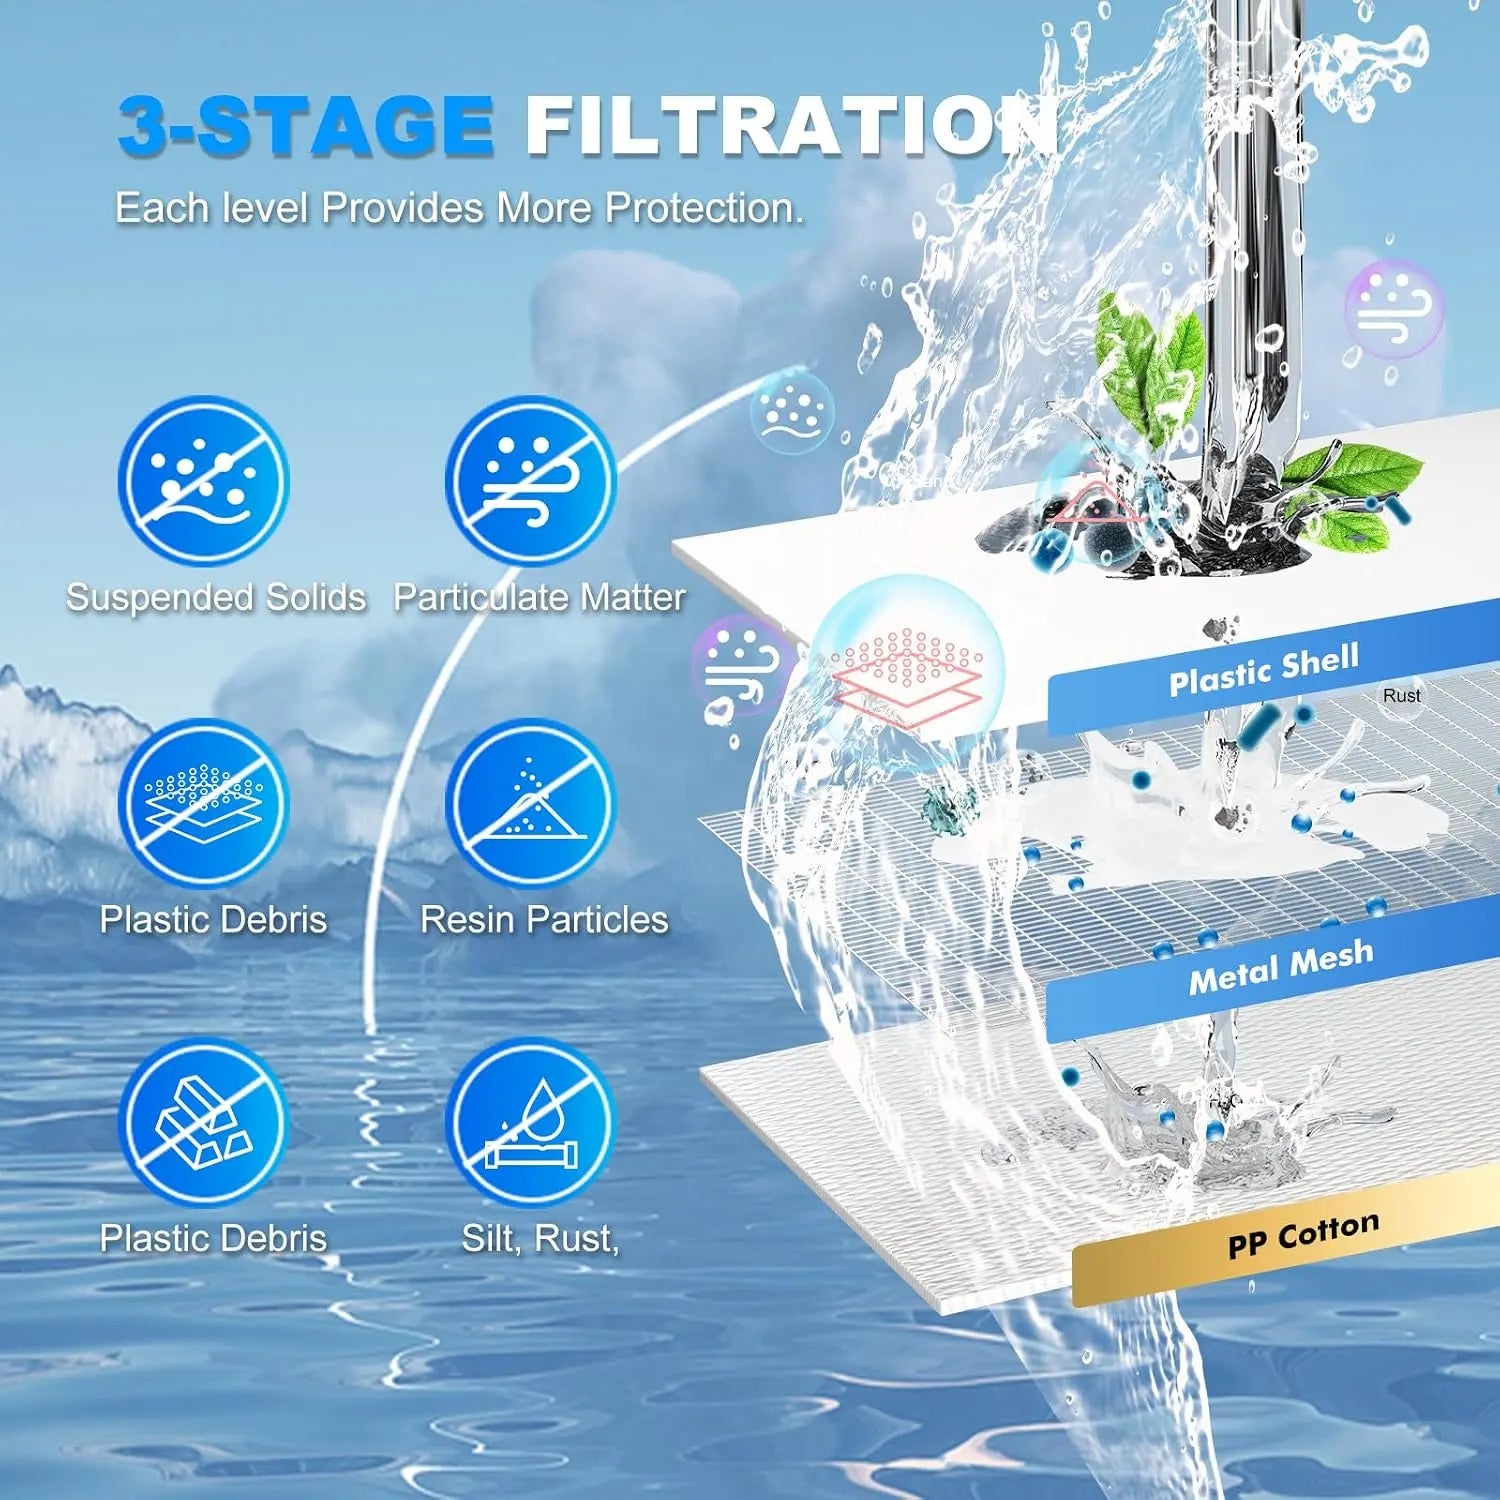
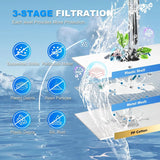
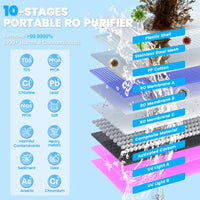
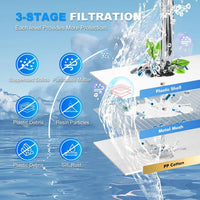
Le K8680 combine un préfiltre d'admission réutilisable, du coton PP, du charbon actif, une membrane d'osmose inverse et un traitement UV. Chaque composant joue un rôle différent avant que l'eau purifiée n'atteigne la sortie bleue PURE.

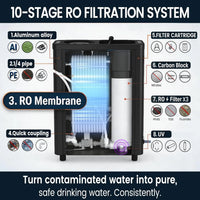
Système complet Traitement de l'Eau en 10 Étapes

Le traitement en plusieurs étapes aide à gérer les débris visibles, les sédiments, le goût, l'odeur, les solides dissous et les micro-organismes dans les sources d'eau douce extérieures.

Préfiltre Coton PP Charbon actif Membrane d'Osmose Inverse Traitement UV
Préfiltre Maille en acier inoxydable

Aide à retenir les débris plus gros tels que brindilles, feuilles, mauvaises herbes et autres matériaux visibles avant que l'eau n'entre dans le système.

Réutilisable Gros débris Entrée extérieure
Nettoyez et entretenez régulièrement
Couche de Préfiltre Coton PP de qualité médicale

Aide à retenir les particules de plus de 5 μm, notamment les micro-sédiments, la rouille, les œufs d'insectes et les débris minéraux.

Particules >5 μm Rouille Sédiment
Capacité nominale : jusqu'à 500 gallons
Couche de la cartouche RO Charbon actif

Aide à réduire la couleur, le chlore, le mauvais goût, les odeurs, les détergents synthétiques et certaines substances organiques.

Réduction du chlore Amélioration du goût Réduction des odeurs
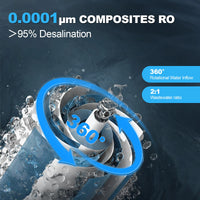
Couche de la cartouche RO Membrane d'osmose inverse

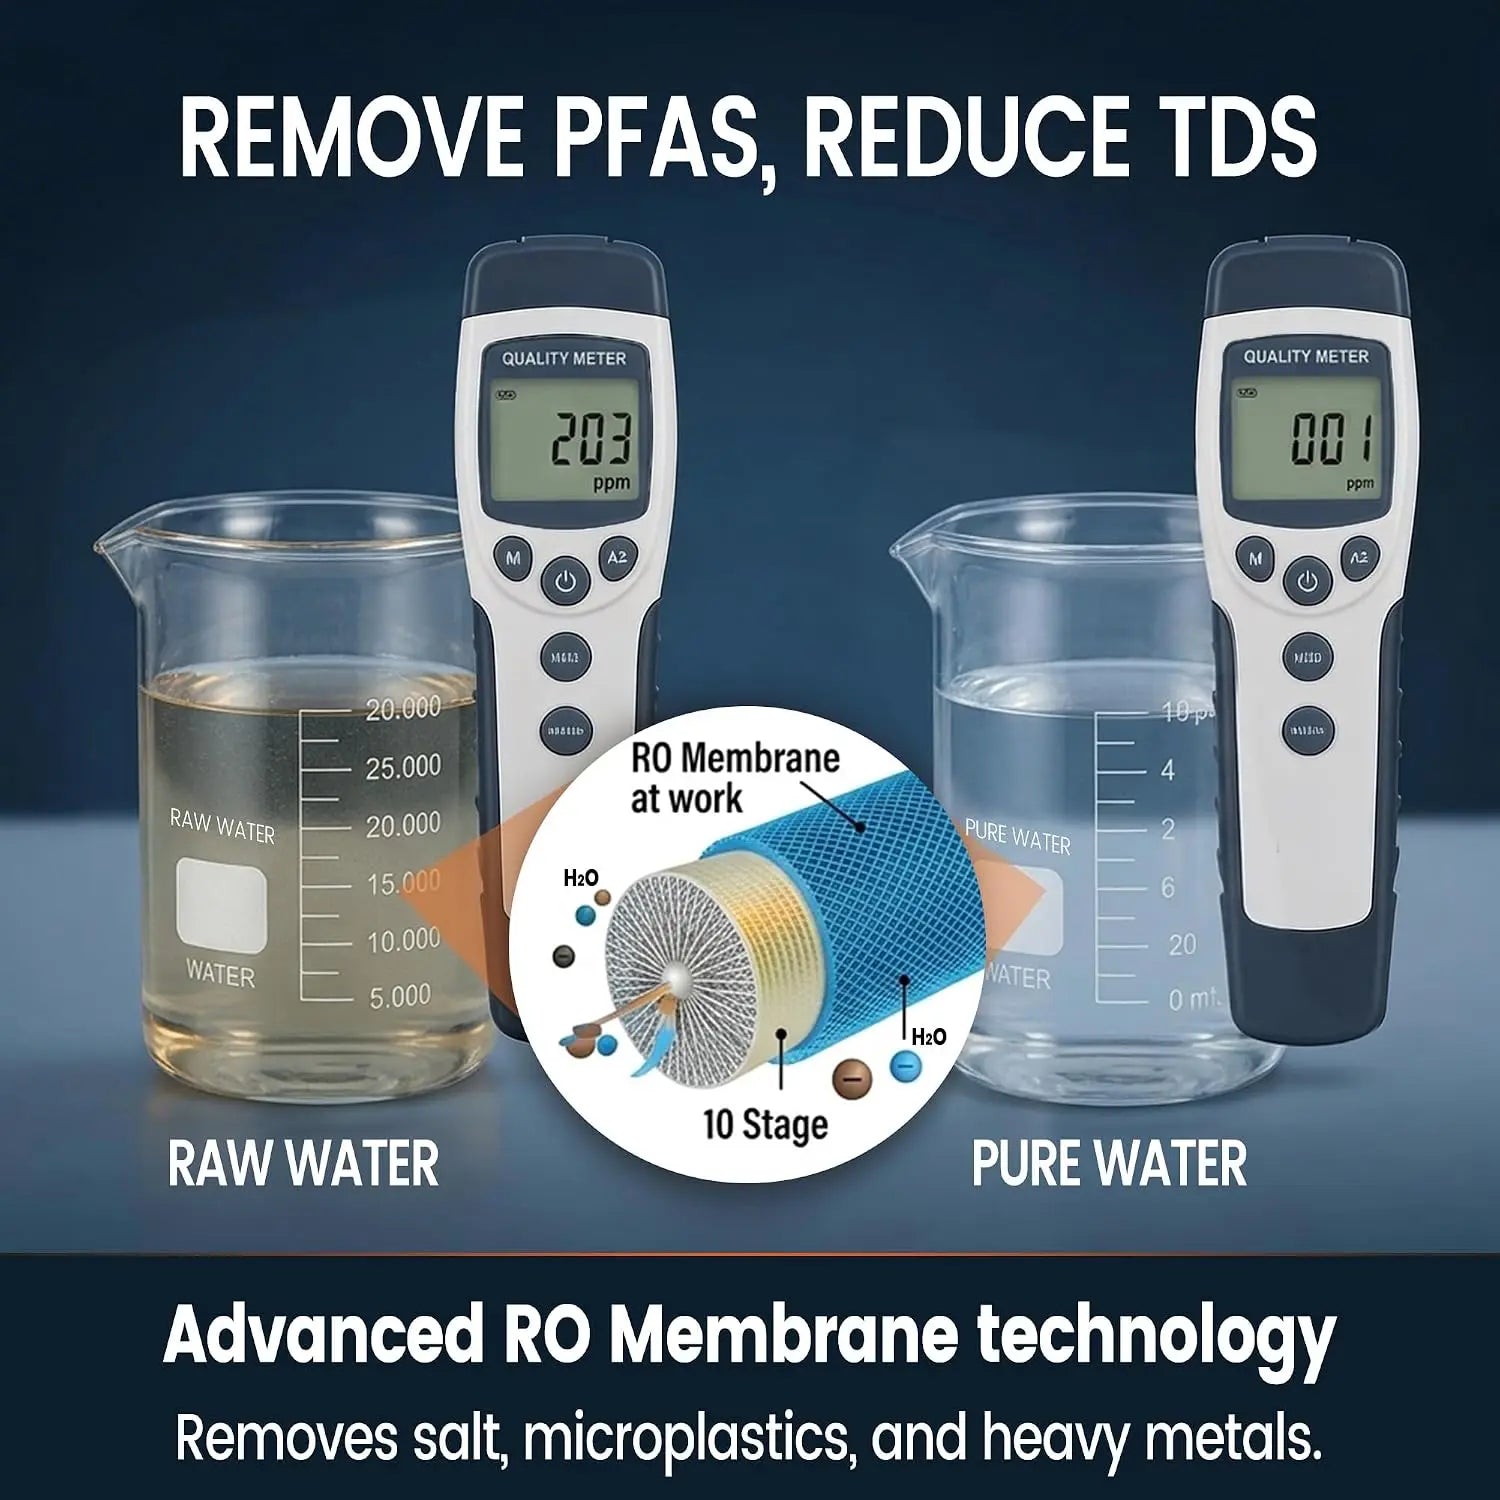
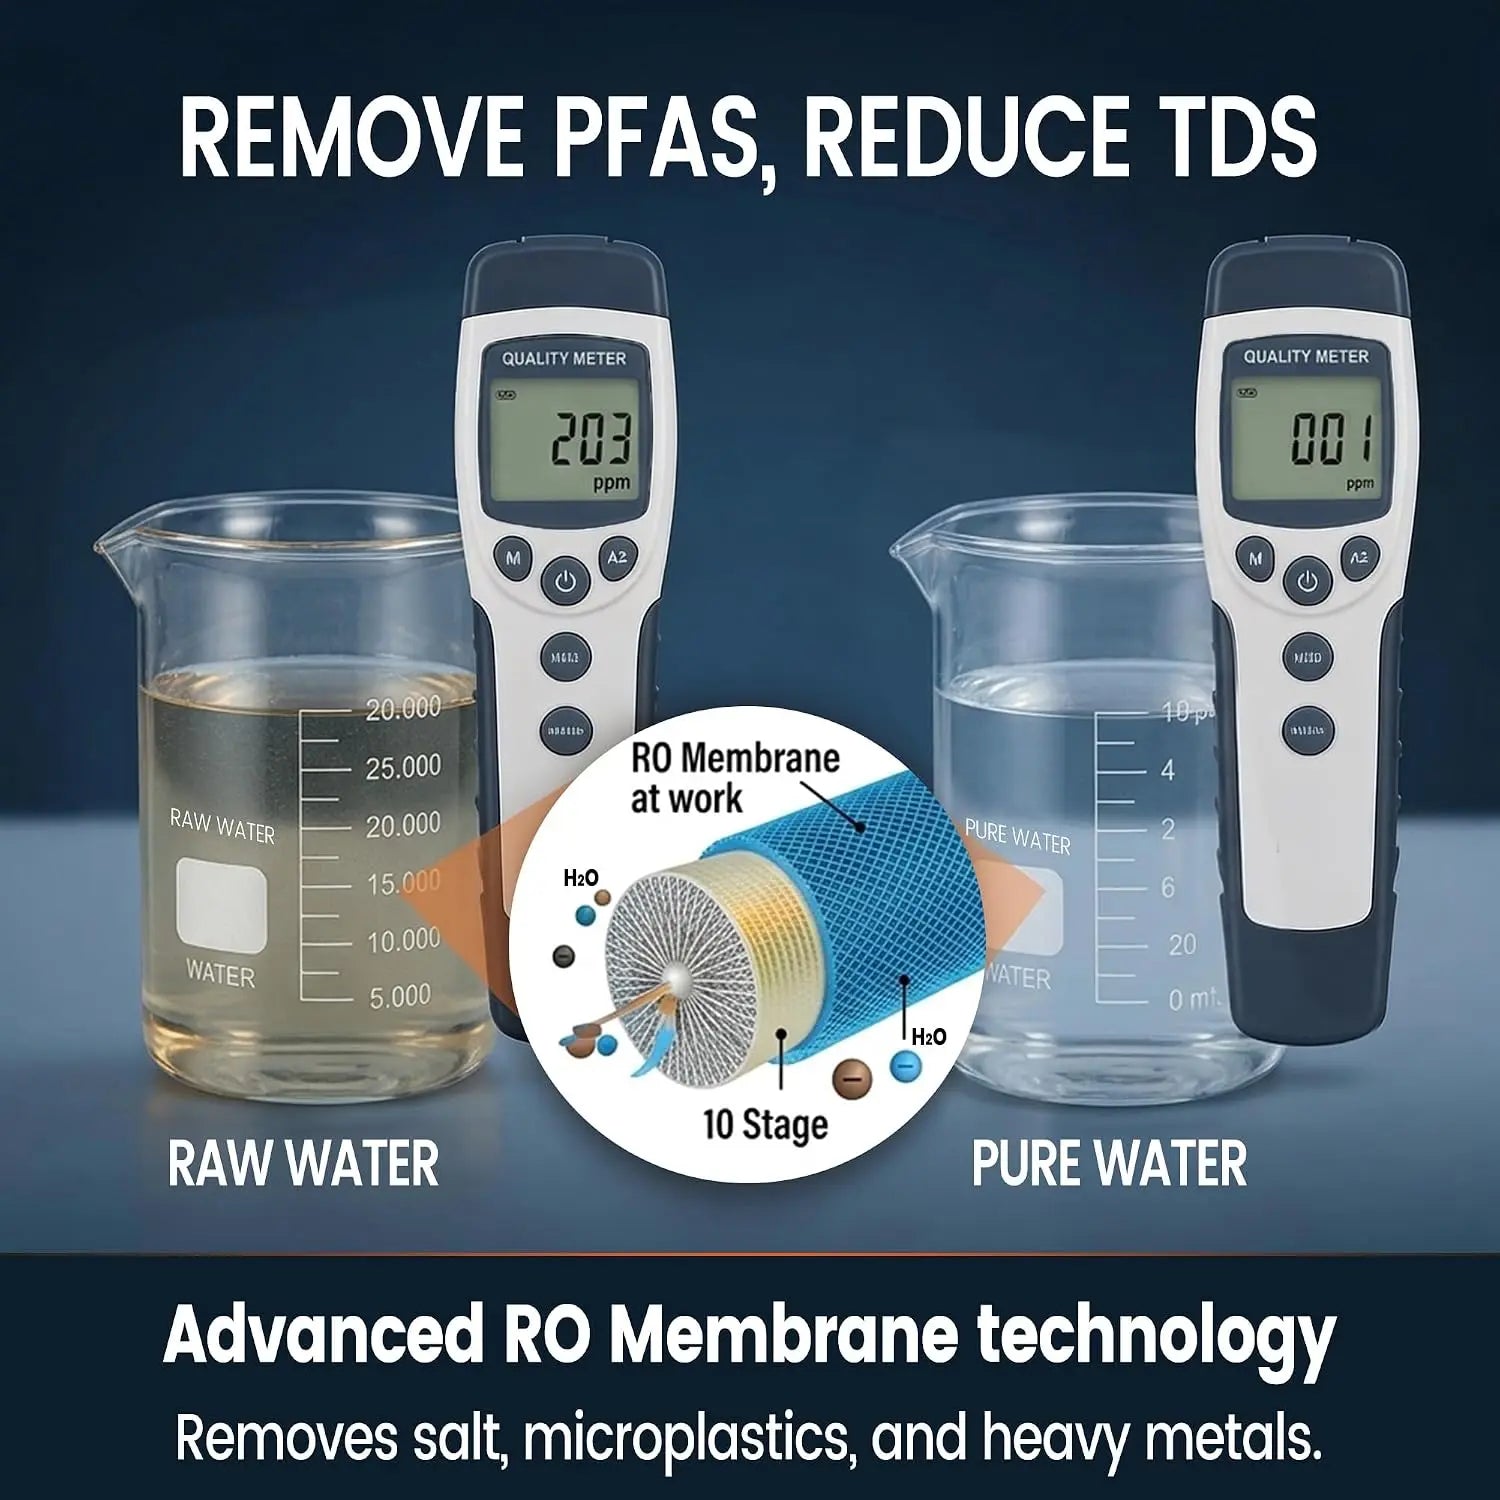
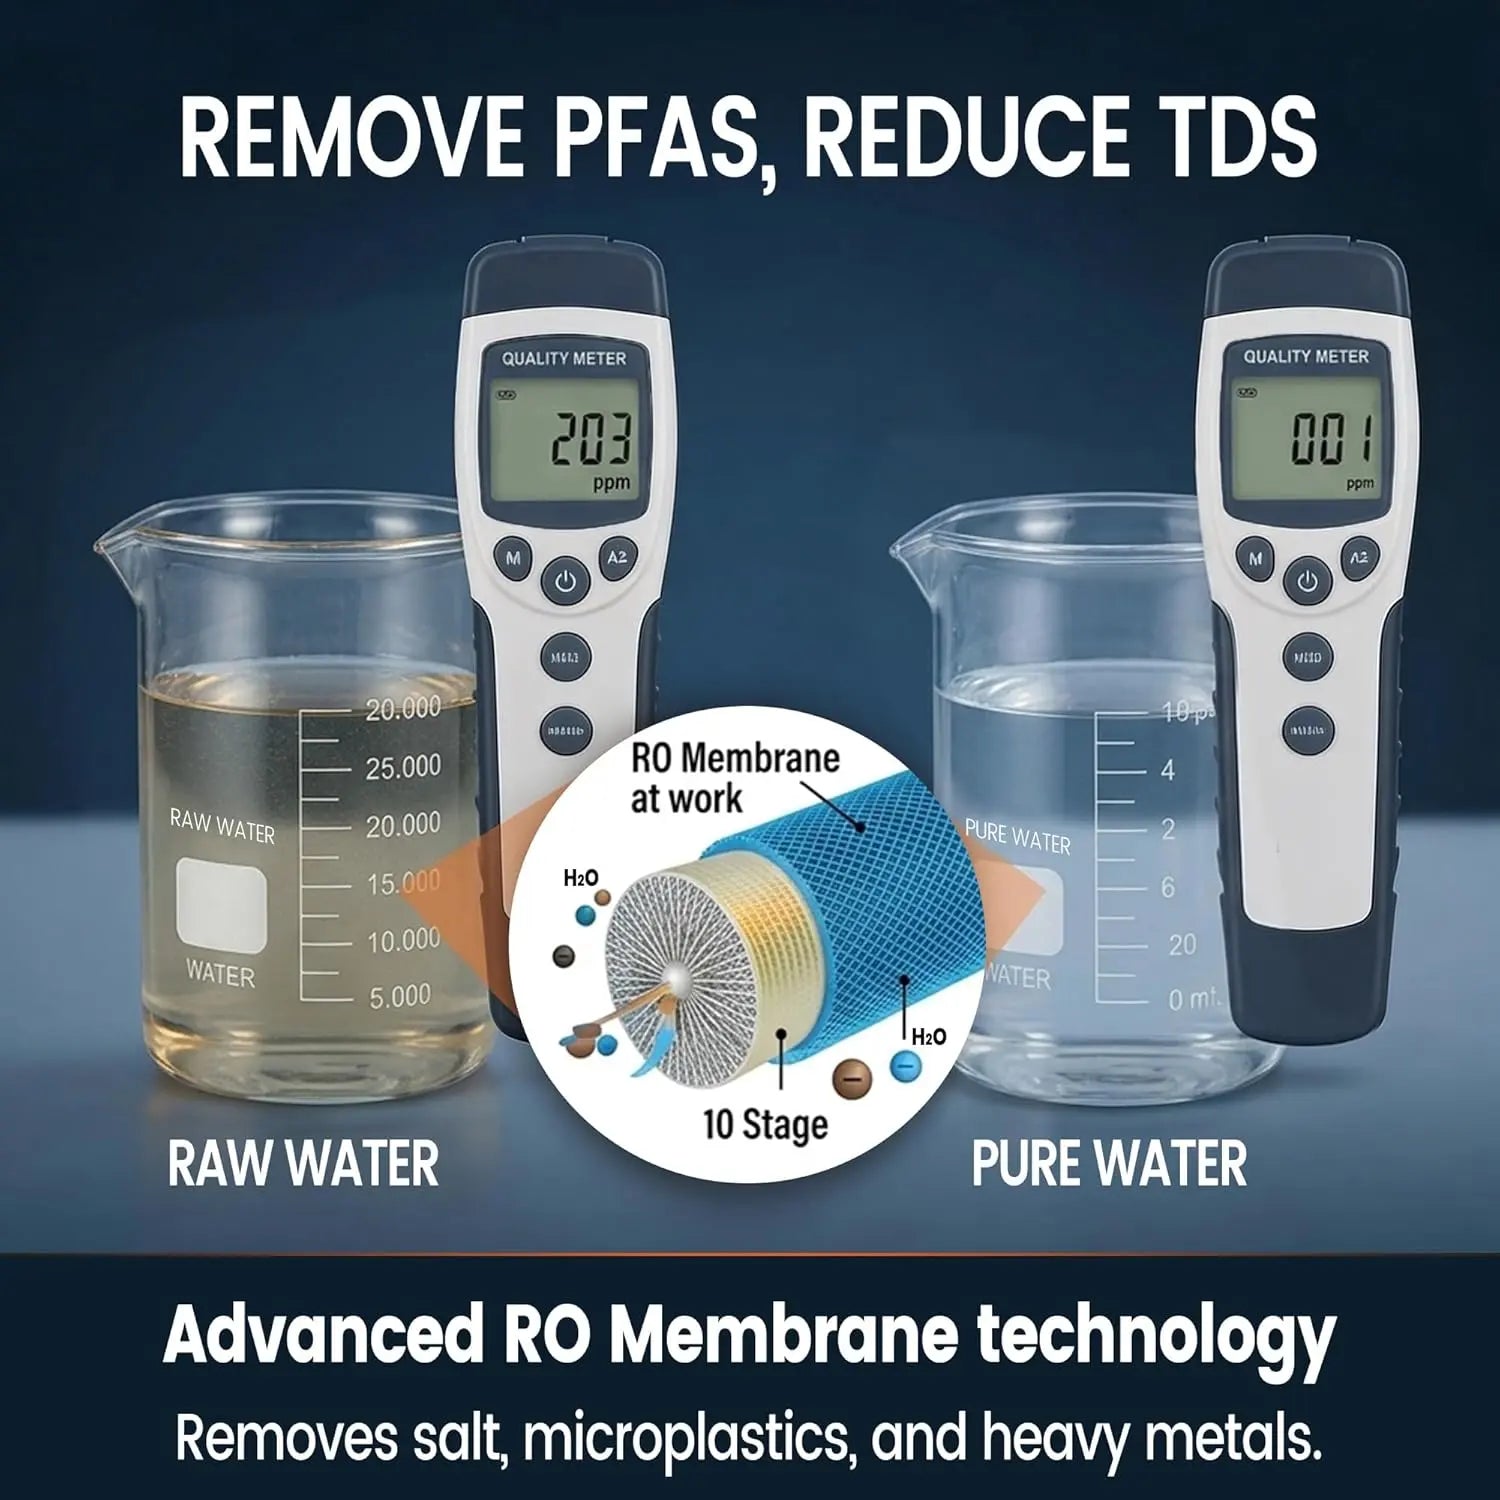
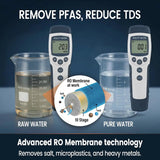
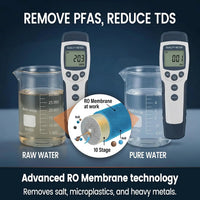
Assure une purification de haute précision et aide à réduire les solides dissous, certains métaux lourds, les PFOA, les PFOS et autres contaminants répertoriés.

Réduction des TDS Purification par Osmose Inverse Haute précision
Capacité nominale : jusqu'à 3,000 gallons
Traitement final Lampe Germicide UV

Assure une étape de traitement supplémentaire ciblant les bactéries et les virus pendant le fonctionnement du système.

Traitement UV Fonctionnement automatique
Durée de vie indiquée comme à vie dans le manuel
Note sur la durée de vie du filtre : La durée de vie réelle de la cartouche varie selon la qualité de l'eau de la source, le niveau de TDS, la charge de sédiments, le volume filtré et l'entretien. Surveillez la lecture du TDS de l'eau purifiée et remplacez la cartouche plus tôt lorsque les performances de filtration diminuent.

Puissance, autonomie & éclairage

03
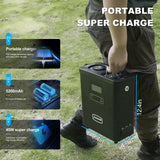
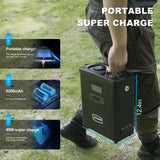
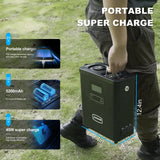
Capacité de la batterie 5200 mAh

La batterie rechargeable intégrée permet une filtration portable loin d'une alimentation électrique fixe.

Autonomie Jusqu'à 6,5 heures

L'autonomie est basée sur les spécifications du produit et peut varier selon les conditions d'utilisation.

Temps de charge Environ 2–3 heures

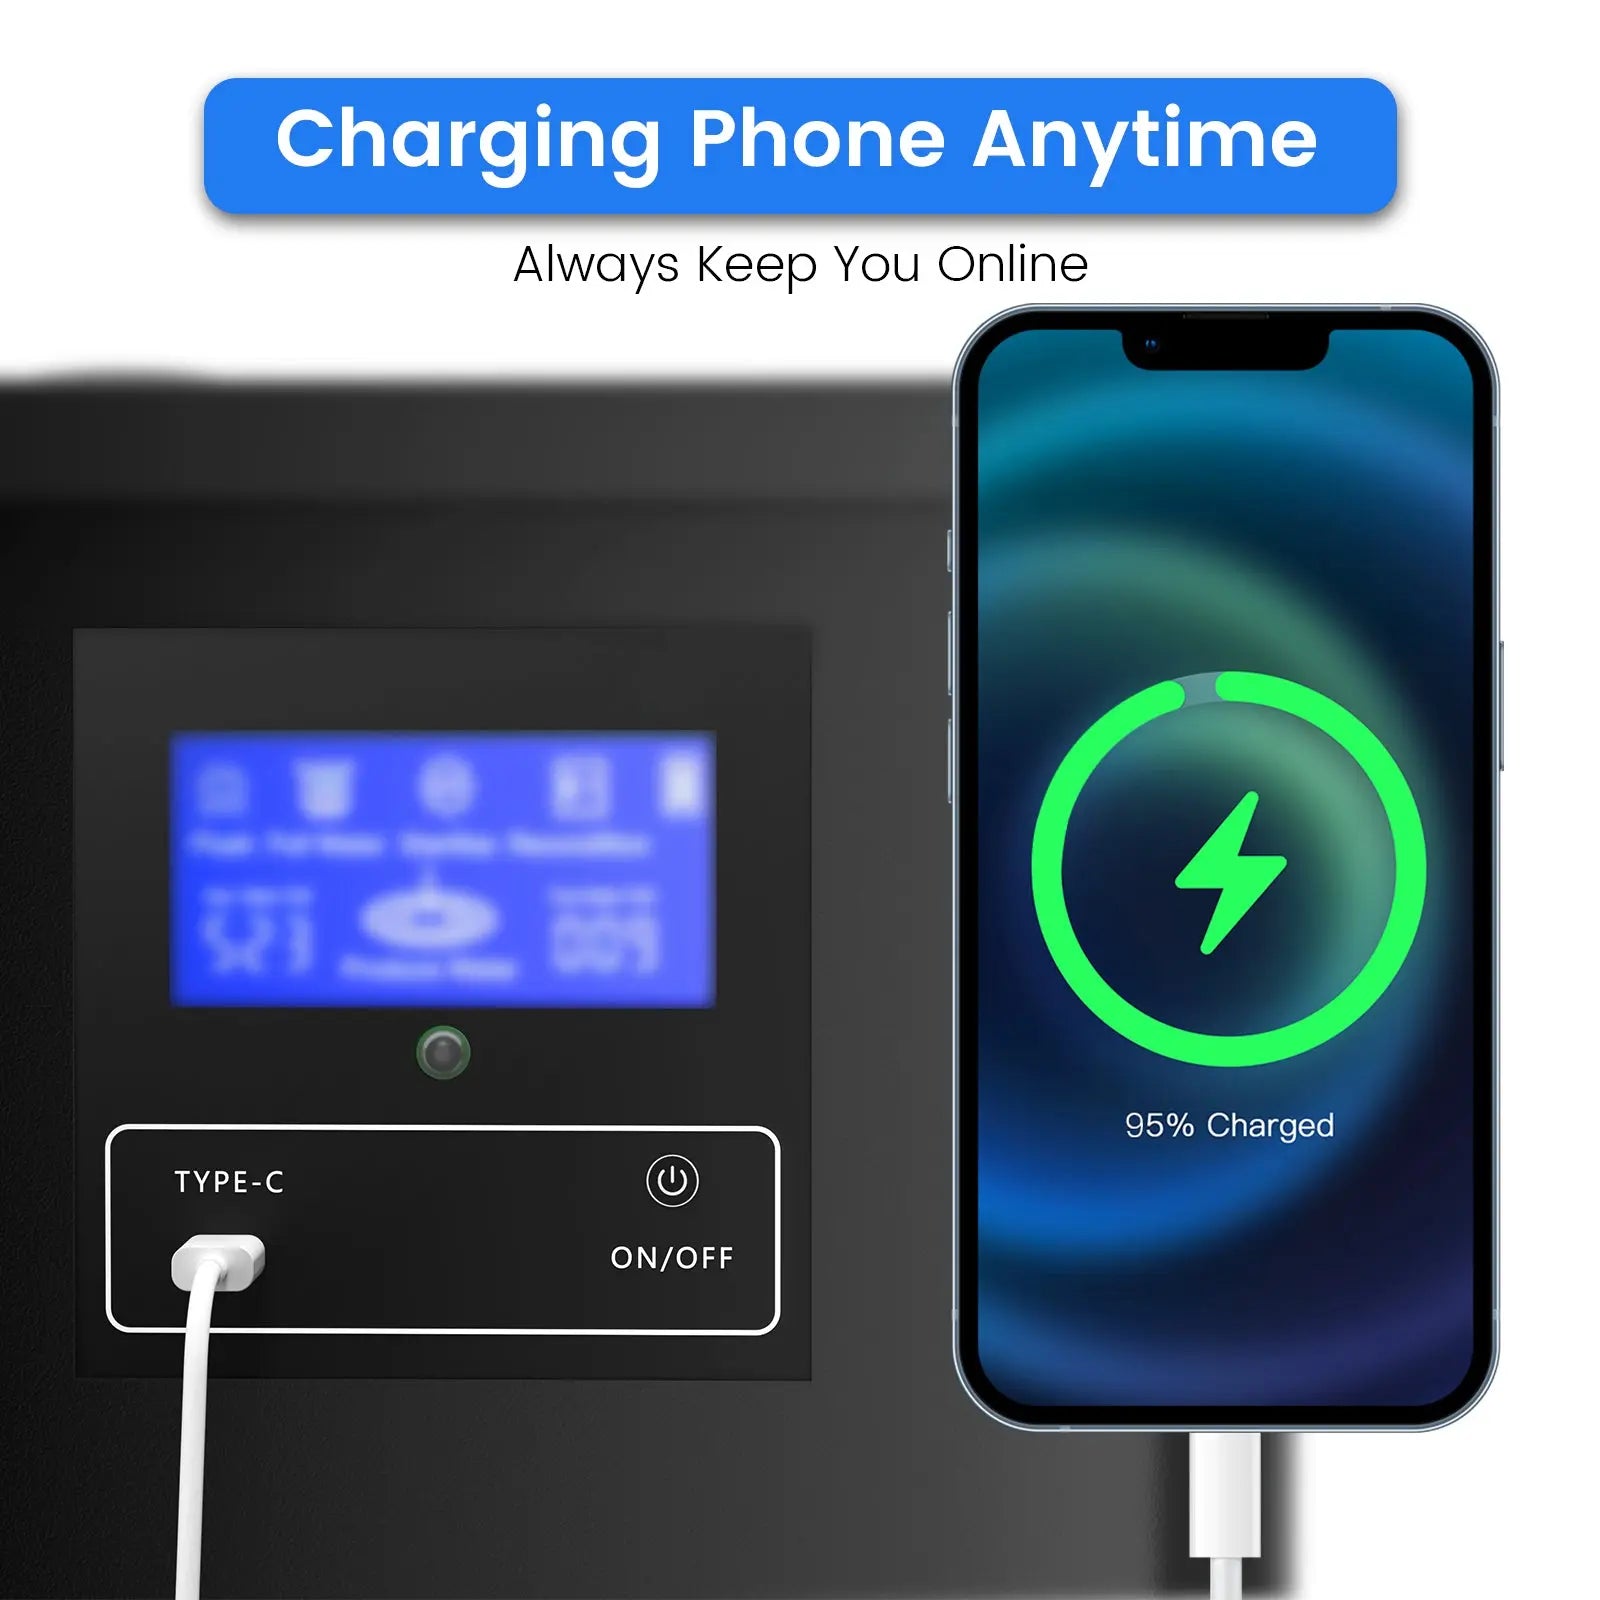
Rechargez via la connexion de charge Type-C intégrée.

Tension / Courant 24V / 10A

Utilisez le chargeur d'alimentation correspondant spécifié pour le système.

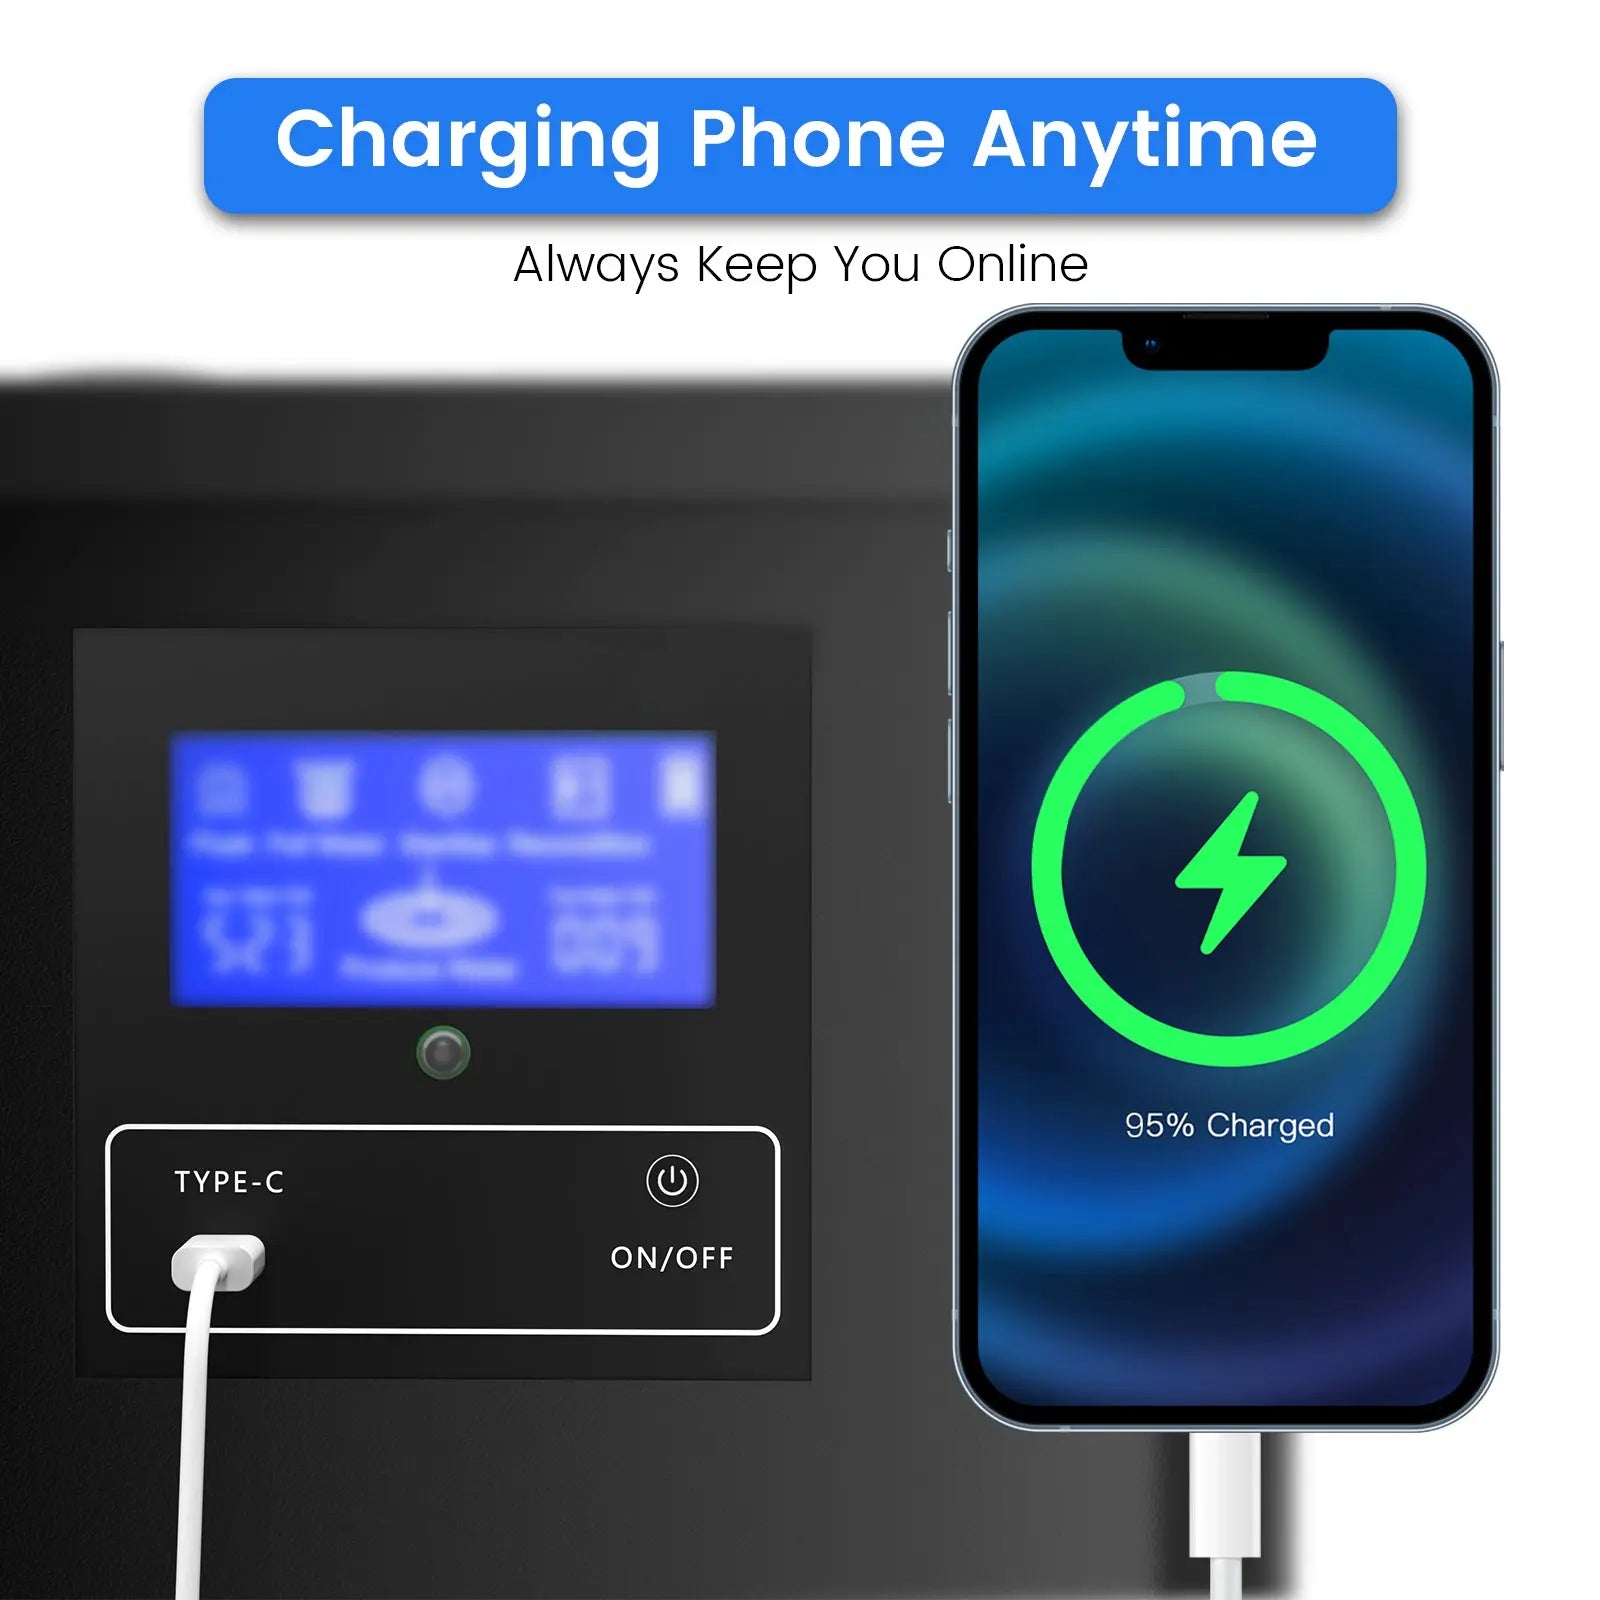
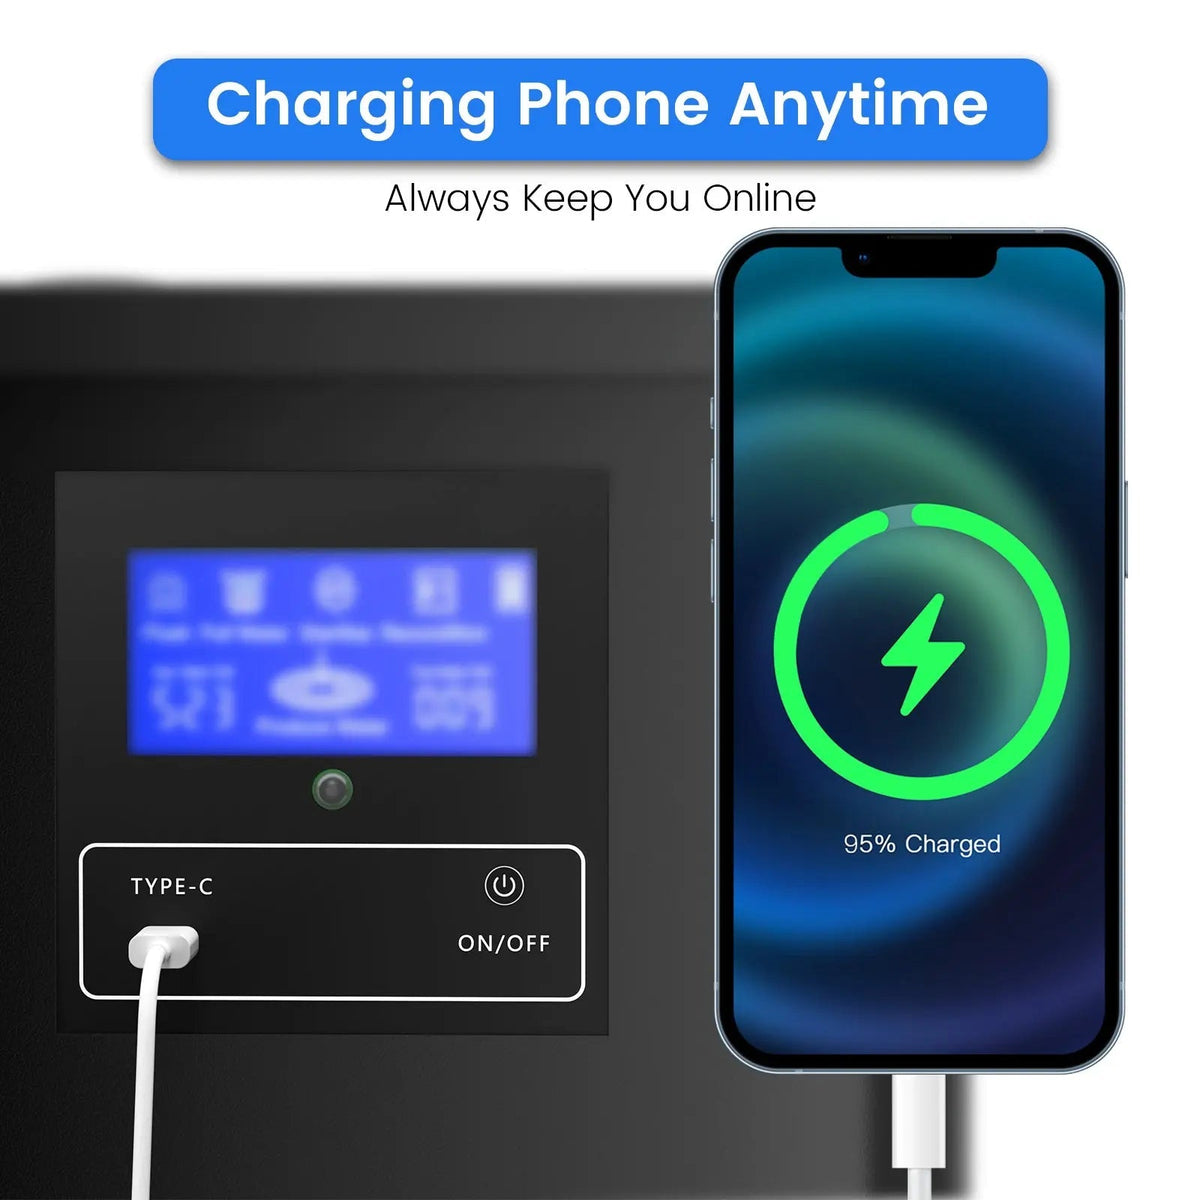
Fonction Type-C Charge Directe & Inverse

Permet de charger le purificateur et de fournir une alimentation de secours aux appareils externes compatibles.

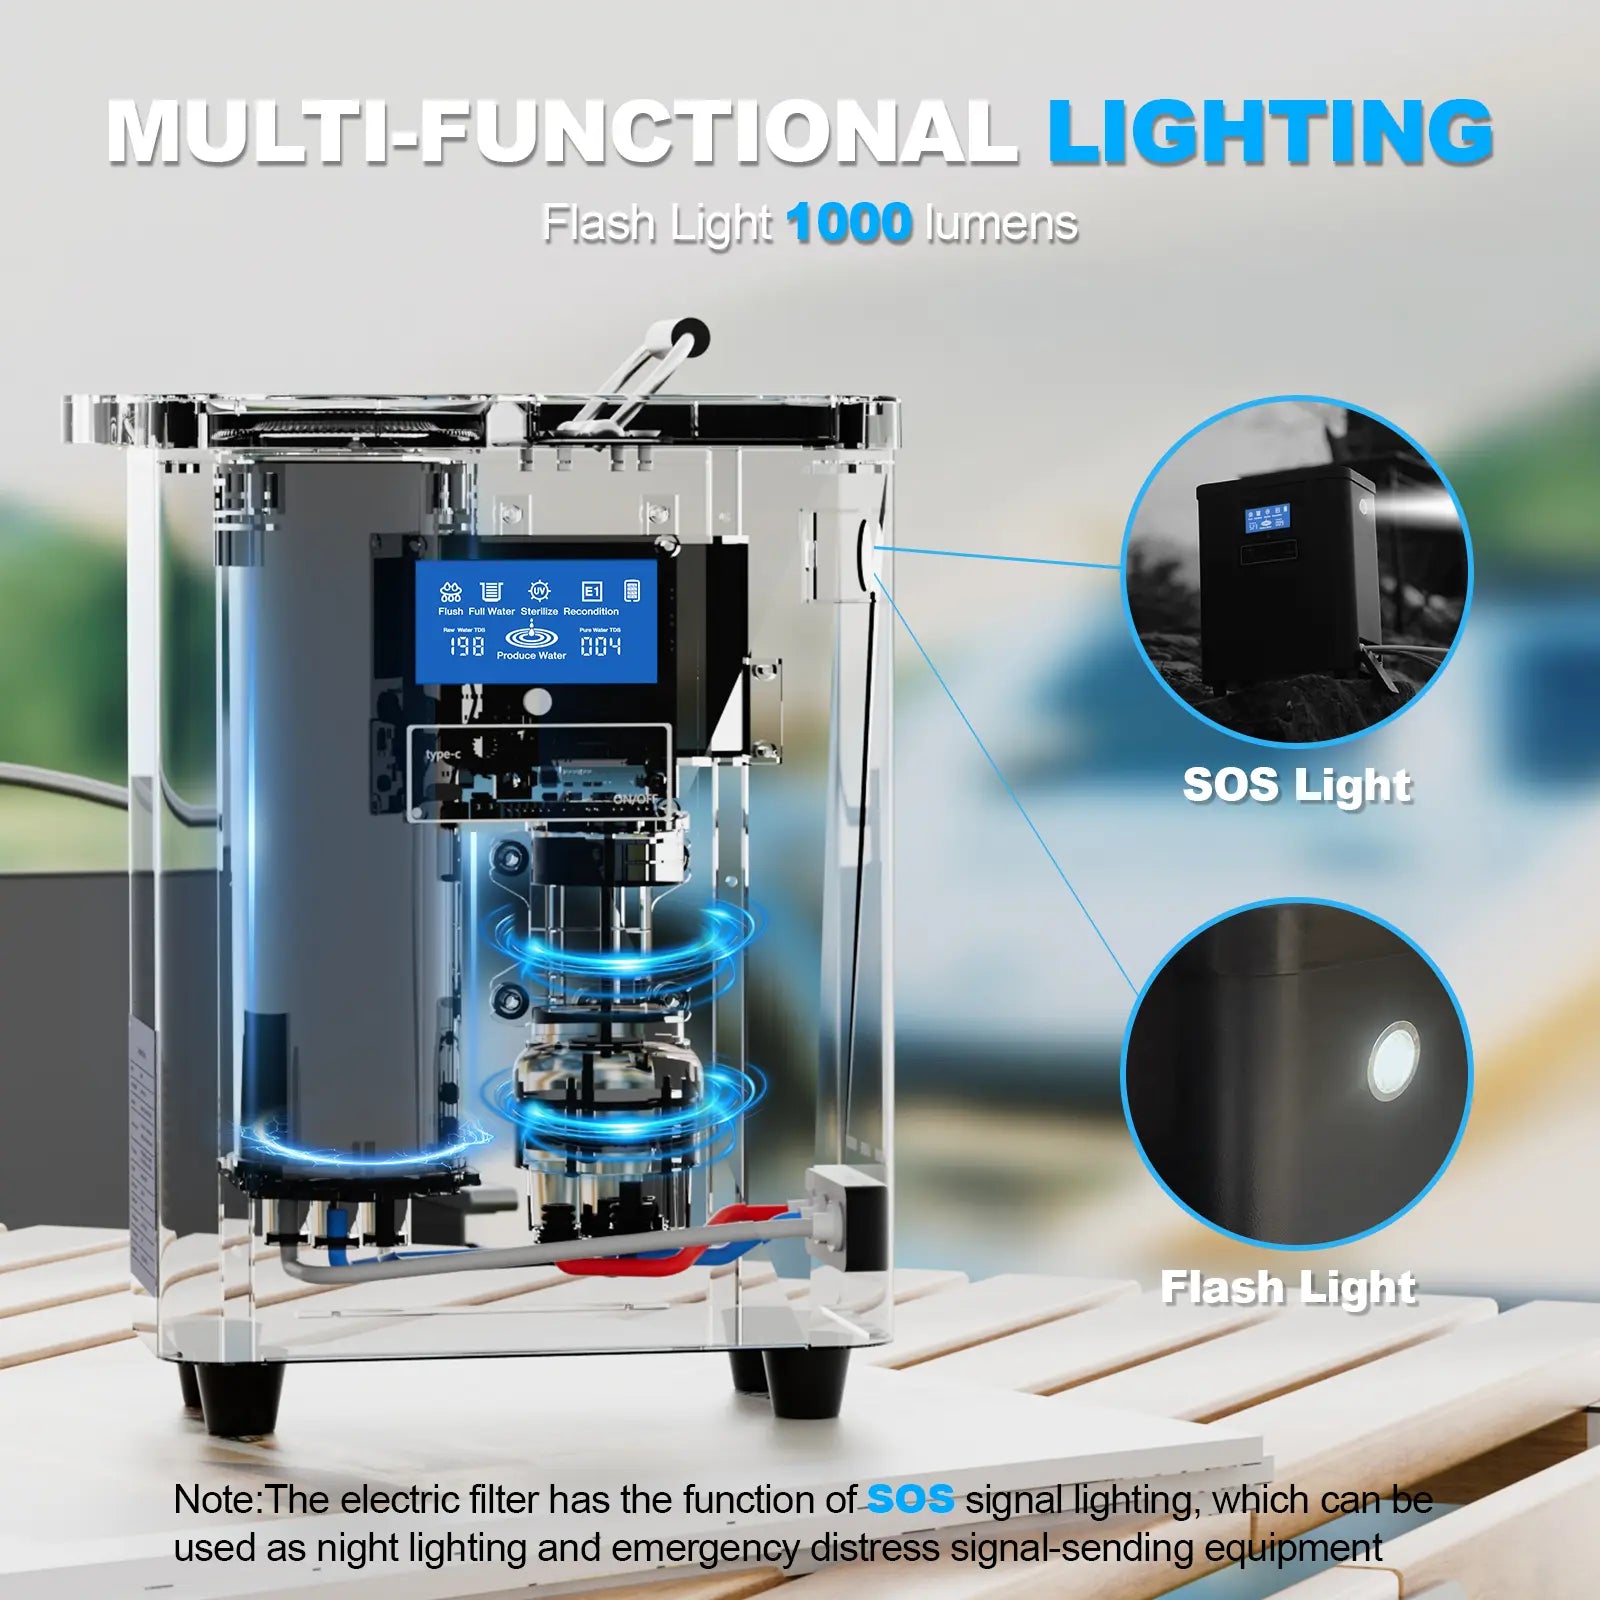
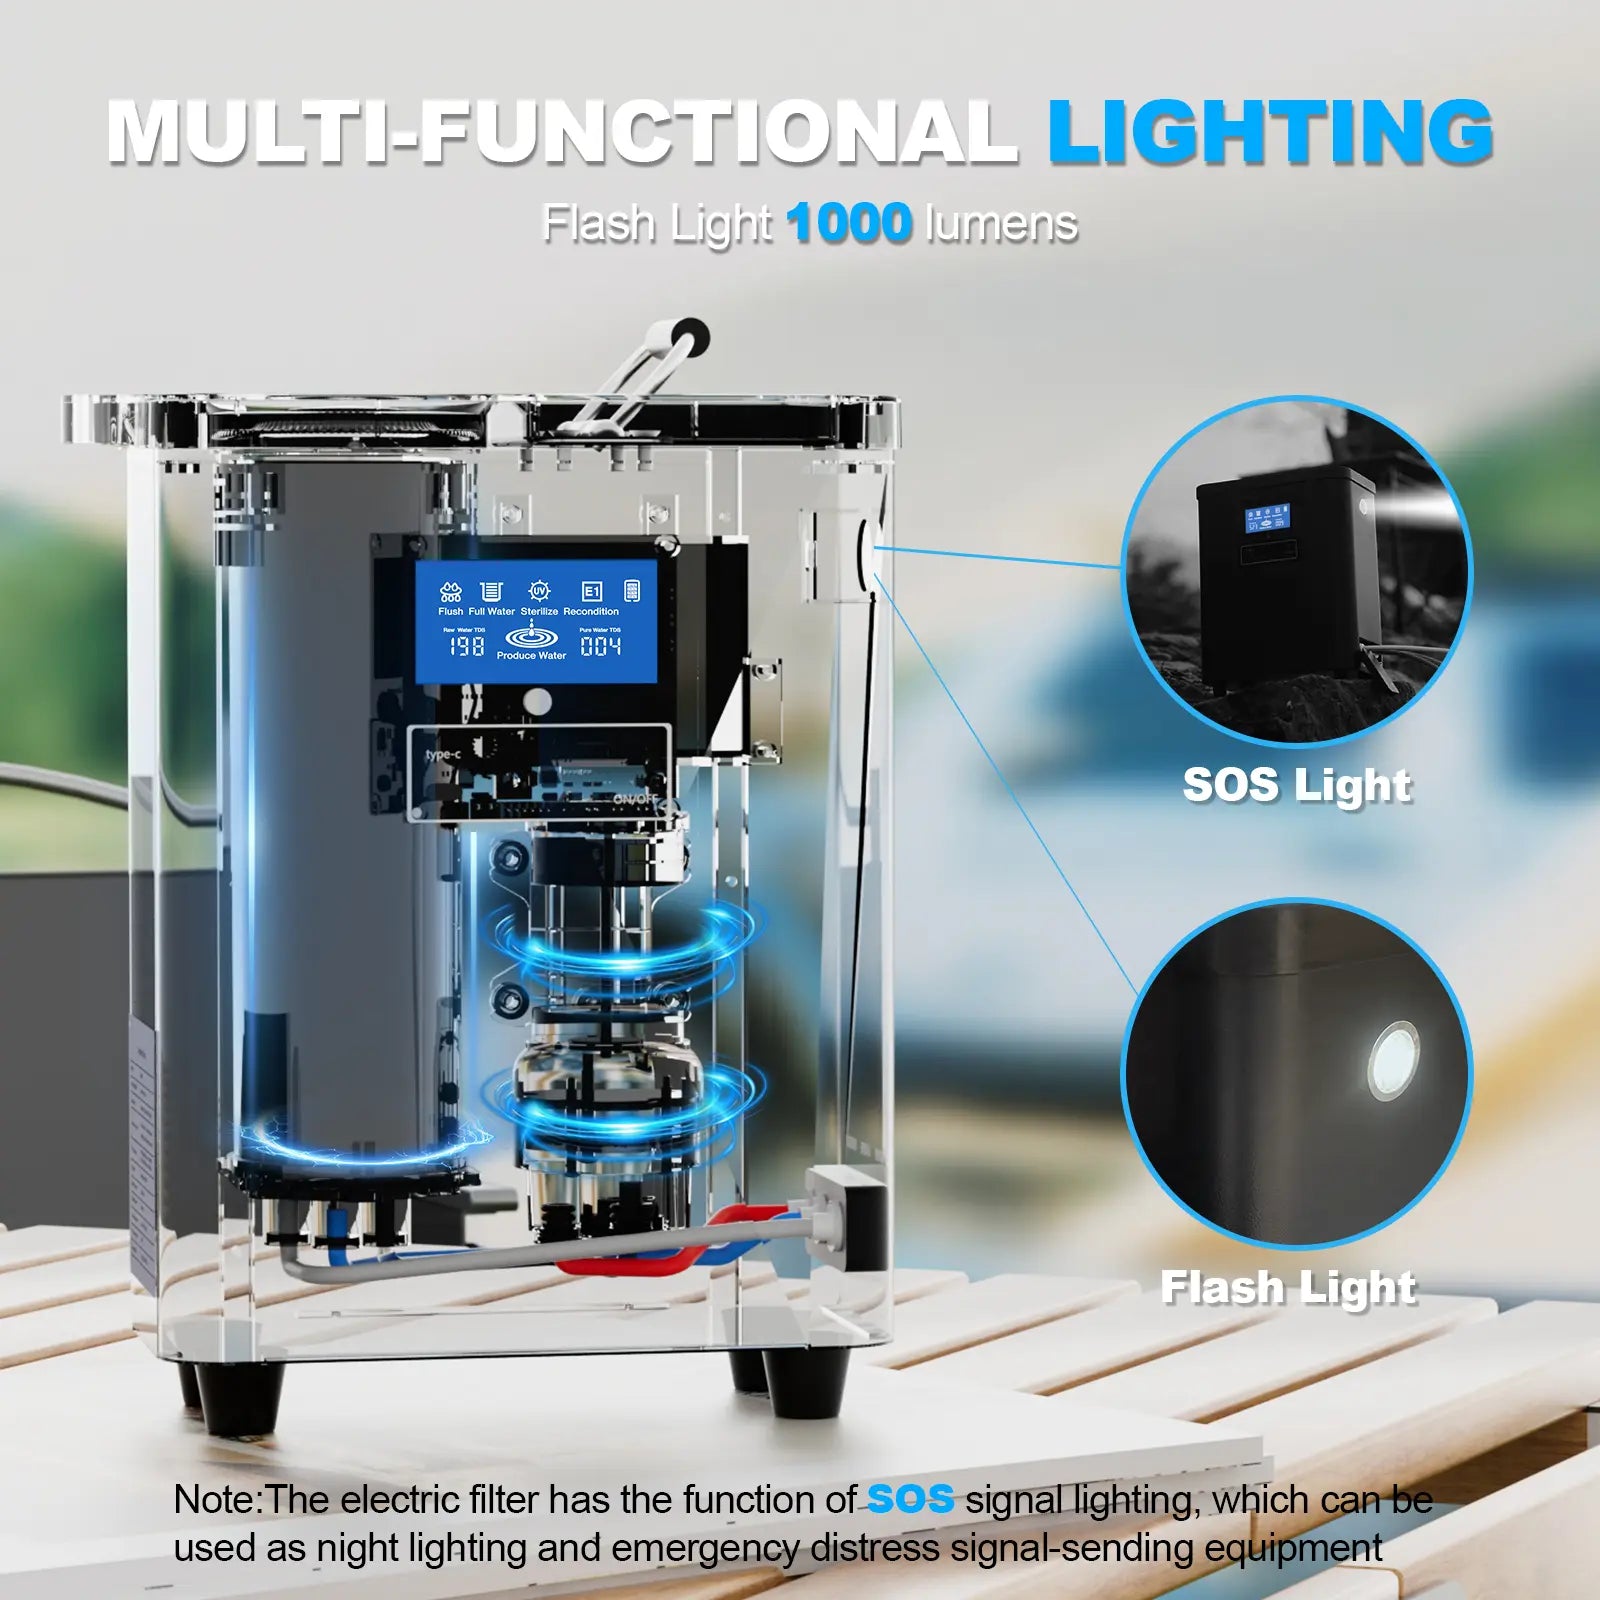
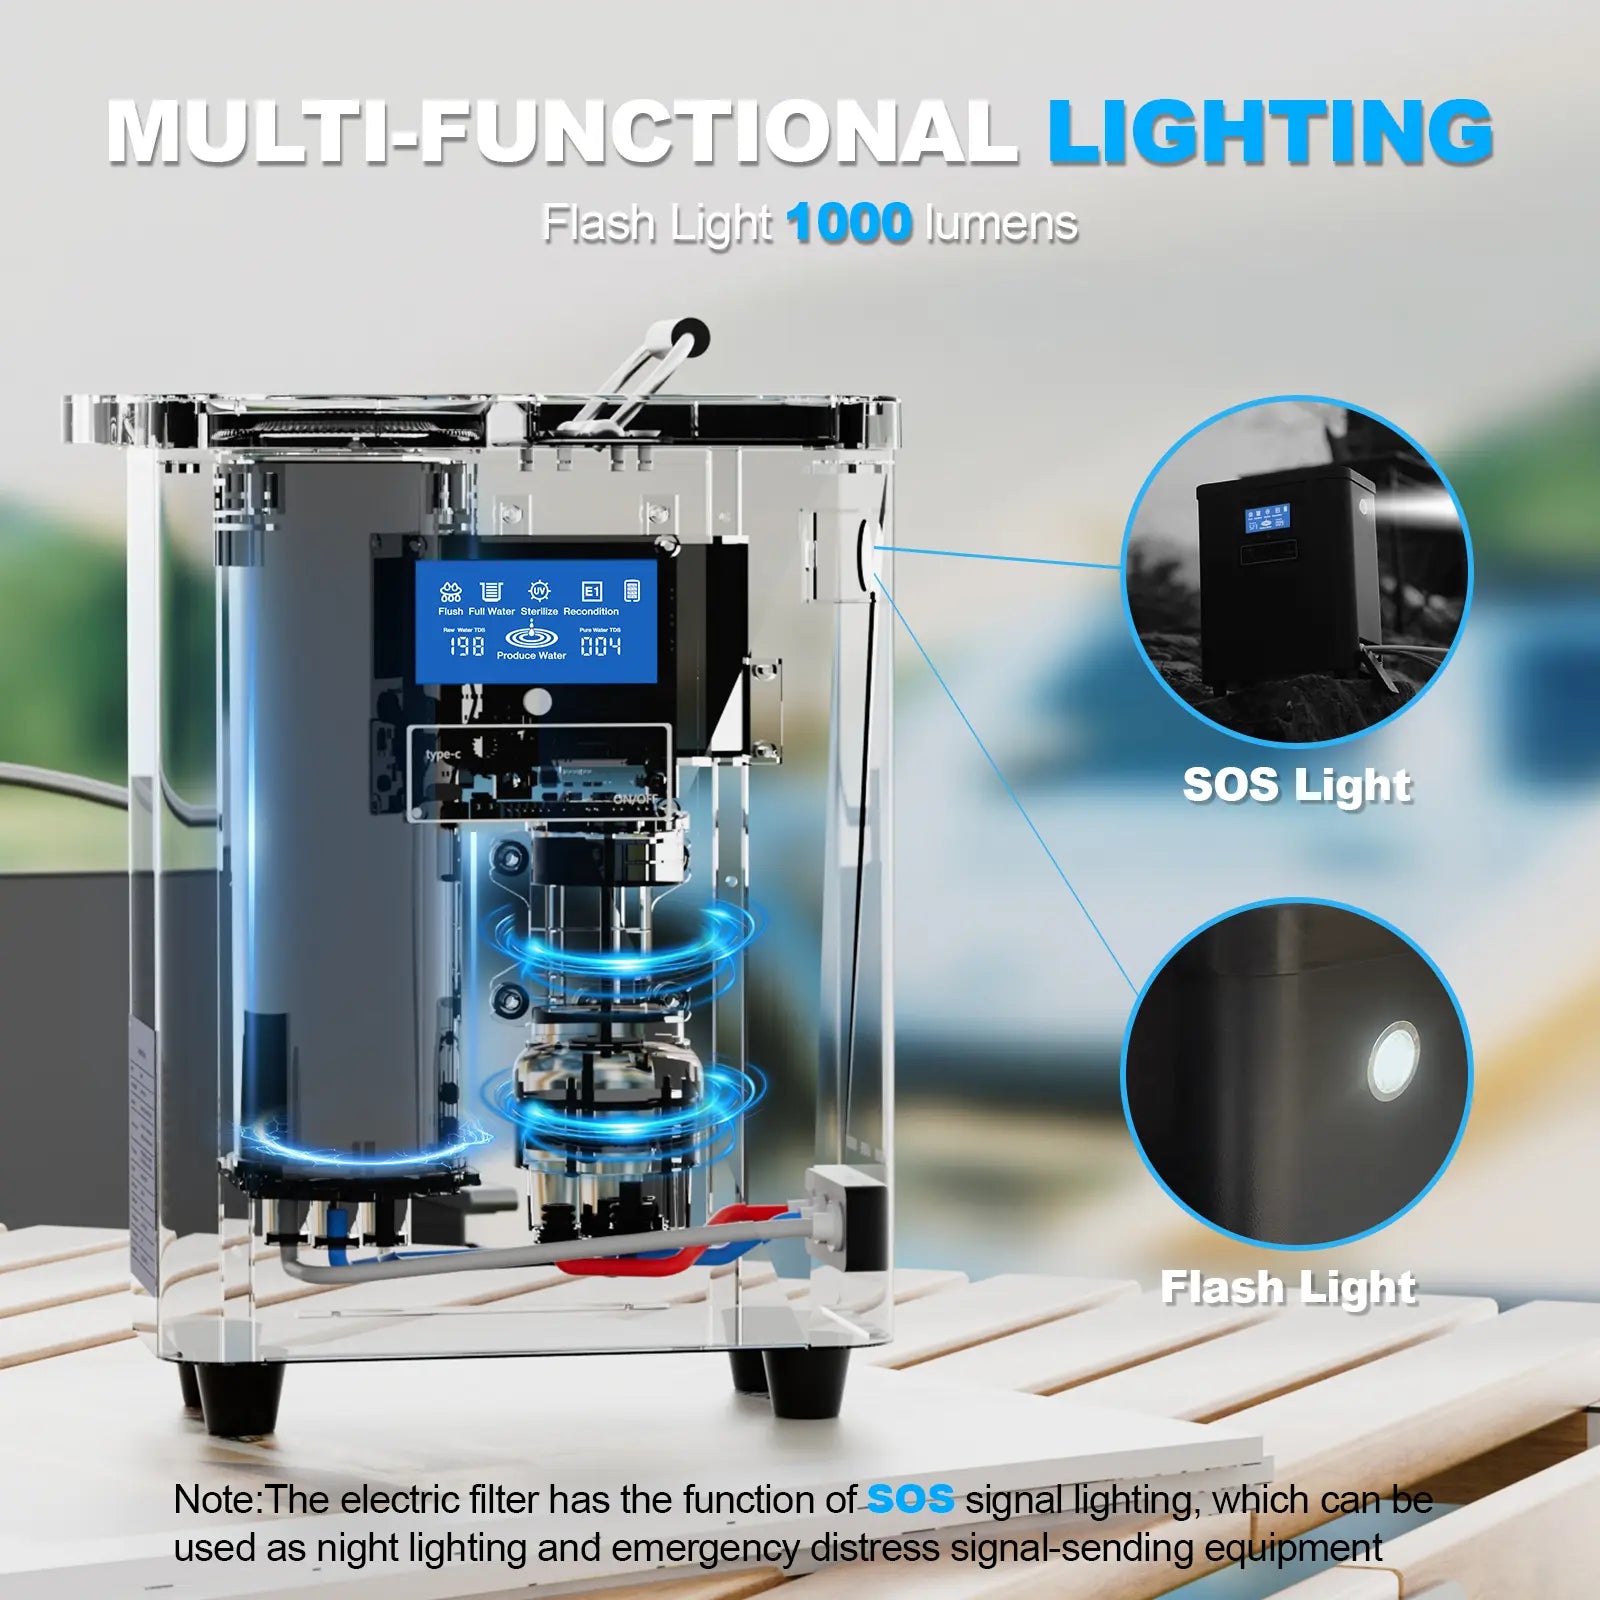
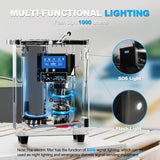
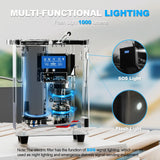
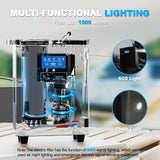
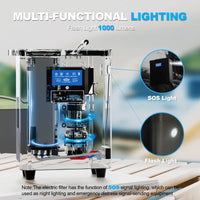
Puissance d'éclairage 10W / 24V

L'éclairage intégré facilite l'utilisation de nuit et les situations d'urgence en extérieur.

Luminosité de l'éclairage 1000 lumens

Comprend un mode d'éclairage standard et un mode clignotant SOS.

Conformité Indiquée dans le Manuel CE / FCC / RoHS / UL

Les références de conformité sont indiquées dans la section des spécifications du produit du manuel.

Écran intelligent & Surveillance du système

04

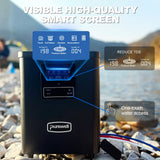
Voyez la Qualité de l'Eau et l'État de Fonctionnement en un Coup d'Œil

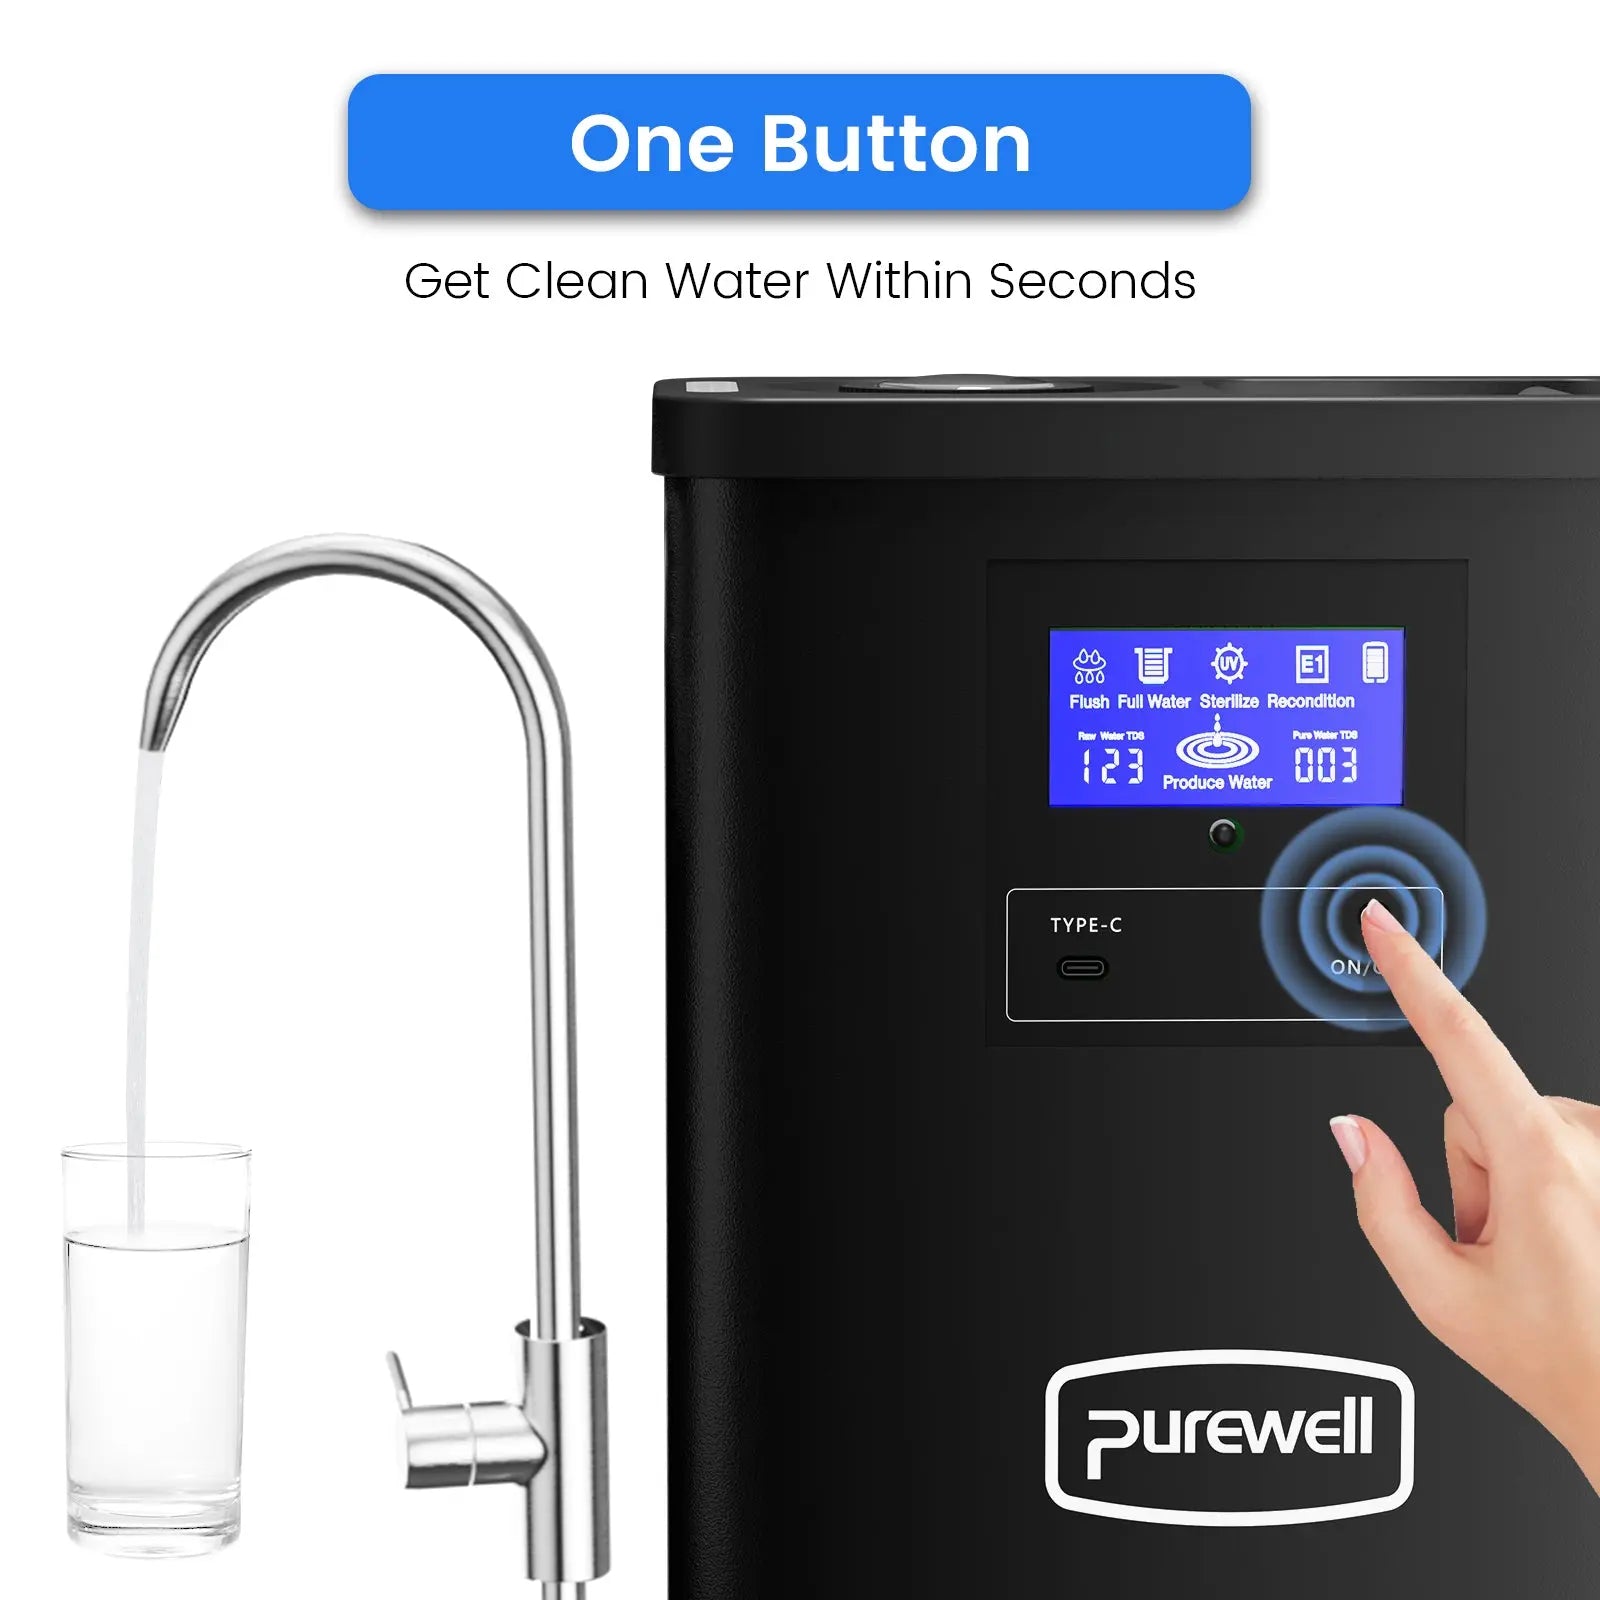
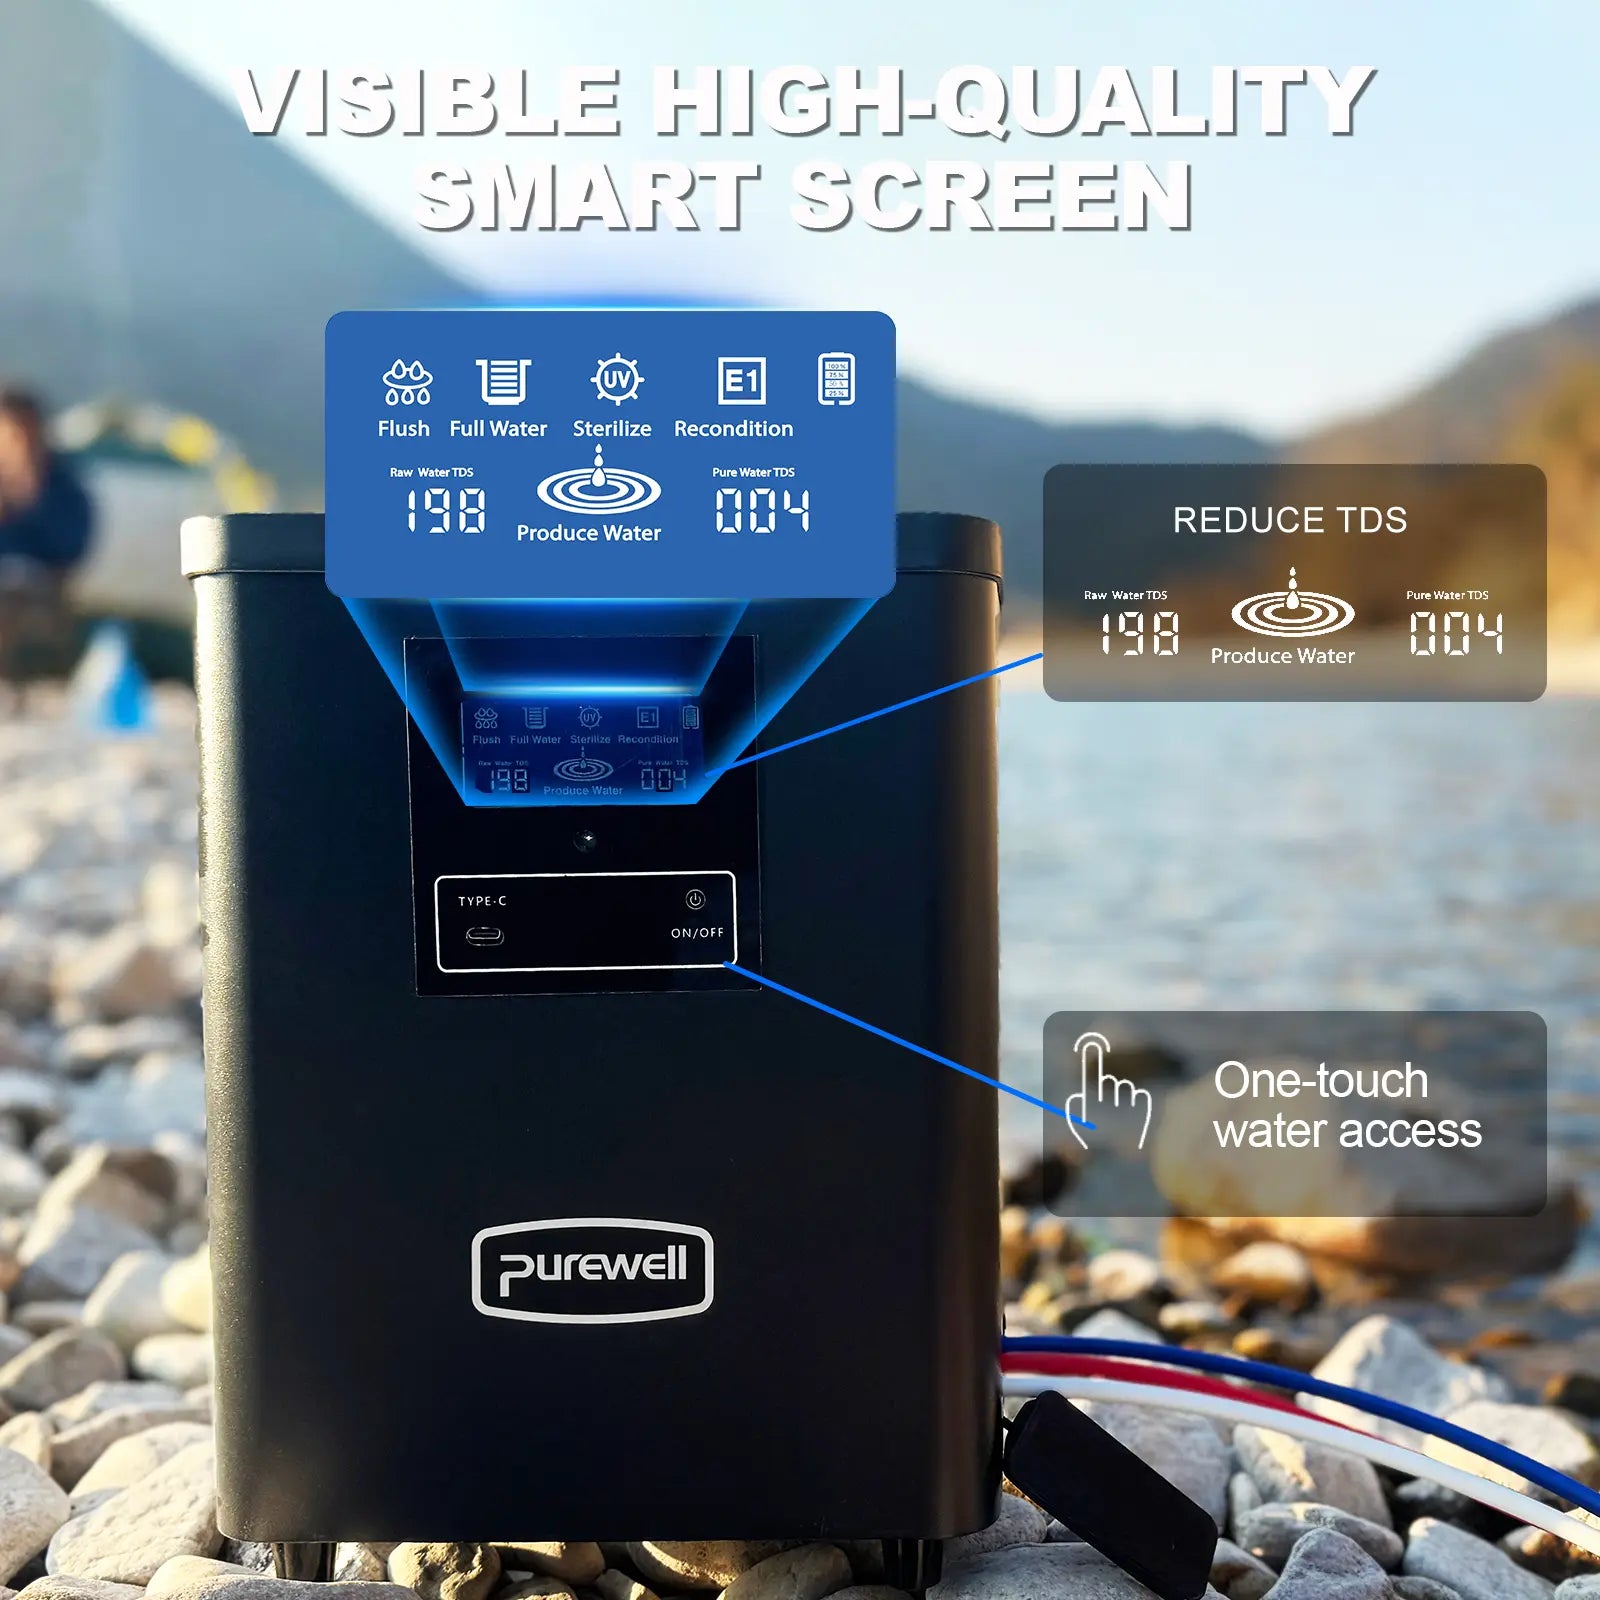
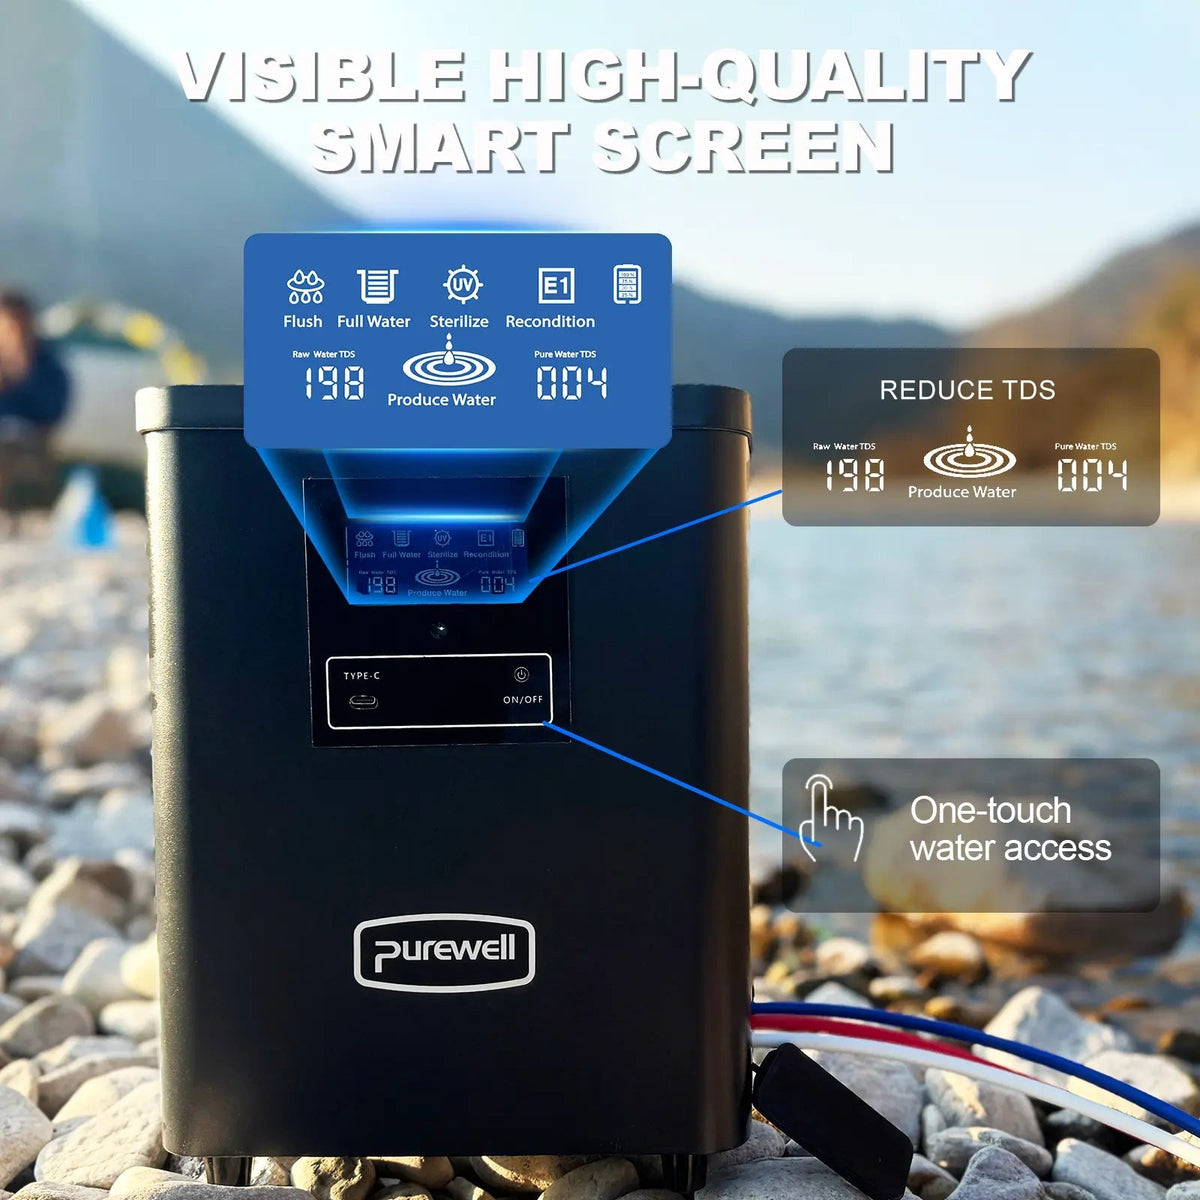
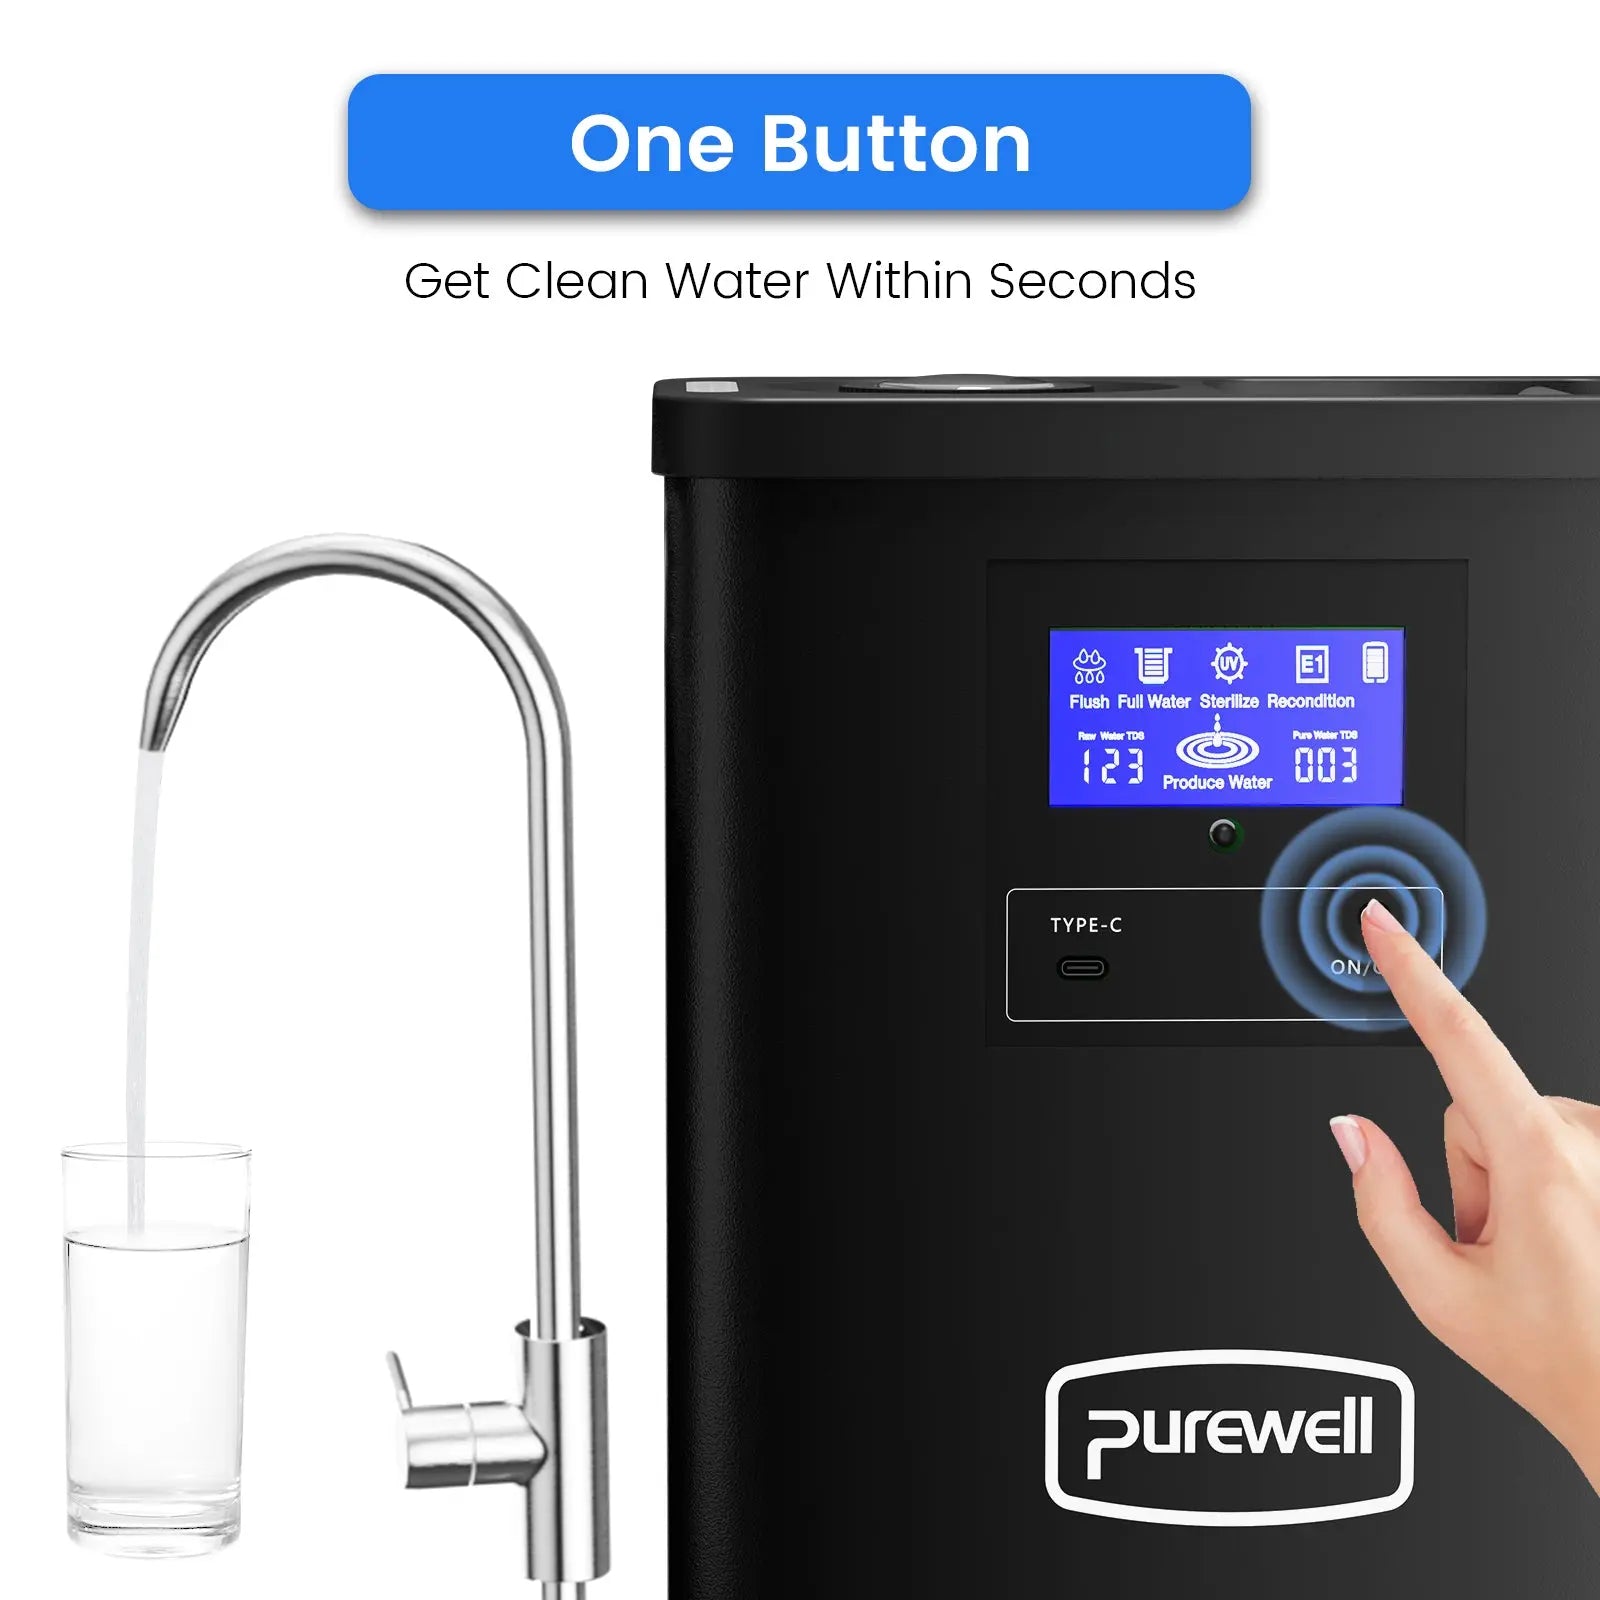
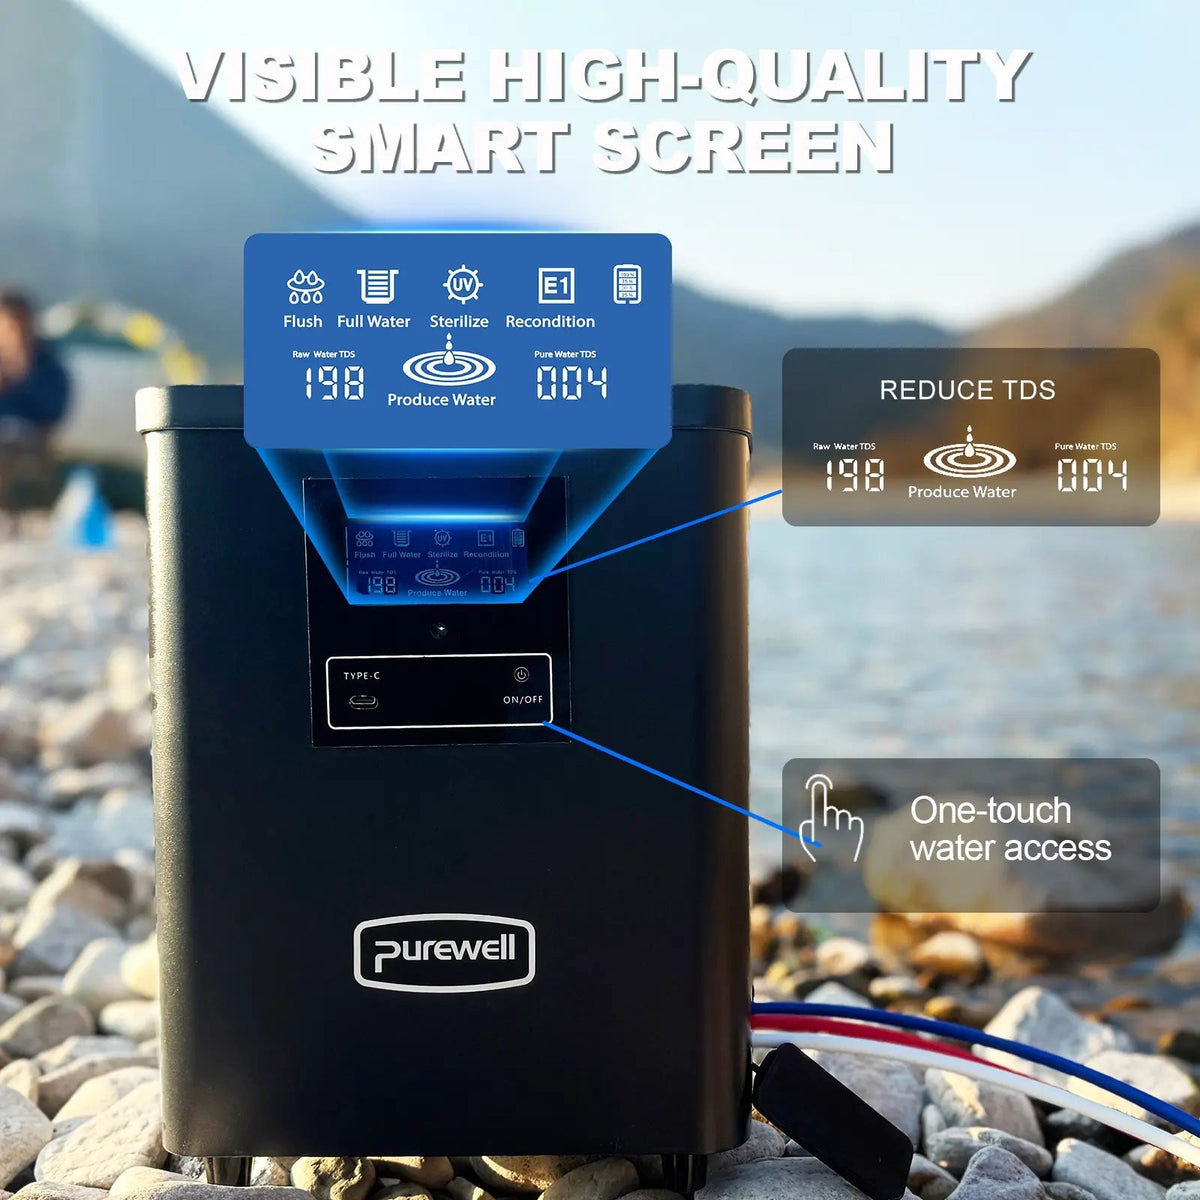
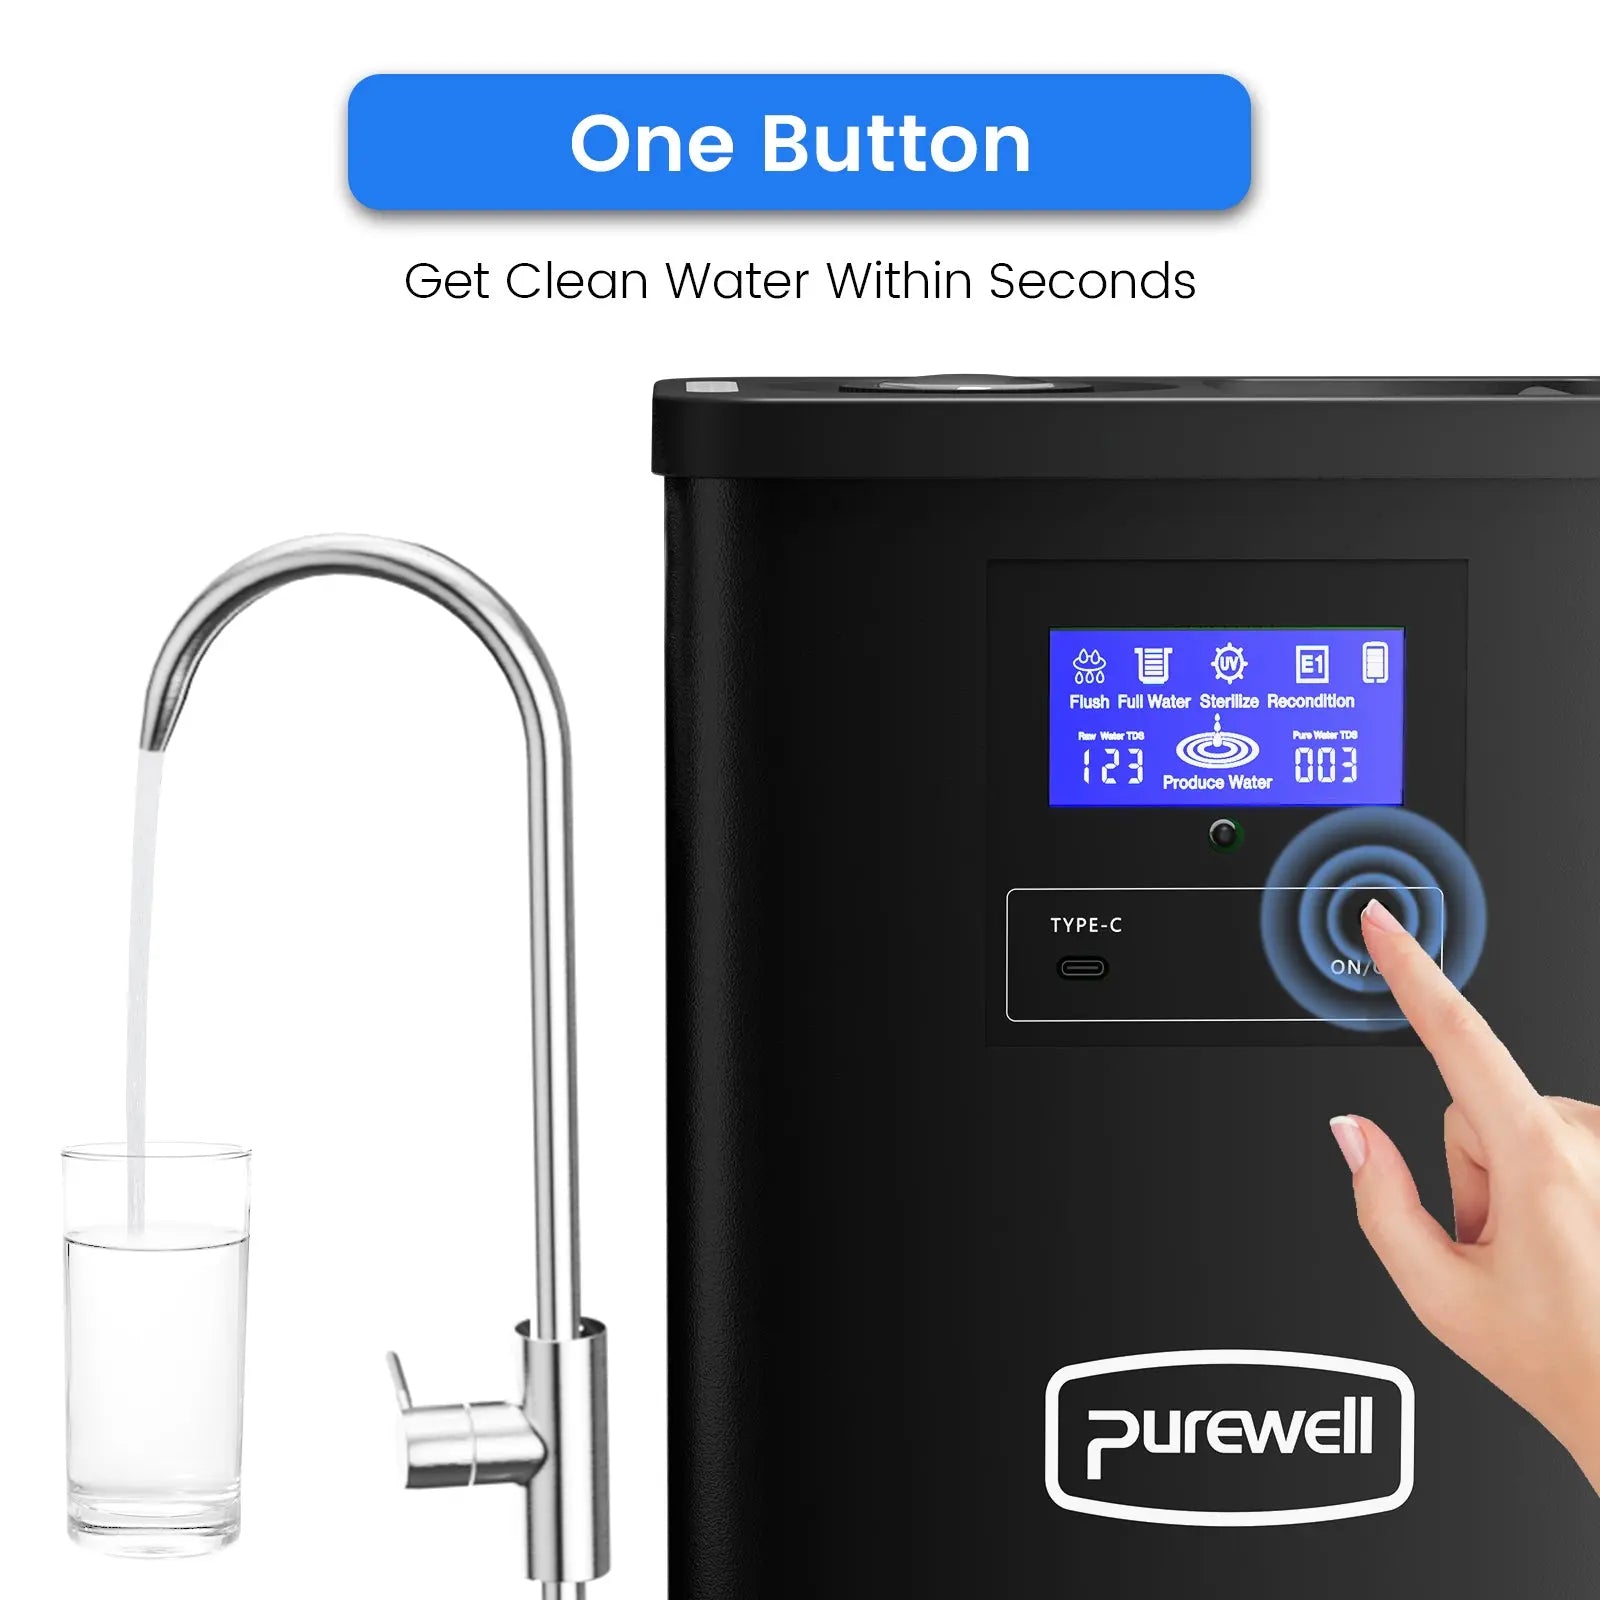
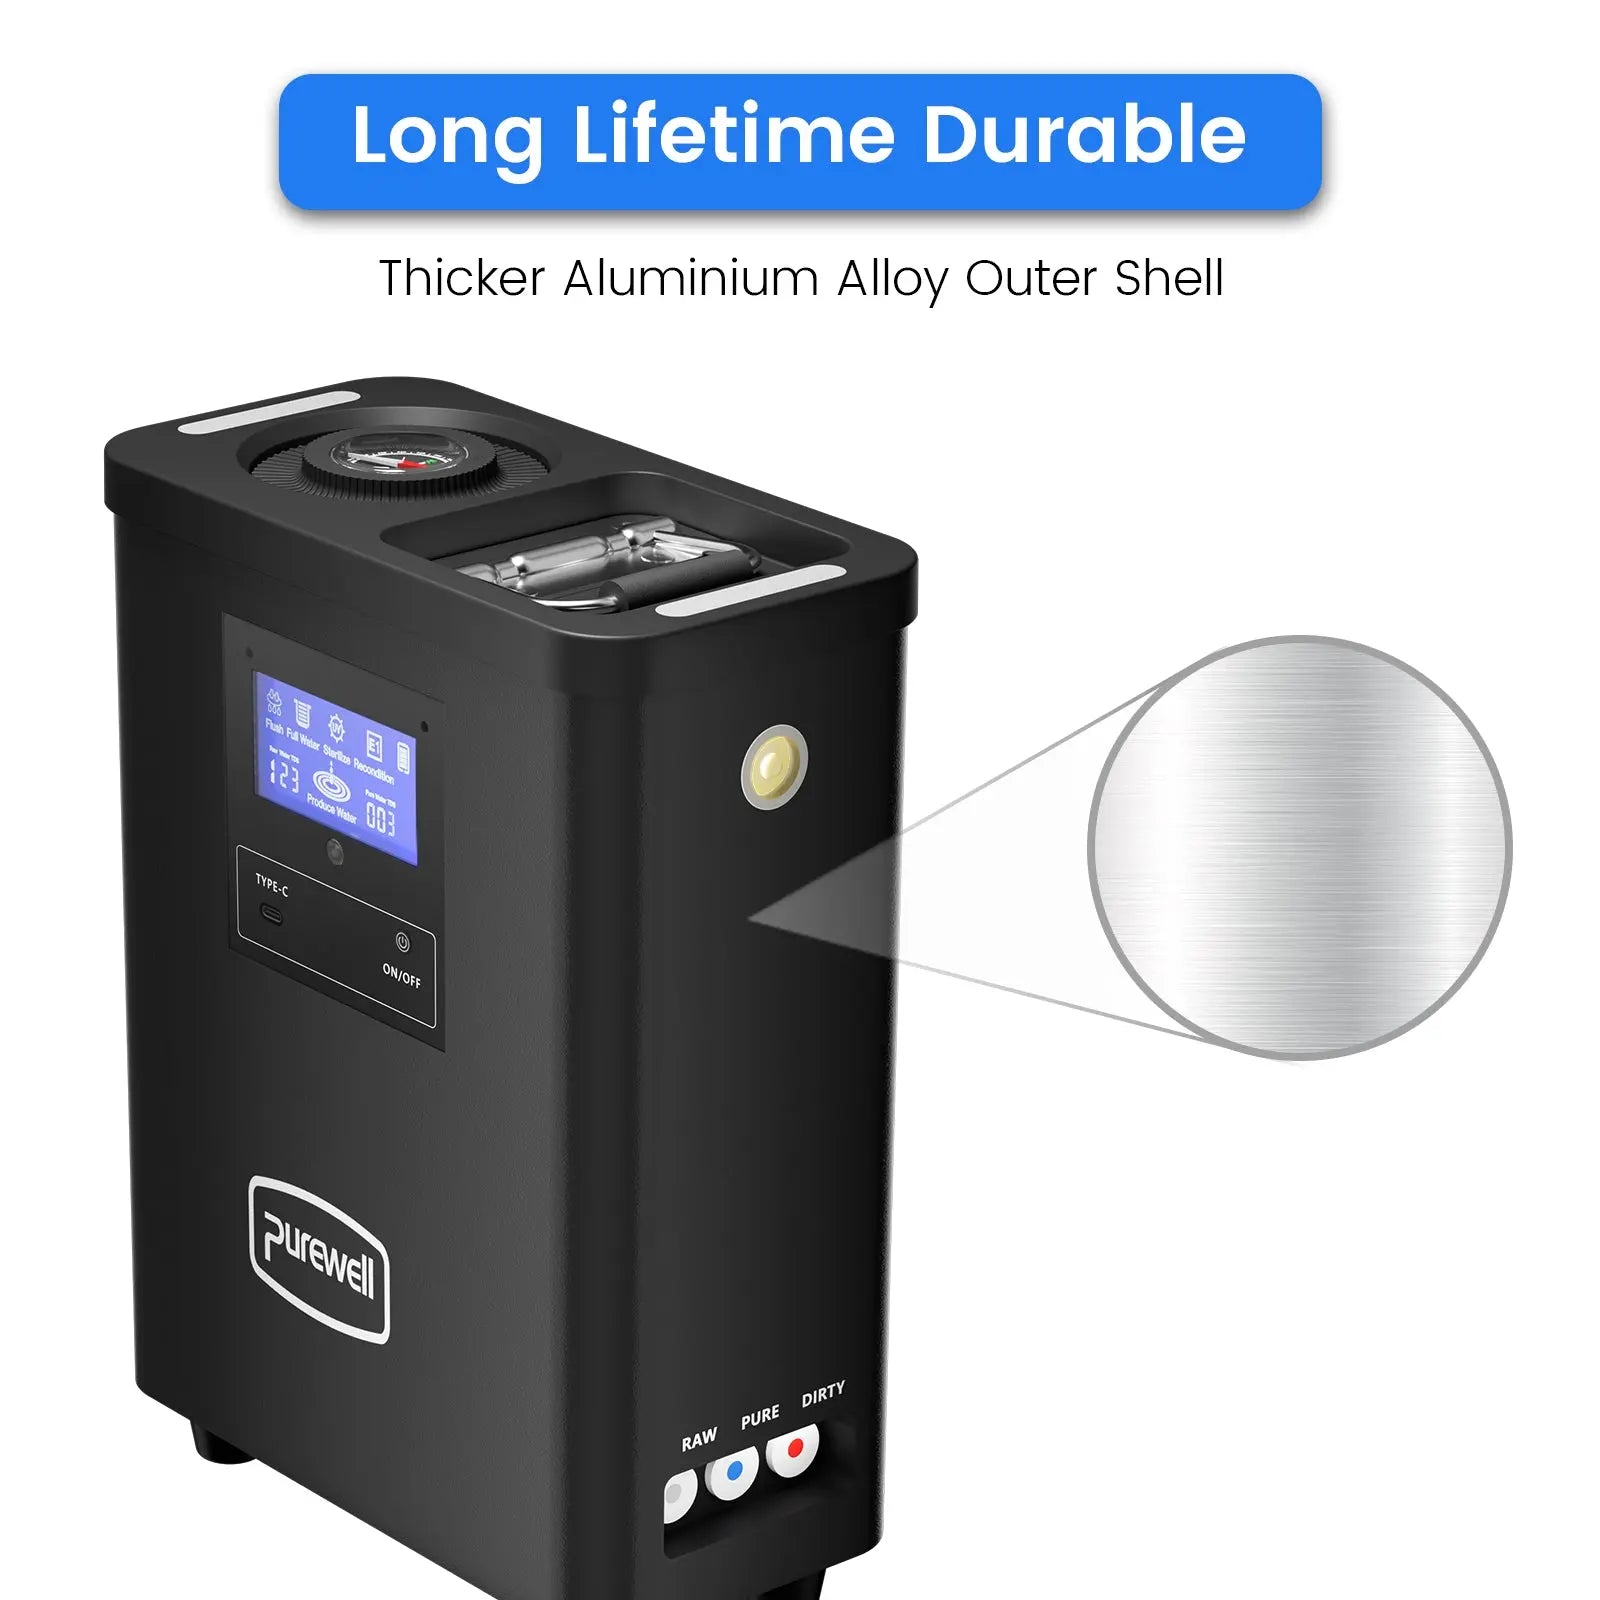
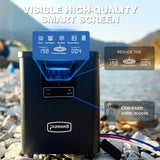
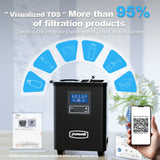
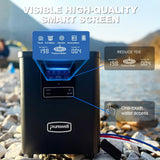
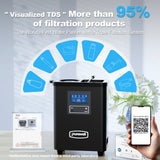
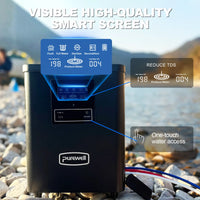
L'écran de contrôle avant affiche le TDS de l'eau brute, le TDS de l'eau purifiée, le niveau de la batterie, l'état du rinçage, l'état de production d'eau, le fonctionnement UV et les rappels d'entretien.

F
Rincer Nettoyage Automatique

Le rinçage automatique démarre à la mise sous tension du purificateur et se termine lorsque le voyant s'éteint.

R
TDS de l'eau brute Surveillance de l'Eau de Source

Affiche le niveau de TDS de la source d'eau brute entrante.

P
TDS de l'eau pure Surveillance de l'Eau Filtrée

Affiche le niveau de TDS de l'eau purifiée après filtration.

UV
Stériliser État de Fonctionnement UV

Le voyant UV reste allumé pendant que le système de traitement UV fonctionne normalement.

W
Produire de l'eau État de Filtration

Le voyant de production d'eau reste allumé pendant le fonctionnement normal de filtration.

B
Batterie Énergie Restante

Affiche le niveau de batterie restant pour mieux planifier l'utilisation en extérieur.

A
Eau pleine Réponse de la Vanne de Pression

La soupape de pression intégrée réagit lorsque la sortie d'eau purifiée est ouverte ou fermée.

E1
Reconditionner Rappel d'Entretien

Un voyant d'entretien clignotant peut indiquer une défaillance interne d'un composant nécessitant une inspection.

Maintenir enfoncé pendant 3 secondes
Allumer ou éteindre

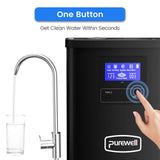
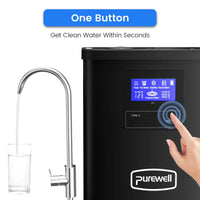
Appuyez sur le bouton principal et maintenez-le enfoncé pendant trois secondes.

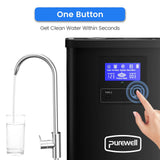
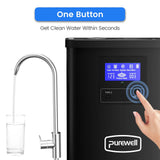
Appuyez une fois
Démarrer ou arrêter la filtration

Utilisez une pression courte pendant que le système est allumé.

Appuyez Deux Fois
Allumez ou éteignez la lumière

Deux courtes pressions contrôlent la lampe de travail intégrée.

Appuyez 3 fois
Activer ou Désactiver le Mode SOS

Trois appuis courts activent ou désactivent la lumière SOS.

Raccordements d'eau

05
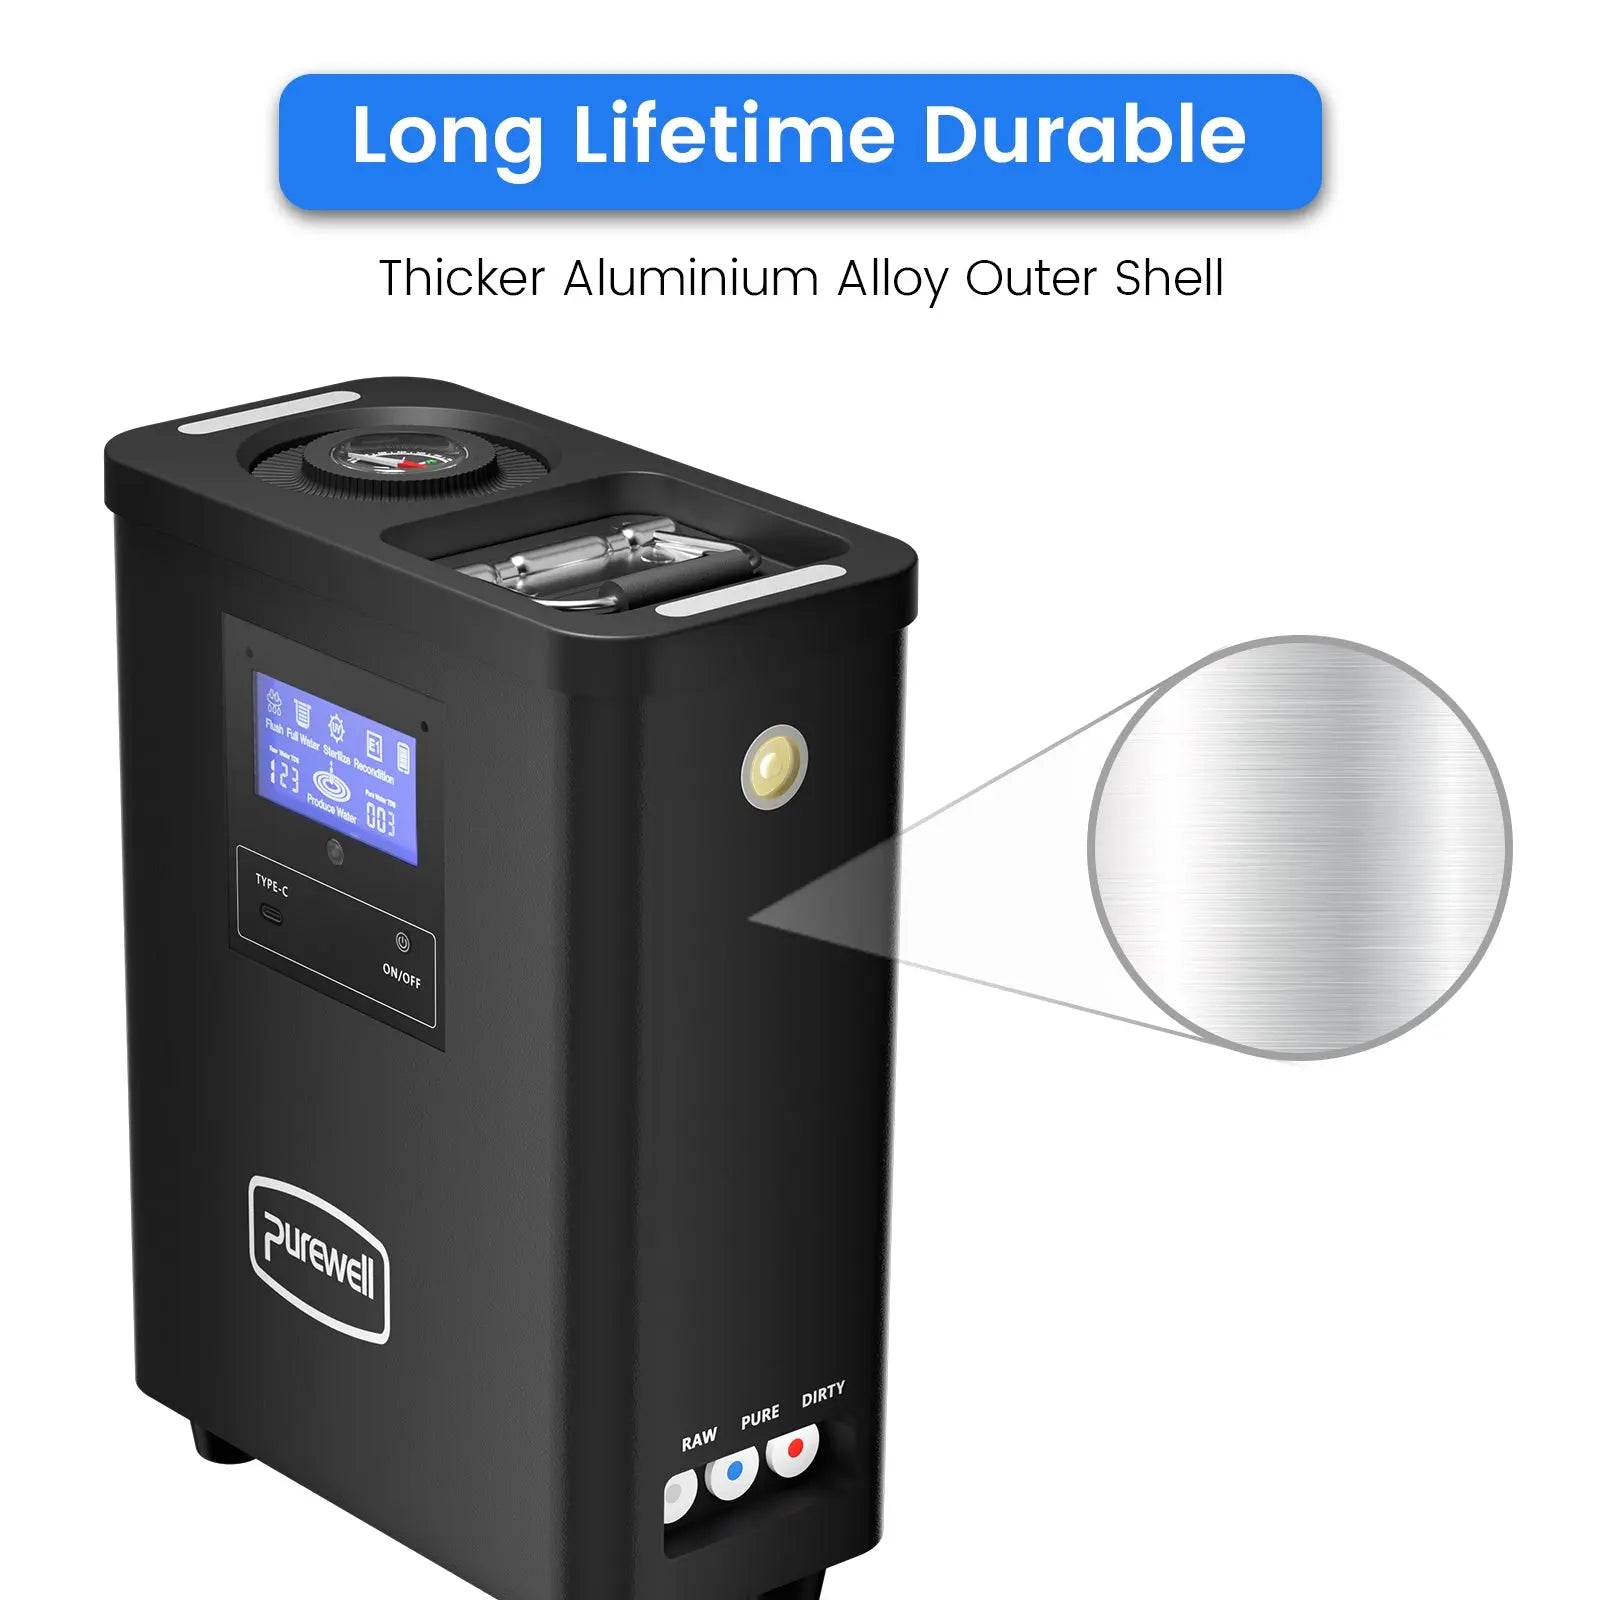
Tuyau blanc · BRUTE
Puiser l'Eau à la Source

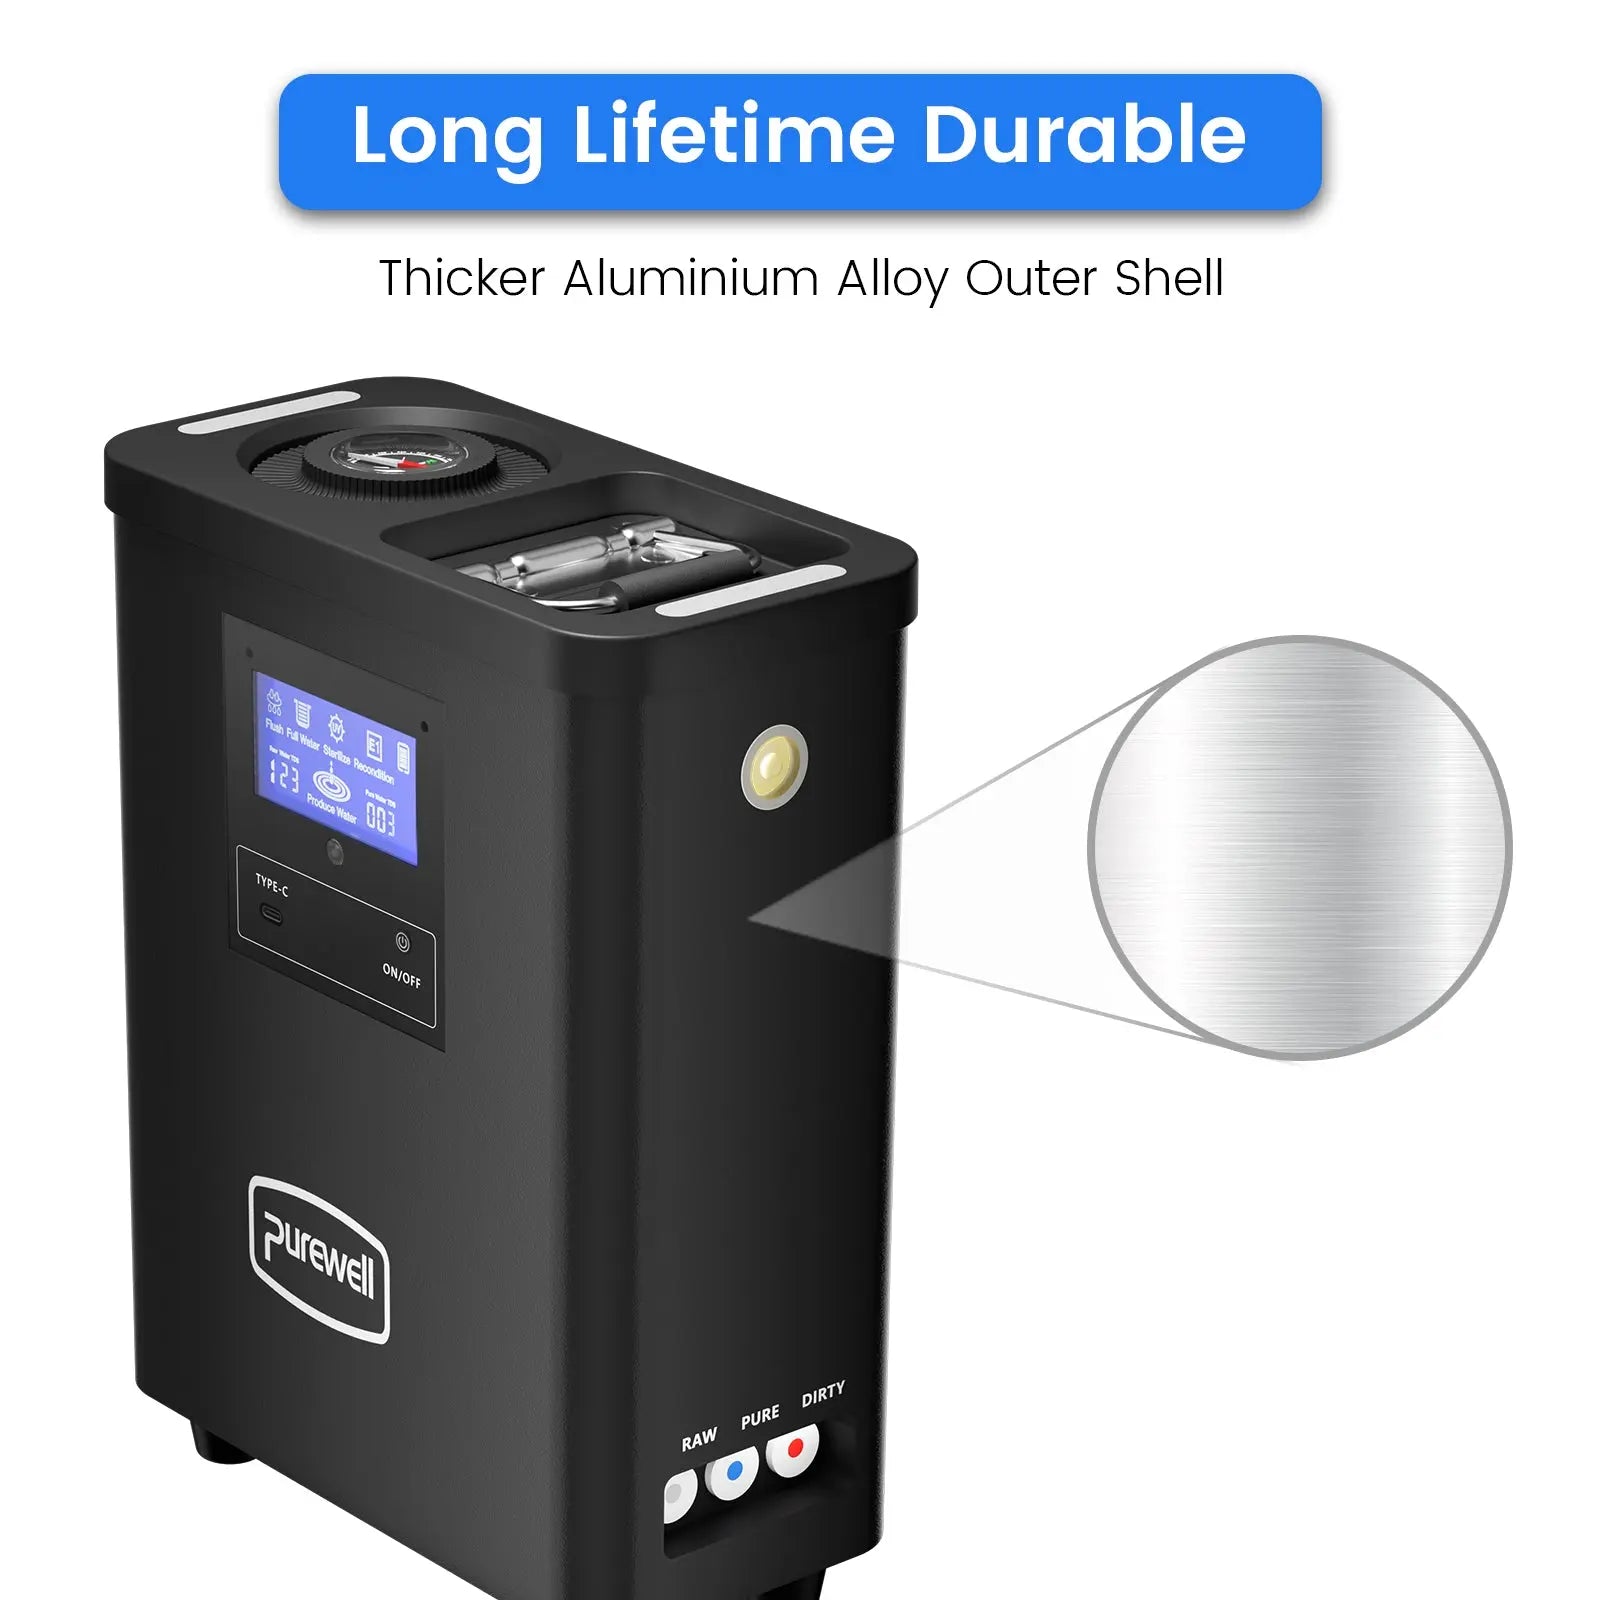
Connectez le tuyau blanc au préfiltre réutilisable, placez l'entrée dans la source d'eau brute et connectez l'extrémité opposée à l'entrée RAW.

Tuyau bleu · PURE
Recueillez l'eau purifiée

Connectez le tuyau bleu à la sortie PURE et dirigez-le vers le robinet fourni ou un récipient d'eau propre.

Tuyau rouge · SALE
Évacuer l'eau concentrée

Connectez le tuyau rouge à la sortie DIRTY et dirigez l'extrémité opposée vers un emplacement de drainage approprié.

Procédure d'utilisation initiale : Vérifiez que tous les tuyaux et joints sont installés en toute sécurité. Après avoir inséré la cartouche d'osmose inverse, mettez le système sous tension et laissez-le fonctionner environ 30 à 60 secondes pour rincer la membrane d'osmose inverse avant de recueillir l'eau potable.

Entretien, remplacement & notes d'utilisation

06
01
Utilisez l'eau dans la plage recommandée

La température de l'eau brute doit rester entre 41°F et 100°F / 5°C et 38°C.

02
Utilisez dans un environnement adapté

La température ambiante recommandée est de 40°F–104°F / 4°C–40°C.

03
Rétrolavez le préfiltre chaque mois

Un nettoyage régulier du préfiltre aide à réduire les obstructions et favorise une prise d'eau plus stable.

04
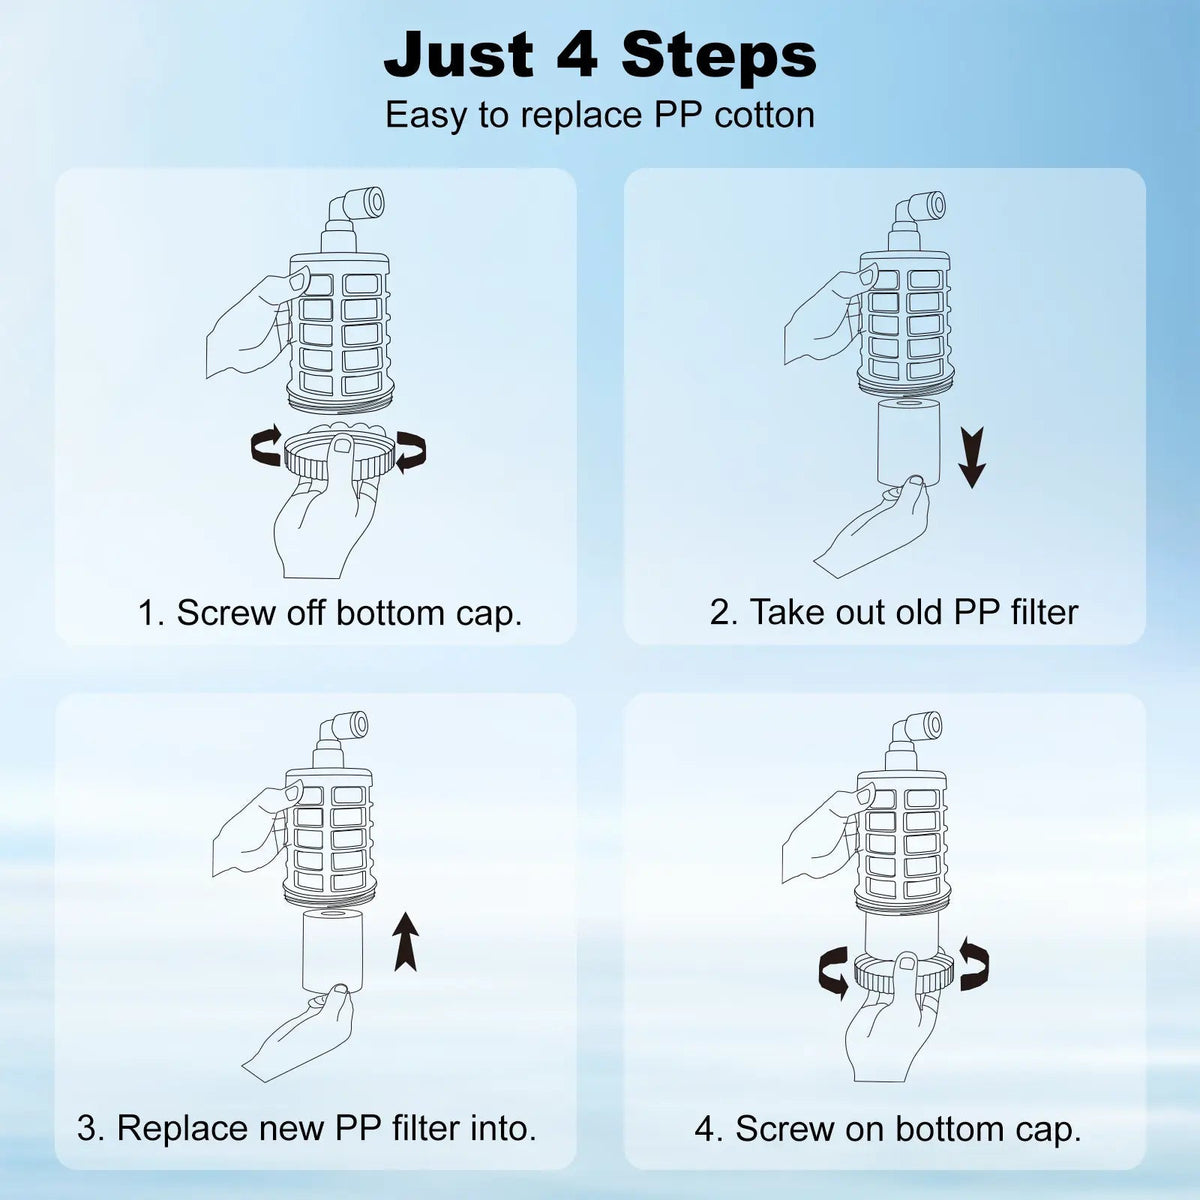
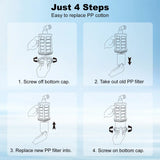
Remplacez le coton PP au besoin

Le manuel recommande un remplacement environ tous les 3 à 6 mois, selon l'eau source et l'utilisation.

05
Remplacez la cartouche RO à temps

Le manuel recommande environ tous les 6 à 12 mois, ou plus tôt si le TDS augmente ou si les performances de filtration diminuent.

06
N'ouvrez pas et ne lavez pas la cartouche d'osmose inverse

La cartouche d'osmose inverse est remplaçable et ne doit pas être nettoyée ni démontée de l'intérieur.

07
Gardez le port de charge au sec

Ne versez pas d'eau ni d'autres liquides dans le port de charge Type-C.

08
Ne plongez pas l'appareil

Nettoyez l'extérieur avec précaution sans immerger le système de purification électrique dans l'eau.

09
Évitez les matériaux de nettoyage abrasifs

N'utilisez pas de laine d'acier, de nettoyants abrasifs, d'essence, d'acétone ou d'autres liquides corrosifs.

10
Préparez correctement un stockage prolongé

Vidangez le système, retirez les filtres, laissez toutes les pièces sécher à l'air et rangez-les dans un endroit frais et sec.

11
L'eau résiduelle peut être normale

Une petite quantité d'eau peut subsister après les tests de pression, de débit d'eau et UV effectués en usine.

12
Vérifiez les raccordements avant chaque sortie

Inspectez la cartouche, les joints, les raccords rapides, les tuyaux et les sorties avant utilisation.

Recommandation de remplacement : La capacité nominale en gallons et les mois de remplacement recommandés sont des valeurs de référence. La qualité de l'eau de source, les sédiments, la consommation quotidienne, le niveau de TDS, la température et l'entretien peuvent raccourcir ou prolonger la période d'utilisation réelle.
Guide d’utilisation
Installation & Usage Guide

How to Use the K8680 Portable RO Water Filter System

Follow these steps to inspect the purifier, install the RO cartridge, connect the water pipes, complete the initial flush, produce purified water, and store the system correctly.

Before Installation

Prepare and Charge the System

Inspect the purifier, cartridge, pipes, intake pre-filter, faucet, seals, and charging connection before outdoor use.

  • 1
    Check All Included Parts Confirm that the purifier, composite RO cartridge, white RAW pipe, blue PURE pipe, red DIRTY pipe, intake pre-filter, faucet, and charging cable are ready.
  • 2
    Inspect Seals and Connections Check that the fittings, seals, pipe connections, cartridge ports, and quick connectors are not loose, damaged, or detached.
  • 3
    Charge Before Outdoor Use Use the matching charger and allow approximately 2–3 hours for charging before extended outdoor use.
Factory-test notice: A small amount of residual water inside the purifier is normal because each unit is tested before leaving the factory.
Filter Installation

Install the Composite RO Cartridge

Install the cartridge vertically and align it with the three connection points inside the purifier.

  • 1
    Unlock the Top Cover Rotate the top cover to the unlocked position and lift it upward carefully.
  • 2
    Remove the Protective Film Remove the outer plastic sealing film from the new composite RO cartridge before installation.
  • 3
    Align and Push Down Align the cartridge with the three bottom ports and push it downward until it clicks securely into place.
Important: Do not reverse the cartridge position or force it into the compartment. The cartridge should sit flush with the internal panel after installation.
Water Connections

Connect the Color-Coded Water Pipes

Push each 1/4-inch pipe straight into the matching port until the pipe is fully inserted and securely held.

  • 1
    Connect the White RAW Pipe Attach the intake pre-filter to the white pipe, place it in the freshwater source, and connect the opposite end to the RAW inlet.
  • 2
    Connect the Blue PURE Pipe Connect the blue pipe to the PURE outlet and direct it to the included faucet or a clean water container.
  • 3
    Connect the Red DIRTY Pipe Connect the red pipe to the DIRTY outlet and direct the opposite end to a suitable wastewater drainage area.
White · Raw Water Blue · Pure Water Red · Drain Water
To disconnect a pipe: Press the quick-connect collet inward and gently pull the pipe outward. Do not pull the pipe without first pressing the collet.
First Use

Power On and Complete the Initial Flush

Allow the automatic cleaning cycle and initial cartridge rinse to finish before collecting drinking water.

  • 1
    Hold the Button for 3 Seconds Press and hold the ON/OFF button for approximately three seconds to power on the purifier.
  • 2
    Wait for Automatic Cleaning Automatic flushing begins after the system is powered on. Wait until the flushing indicator turns off.
  • 3
    Discard the Initial Water Run and discard the first filtered water for approximately 3–5 minutes before drinking.
First-use note: Slightly yellow water during the first rinse may be normal. Continue flushing until the water runs clear.
Daily Operation

Produce Water and Monitor Performance

Start filtration, collect water from the blue PURE outlet, and use the control display to monitor operating status.

  • 1
    Press Once to Start Filtration After the purifier is powered on, press the main button once to start or stop water production.
  • 2
    Collect from the PURE Outlet Direct the blue pipe into a clean container or use the included faucet to dispense purified water.
  • 3
    Compare Raw and Pure TDS Monitor both raw-water TDS and purified-water TDS. Small reading fluctuations during normal use are expected.
Testing tip: Run purified water for 1–2 minutes before evaluating the TDS reading. Consistently elevated readings may indicate that the pre-filter or RO cartridge requires inspection.
After Use

Clean, Drain and Store the System

Proper cleaning and dry storage help protect the pump, pipes, intake pre-filter, cartridge, and charging connection.

  • 1
    Stop Filtration and Power Off Press once to stop filtration, then hold the main button for three seconds to turn off the purifier.
  • 2
    Drain and Clean the Pre-Filter Remove the intake from the source water, drain the remaining water, and rinse or backflush the reusable intake pre-filter.
  • 3
    Air-Dry Before Long-Term Storage Remove the filters, allow the parts to dry completely, and store the purifier in a cool, dry location.
Cleaning restriction: Do not submerge the purifier. Do not pour liquid into the cartridge compartment or Type-C port. Do not use steel wool, abrasive cleaners, gasoline, acetone, or corrosive liquids.
Main Power Hold for 3 Seconds

Turn the purifier on or off.

Water Production Press Once

Start or stop filtration.

Work Light Press Twice

Turn the built-in light on or off.

SOS Light Press 3 Times

Activate or deactivate SOS flashing mode.

Raw Water Temperature 41°F–100°F / 5°C–38°C

Do not use hot water.

Charging Time Approximately 2–3 Hours

Use the matching charger.

Rated Runtime Up to 6.5 Hours

Actual runtime varies by operating conditions.

Recommended Source General Outdoor Freshwater

Choose the clearest available source.

Water source notice: Use the clearest available freshwater source whenever possible. This system is not designed for seawater, industrial wastewater, chemically contaminated water, or water outside the recommended temperature range.
Comment ça marche
Working Principle

How the Portable RO Water Filter System Works

The system draws source water through the white RAW water line, moves it through multiple filtration and treatment components, separates purified water from concentrated drain water, and sends each water stream to its corresponding outlet.

Water Treatment Path From Source Water to Purified Water
Input General Outdoor Freshwater

Source water enters through the white RAW pipe and intake pre-filter.

Raw Water TDS
Pure Water TDS
01
Intake Pre-Filtration Stainless steel mesh and medical PP cotton help capture larger debris, sediment, rust, and suspended particles.
02
Activated Carbon Treatment Helps reduce chlorine, color, unpleasant taste, odor, and selected organic substances.
03
Reverse Osmosis Separation The RO membrane separates purified water from dissolved solids and concentrated drain water.
04
UV Treatment Built-in UV treatment provides an additional stage targeting bacteria and viruses during operation.
Blue PURE Outlet Purified Water

Sent to the faucet or a clean water collection container.

Red DIRTY Outlet Concentrated Water

Directed away from the system through the drain-water pipe.

White · RAW Blue · PURE Red · DIRTY
01
Draw Water Through the RAW Inlet

The electric pump draws source water through the intake pre-filter and white RAW water pipe. The intake pre-filter helps prevent larger outdoor debris from entering the system.

02
Complete Pre-Filtration and Carbon Treatment

Medical PP cotton helps capture sediment and fine particles. Activated carbon then helps improve water color, taste, odor, and chlorine-related characteristics.

03
Separate Water Through the RO Membrane

Pressure moves the pretreated water through the reverse osmosis membrane. Purified water passes through the membrane, while concentrated water is directed toward the DIRTY outlet.

04
Apply UV Treatment

The built-in UV system operates as an additional treatment stage while water is being produced. The UV indicator shows its operating status on the control display.

05
Monitor Raw and Purified Water TDS

The display shows the TDS level of both the incoming source water and the purified water, helping users monitor changes in system performance.

06
Collect Pure Water and Drain Concentrated Water

Purified water exits through the blue PURE line for collection. Concentrated water exits separately through the red DIRTY line and should be directed to a suitable drainage location.

Automatic cleaning: When the purifier is powered on, the system begins an automatic flushing process. Wait until the flushing indicator turns off before evaluating normal water production.
System Type Pump-Driven Portable RO System

Uses electric pressure instead of gravity alone.

Main Treatment Path Pre-Filter + Carbon + RO + UV

Groups the primary functional components of the system.

Water Quality Display Raw TDS & Pure TDS

Displays incoming and purified-water TDS readings.

Separate Outputs PURE Water + DIRTY Water

Purified and concentrated water leave through separate pipes.

Filtration-stage note: The product manual identifies the complete K8680 system as a 10-stage filtration system. For easier customer understanding, this working-principle module groups those stages into the main functional components: intake pre-filtration, activated carbon, reverse osmosis, and UV treatment.
Water source notice: The system is designed for general outdoor freshwater sources. It is not intended for seawater, industrial wastewater, chemically contaminated water, or water outside the recommended operating range.
Remplacement du filtre

K8680 Filter Replacement & Maintenance Guide

Regular cleaning and timely filter replacement help maintain water flow, purified-water TDS performance, drinking water taste, and long-term reliability of your Portable RO Water Filter System.

RO
!
Track Capacity, Time & TDS

Actual filter life varies according to source-water quality, sediment load, TDS level, filtered volume, and maintenance.

Purified-Water TDS Stays High

Consistently elevated purified-water TDS may indicate reduced pre-filter or RO membrane performance.

Water Flow Becomes Slower

Reduced flow may be caused by a blocked pre-filter, saturated PP cotton, or an aging RO cartridge.

Taste or Odor Changes

Replace the cartridge when unwanted taste or odor returns after normal flushing and cleaning.

Rated Capacity or Time Is Reached

Use both filtered-water volume and recommended replacement intervals when planning maintenance.

K8680 Filter Components

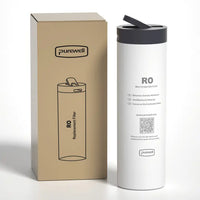
The K8680 uses an intake pre-filter, replaceable PP cotton, a composite RO cartridge containing activated carbon and an RO membrane, plus a built-in UV treatment module.

Intake Pre-Filter

Stainless Steel Mesh

Reusable

Helps block twigs, leaves, weeds, and other larger materials before source water enters the purification system.

Maintenance Clean Monthly
Replacement If Damaged
Pre-Filter Element

Medical PP Cotton

Up to 500 Gal

Helps capture particles larger than 5 μm, including fine sediment, rust, insect eggs, and mineral debris.

Recommended Time 3–6 Months
Replace When Flow Declines
Main Cartridge

Composite RO Filter

Up to 3,000 Gal

Combines activated carbon and an RO membrane to support taste improvement, odor reduction, TDS reduction, and high-precision outdoor freshwater purification.

Recommended Time 6–12 Months
Monitor Pure-Water TDS
Final Treatment

UV Germicidal Lamp

Lifetime Listed

Operates automatically as an additional treatment stage. The UV indicator remains illuminated during normal operation.

User Maintenance Not Required
Service Trigger Fault Indicator
How to Replace the Composite RO Cartridge

Turn off the system and disconnect the water supply before opening the cartridge compartment. A small amount of residual water during replacement is normal.

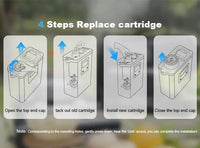
01 Turn Off the System

Stop filtration, turn off the main power, and disconnect the water supply before replacement.

02 Unlock the Top Cover

Rotate the top cover to the unlocked position and lift the upper panel carefully.

03 Remove the Used Cartridge

Hold the cartridge handle and pull the cartridge vertically upward without twisting the internal connection.

04 Install the New Cartridge

Remove the protective film, align the three slots at the bottom, and push down until the cartridge is securely seated.

05 Flush Before Drinking

Close the upper panel, reconnect the pipes, and run the system for approximately 30–60 seconds to rinse the RO membrane.

Installation reminder: Make sure the cartridge is fully aligned with the three bottom connection points. Do not force the cartridge or operate the system when the cartridge is not completely seated.
How to Use TDS Readings

The front display shows both raw-water TDS and purified-water TDS. Use the purified-water reading as a performance trend rather than judging the cartridge from one isolated reading.

Correct Testing Method Run Water for 1–2 Minutes

Collect purified water from the blue PURE outlet in a clean container. Small fluctuations are normal; consistently elevated readings are more useful for maintenance decisions.

Below 50 ppm Excellent

Listed in the manual as an ideal purified-water TDS range.

50–100 ppm Typical RO Range

May be acceptable depending on the original source-water TDS.

Below 200 ppm Acceptable Reference

Continue monitoring the reading and compare it with raw water.

Consistently Above 200 ppm Inspect the Filters

Clean the pre-filter and consider PP cotton or RO cartridge replacement if performance remains reduced.

Maintenance Before Replacing Filters
Clean the Intake Pre-Filter

Rinse or backflush the stainless steel pre-filter monthly to reduce blockage caused by outdoor debris.

Check All Three Pipes

Make sure the white RAW, blue PURE, and red DIRTY pipes are correctly connected without sharp bends or obstruction.

Check the Source Water

Heavy sediment, high TDS, or visibly dirty source water may shorten PP cotton and RO cartridge life.

Run the Automatic Flush

Allow the automatic cleaning process to finish after the system is powered on before evaluating normal water production.

Record Replacement Dates

Track the installation date, filtered-water volume, and typical purified-water TDS for each new cartridge.

Store the System Dry

For long-term storage, drain the system, remove the filters, air-dry all components, and keep them in a cool, dry place.

Filter Replacement Checklist
Component Material / Type Rated Life Recommended Maintenance Main Replacement Trigger
Intake Pre-Filter Stainless Steel Mesh Reusable Rinse or backflush monthly and remove visible debris. Replace if the mesh or connection is damaged.
PP Pre-Filter Medical PP Cotton Up to 500 gallons or approximately 3–6 months. Check flow rate, sediment buildup, and source-water quality. Slower intake, heavy discoloration, or rated life reached.
Composite RO Cartridge Activated Carbon + RO Membrane Up to 3,000 gallons or approximately 6–12 months. Monitor purified-water TDS, taste, odor, and water production. Consistently elevated TDS, taste changes, or reduced flow.
UV Treatment Module UV Germicidal Lamp Listed as lifetime in the manual. Confirm that the UV indicator operates normally. Internal fault or service indicator requires inspection.
Actual replacement frequency: Rated gallon capacities and recommended month ranges are reference values. High sediment, higher source-water TDS, frequent outdoor use, improper storage, and limited pre-filter maintenance may shorten the actual service life.
Liste

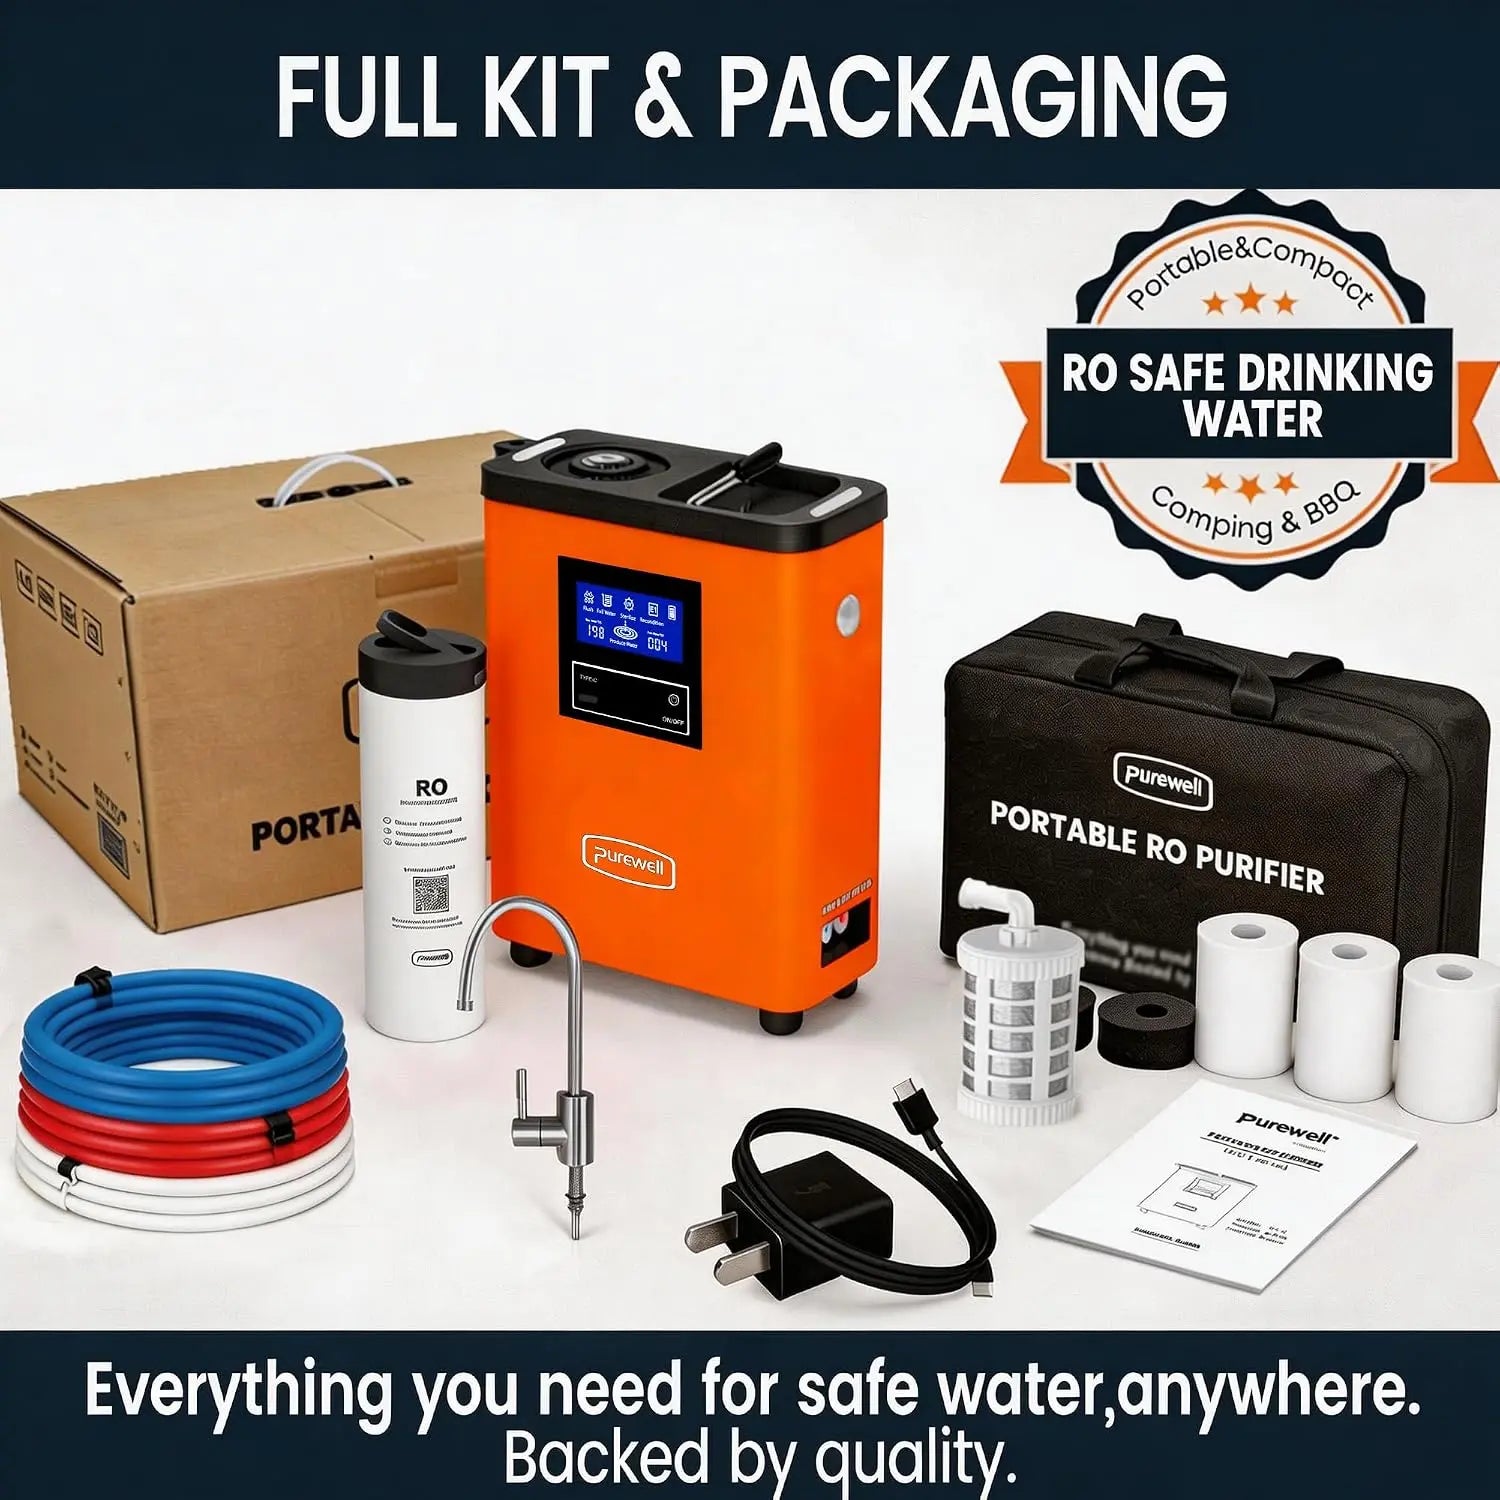
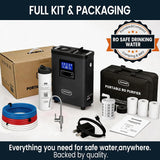
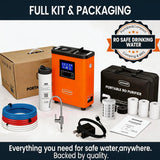
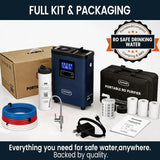
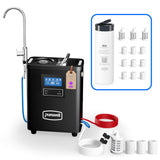
Main System Package

Main equipment and operating accessories included with the K8680 Portable RO Water Filter System.

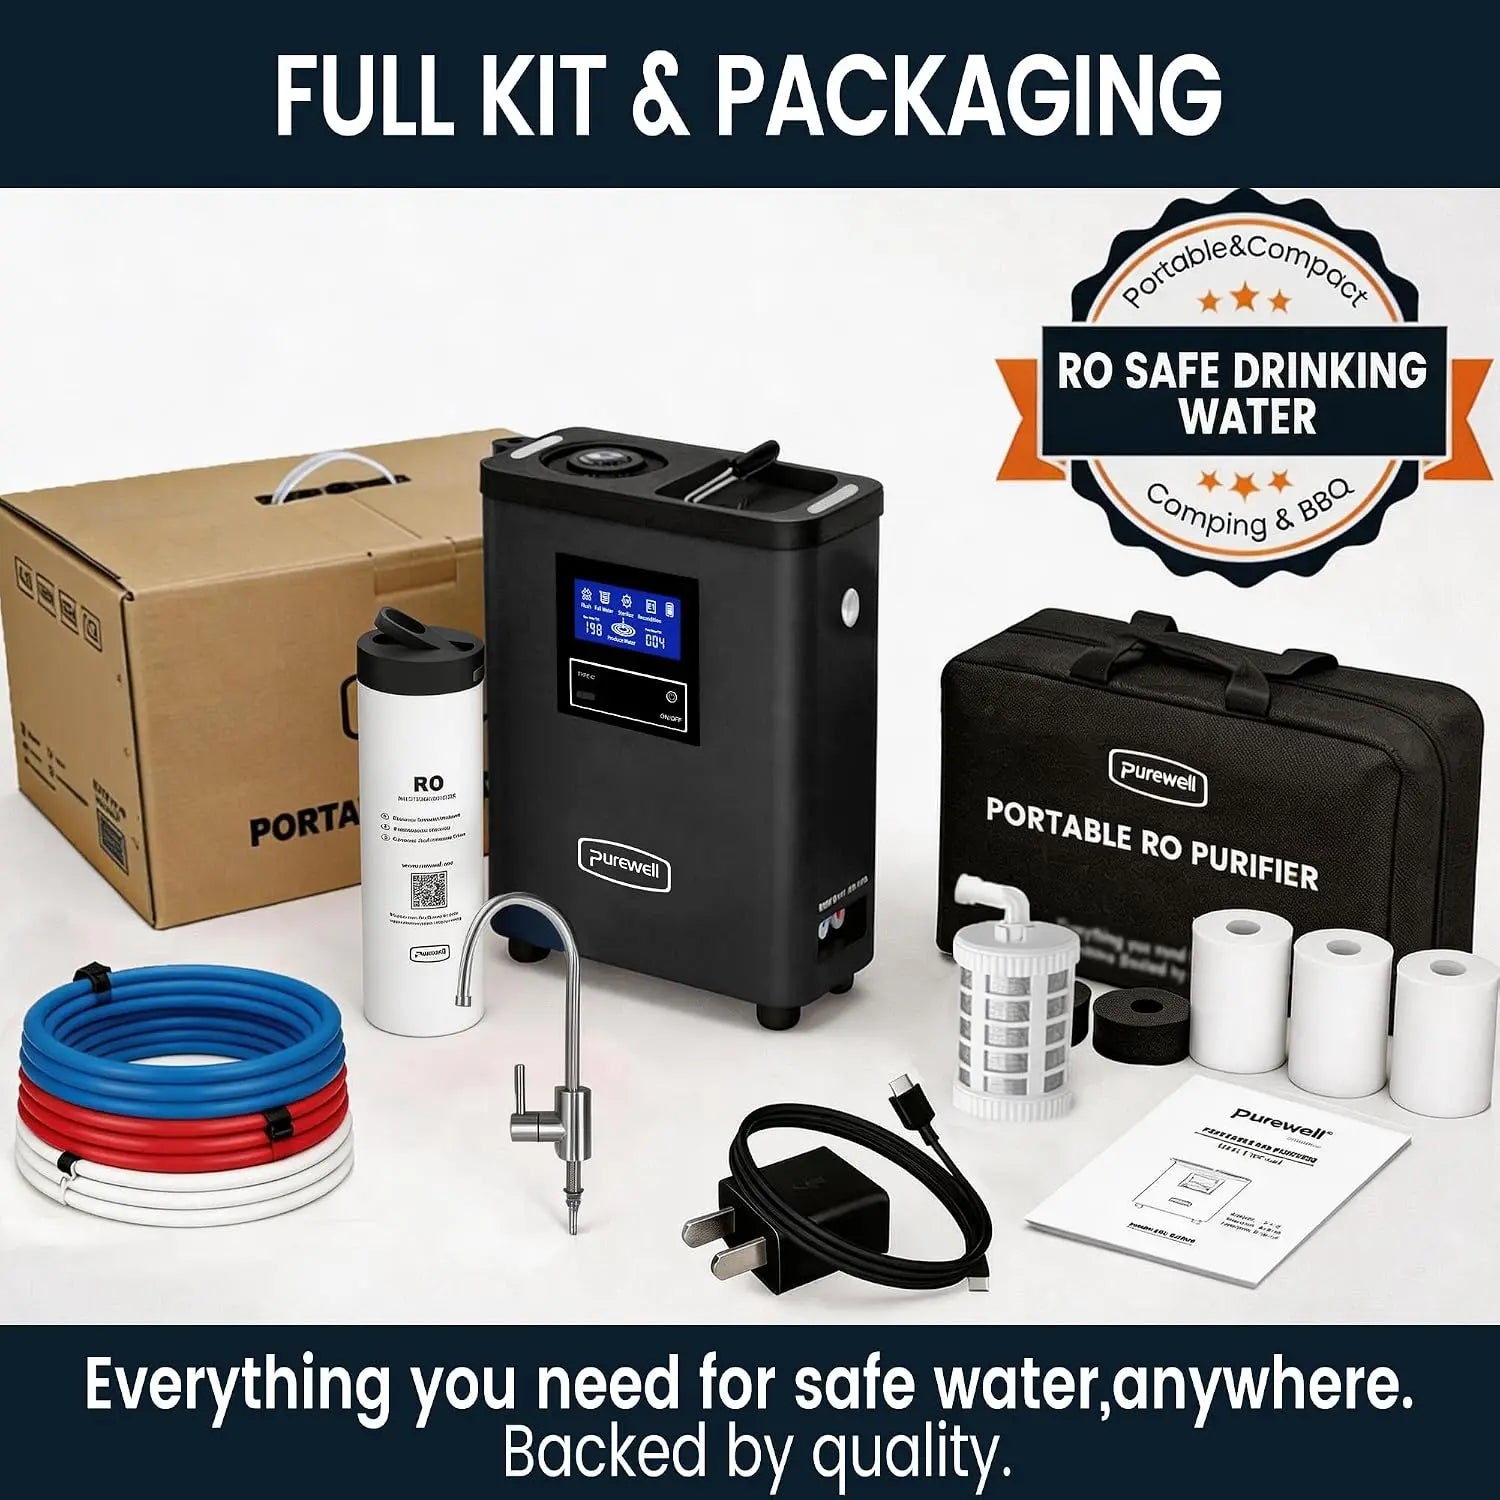
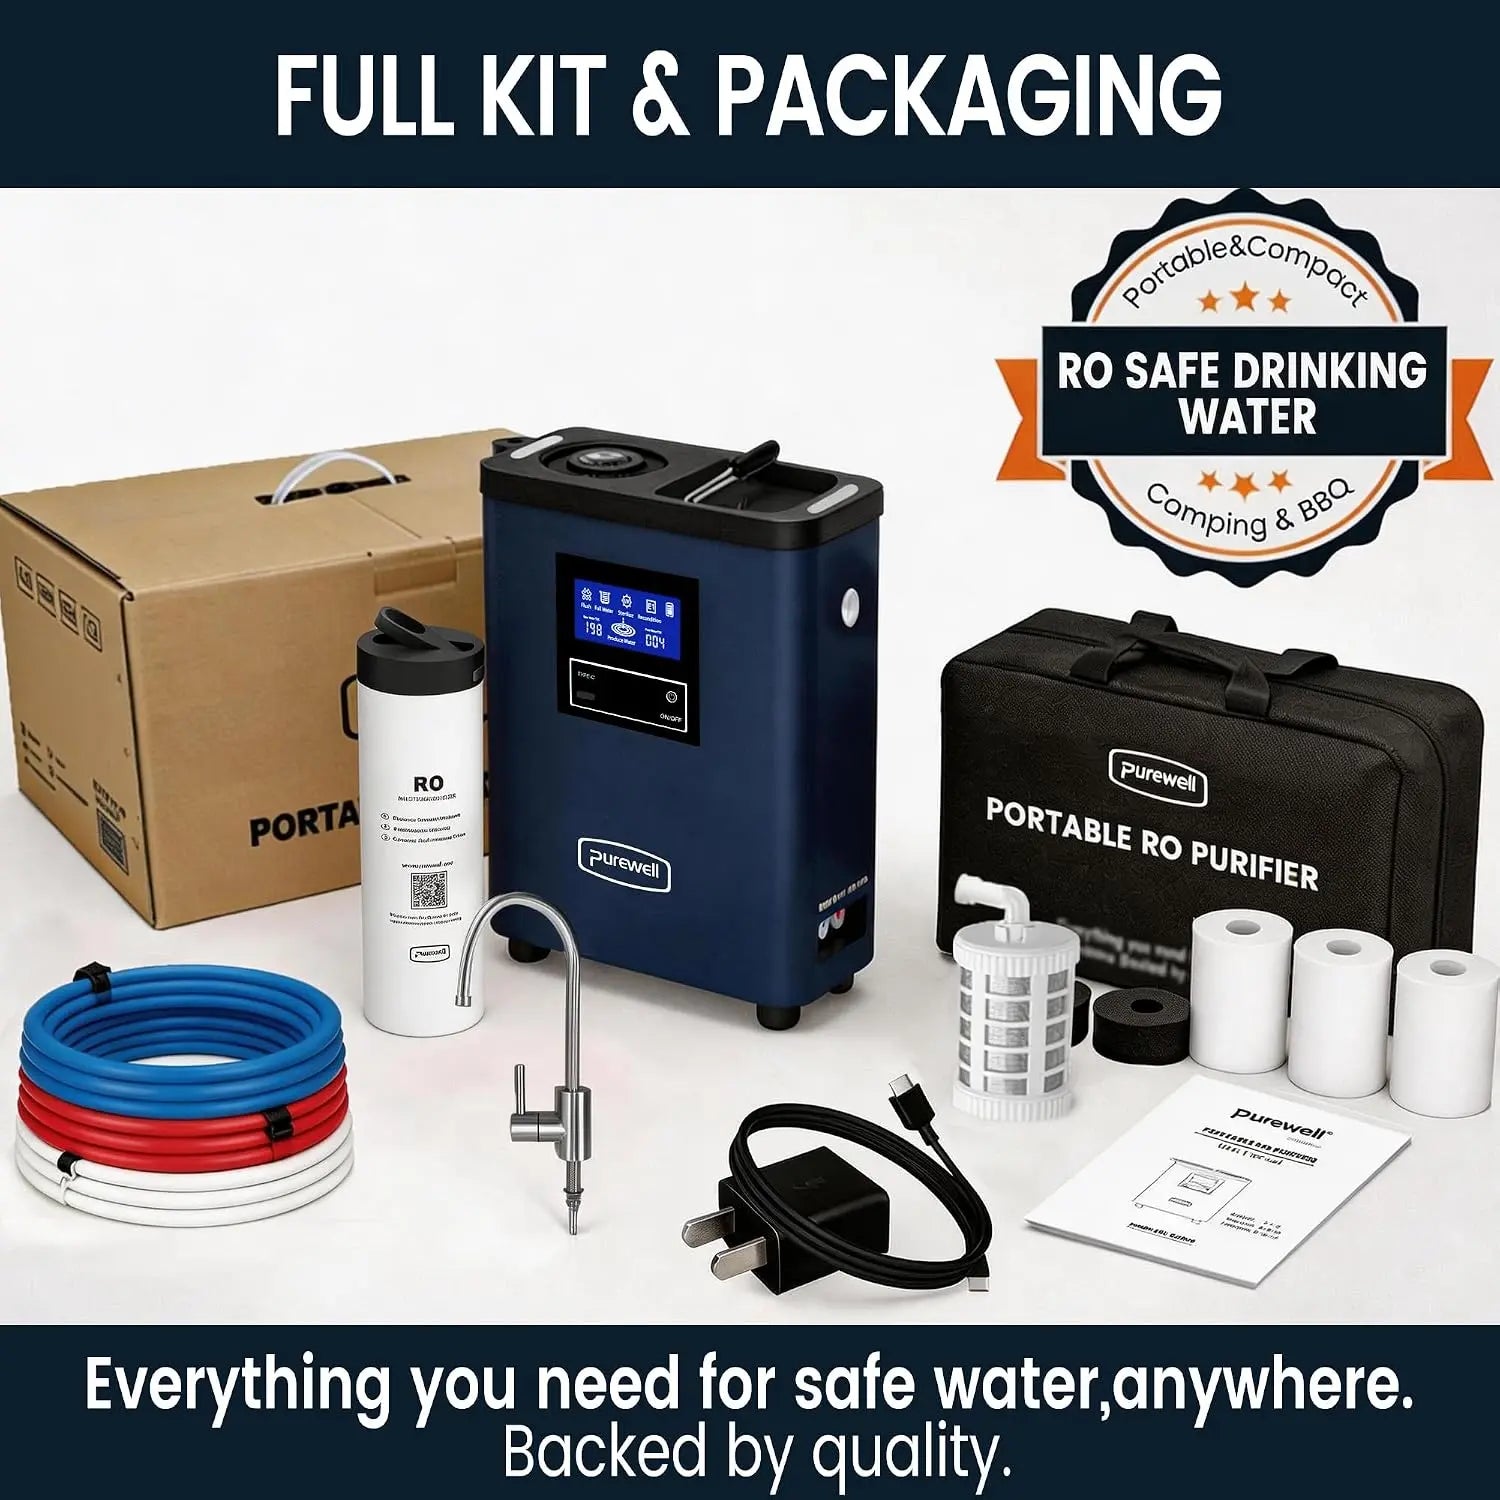
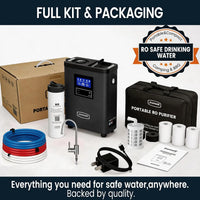
  • K8680 RO Purifier Main electric water purification unit. × 1
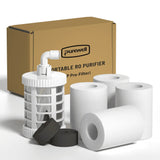
  • Composite RO Cartridge Activated carbon and RO membrane cartridge. × 1
  • Drinking Water Faucet Used with the blue PURE water outlet pipe. × 1
  • Type-C Charging Cable For charging the built-in rechargeable battery. × 1
  • User Manual Installation, operation, and maintenance guidance. × 1

Water Connection Kit

Color-coded pipes, intake parts, and pre-filter elements used to connect and protect the water intake system.

  • White RAW Water Pipe Draws source water into the purification system. × 1
  • Blue PURE Water Pipe Delivers purified water to the faucet or container. × 1
  • Red DIRTY Water Pipe Drains concentrated wastewater from the system. × 1
  • Intake Pre-Filter Connects to the white RAW water pipe. × 1
  • Medical PP Cotton Replaceable elements installed inside the intake pre-filter. × 4
  • Water Intake Floats Help position the intake pipe in the water source. × 2
  • 1/4-Inch Quick Connector Used for the intake pre-filter connection. × 1

Integrated System Features

These features are built into the K8680 purifier body and are not packaged as separate loose accessories.

  • Water Monitoring Control Display
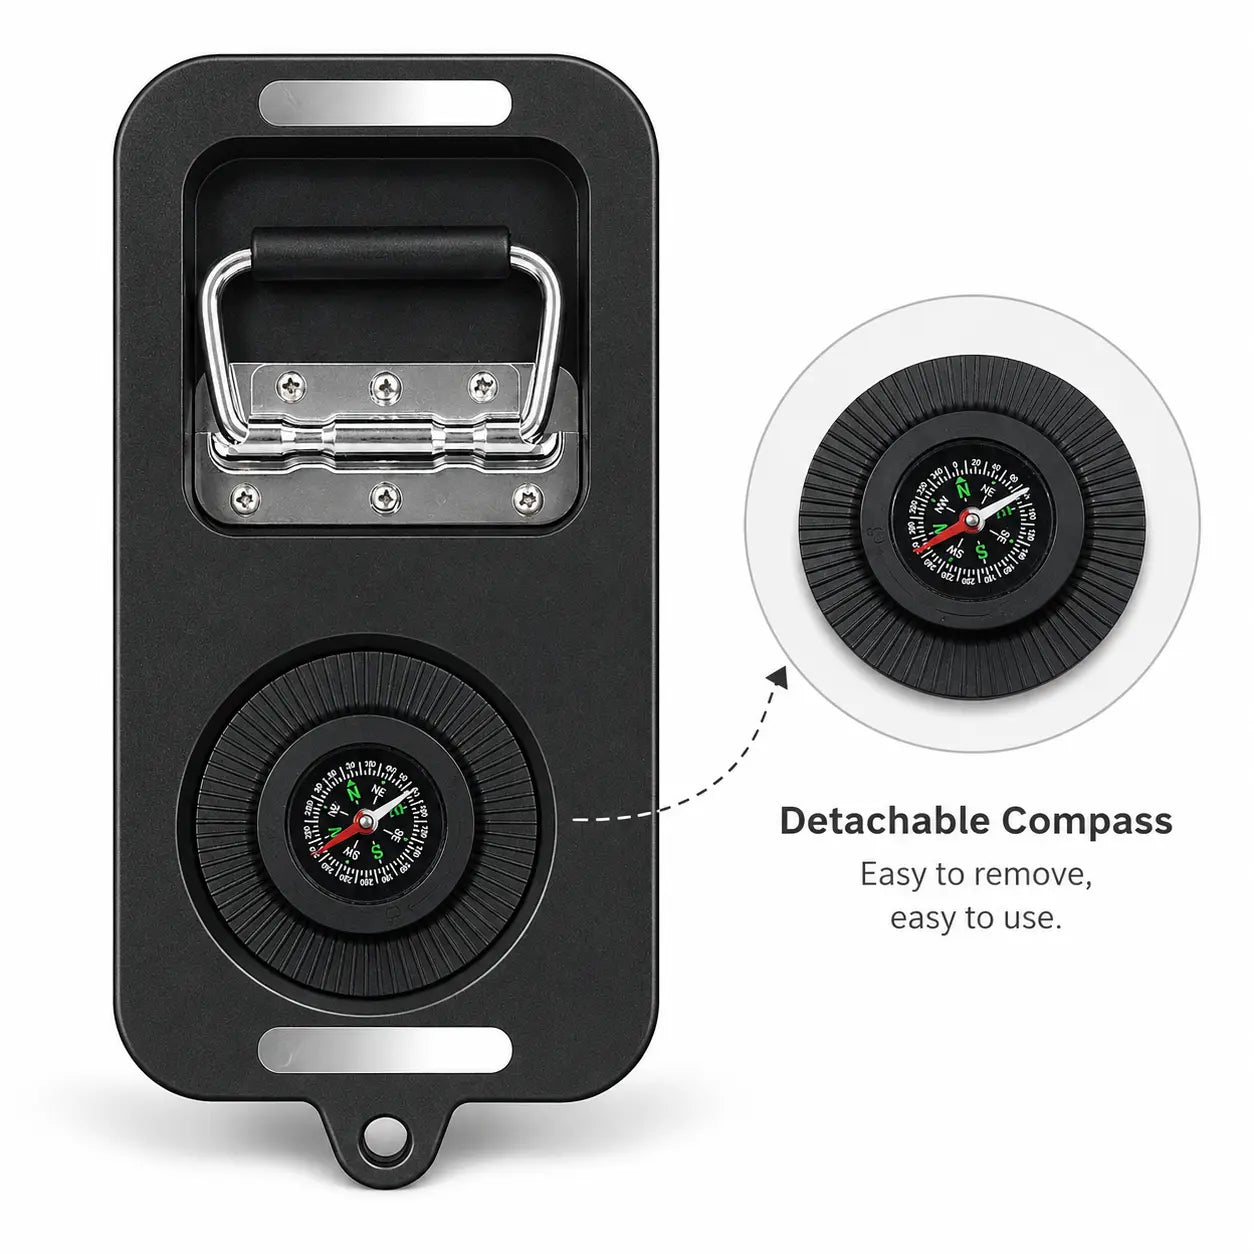
  • Outdoor Carrying Metal Handle
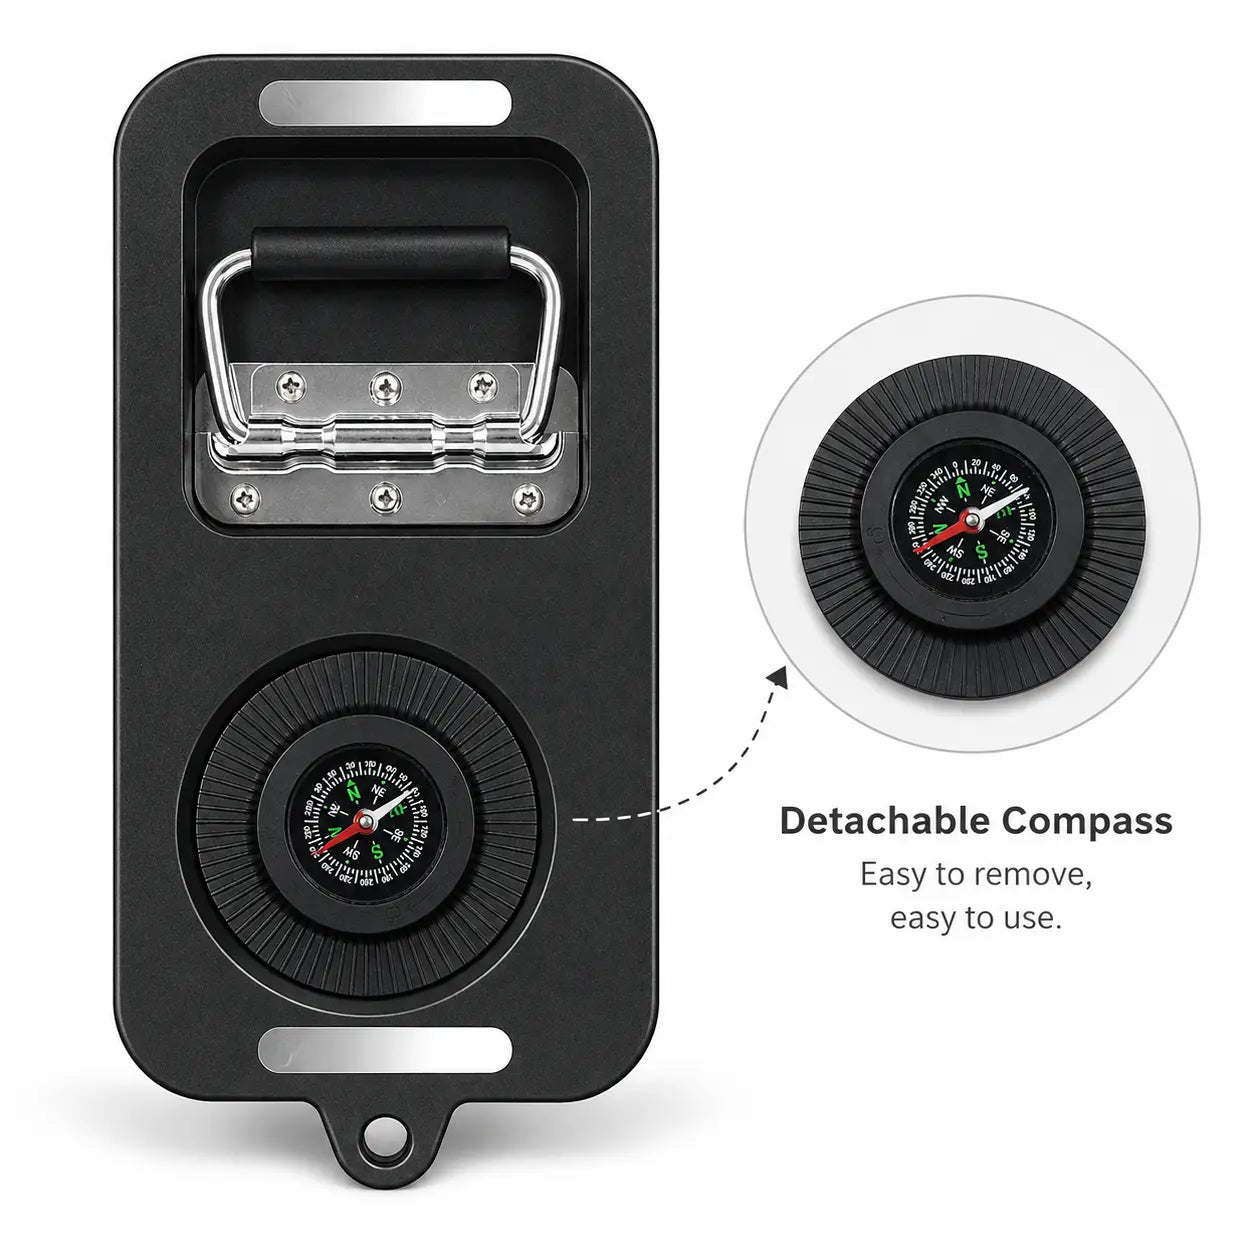
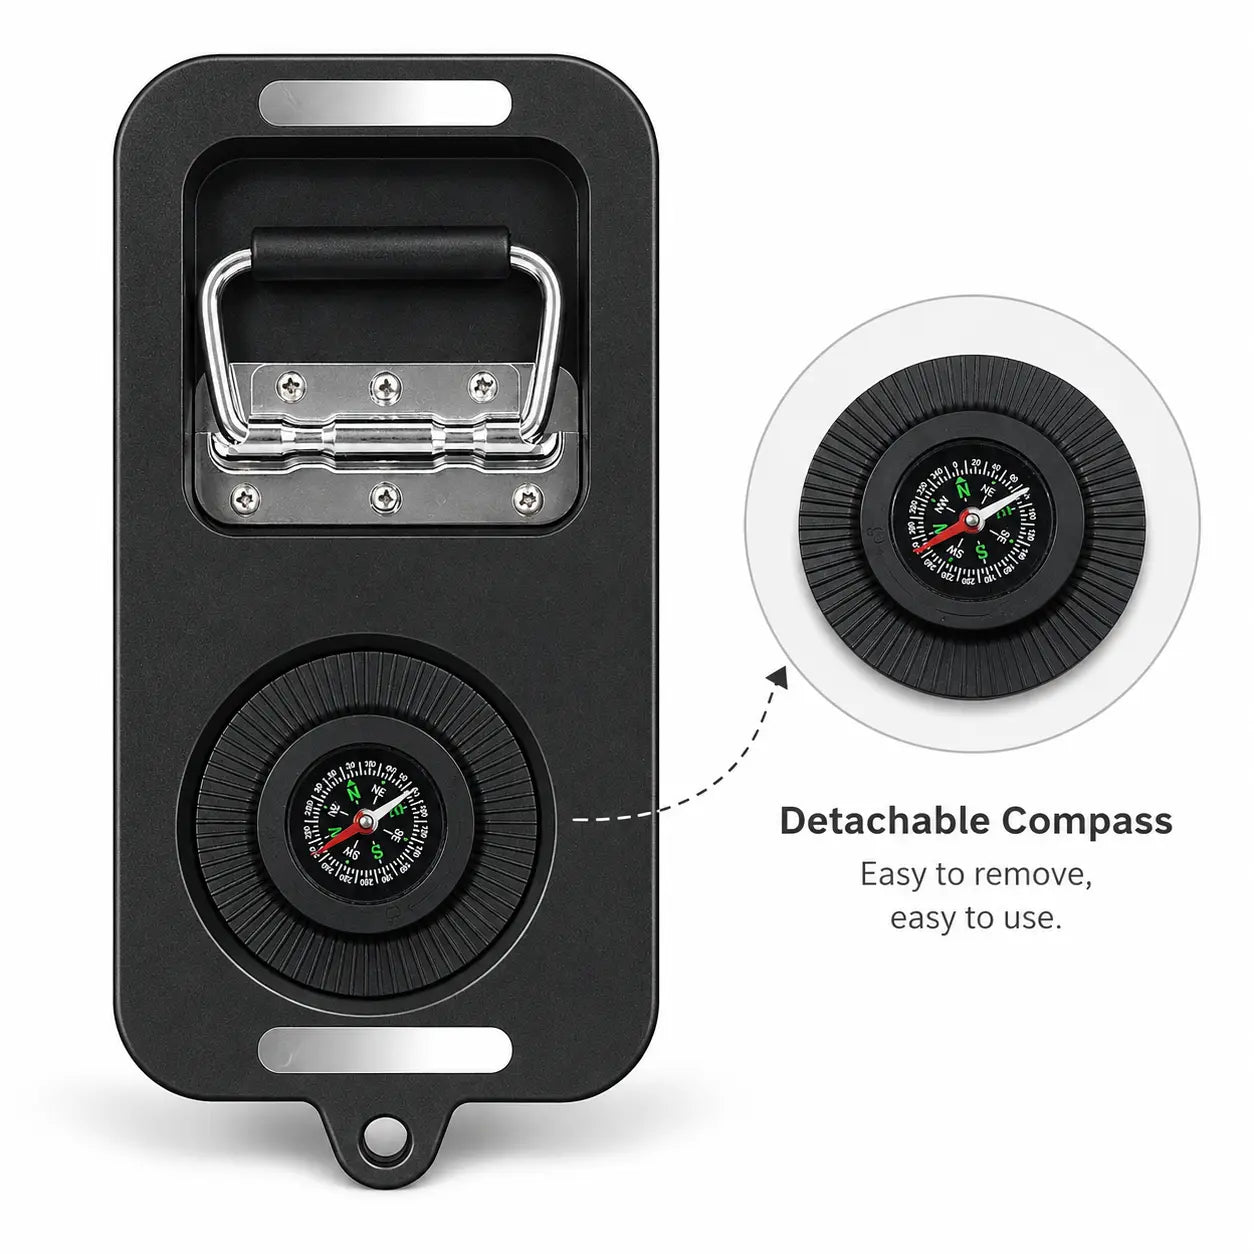
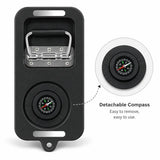
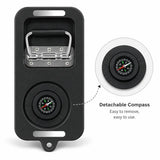
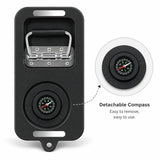
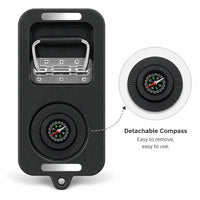
  • Navigation Support Built-In Compass
  • Emergency Lighting LED & SOS Light
  • Stable Placement Non-Slip Foot Pads

Included Filtration Package

The system includes the filtration components required for initial installation and operation.

  • Main Filter Composite RO Cartridge
  • Cartridge Material Activated Carbon + RO Membrane
  • RO Rated Capacity Up to 3,000 Gallons
  • Installation Quantity Install One RO Cartridge
  • Intake Filter Stainless Steel Mesh
  • Pre-Filter Material Medical PP Cotton
  • Pre-Filter Capacity Up to 500 Gallons
  • Final Treatment Built-In UV Lamp
Package note: The included items should be checked before initial installation. A small amount of residual water inside the purifier may be present because each unit is tested before leaving the factory.
Filter-life note: Rated capacities are reference values. Actual filter life varies according to source-water TDS, sediment level, water quality, filtered volume, usage frequency, and maintenance.
Vidéo

Portable RO Water Filter System Setup Video

Watch this step-by-step guide to set up the K8680 Portable RO Water Filter System, install the filter cartridge, connect the water pipes, and prepare the purifier for first use.

Installation & Usage Guide

K8680 System Setup & First Use

This video explains the basic installation and operating process for the K8680 Portable RO Water Filter System. Follow the guide before first use to confirm that the cartridge and color-coded water pipes are connected correctly.

Recommended before first use Shows how to install the composite RO cartridge Explains RAW, PURE, and DIRTY pipe connections Covers initial flushing and basic operation Helps confirm correct system setup

Certifié NSF pour votre santé

Testé de manière indépendante pour répondre à normes NSF/ANSI 42 & 372, le plus haut niveau de confiance dans la filtration de l'eau.

Garantie sans plomb (NSF/ANSI 372)
Matériaux certifiés sans plomb pour une eau sans souci.

Voir les détails

Consultez nos documents de conformité électrique

Explorez les rapports de test disponibles CE CEM, FCC Part 15 et de sécurité électrique applicables pour les produits électriques Purewell. Consultez les documents pour en savoir plus sur les normes testées et le périmètre d'évaluation.

Voir les détails

Vous aimerez aussi

Ajouter une note à votre commande
Coupon Code