









Skip to content
Es
  • English
  • Français
  • Deutsch
  • Nederlands
  • Español
  • Ελληνικά
  • Italiano
  • Português (portugal)
CAD $

What are you looking for?

Sistema portátil de filtro de agua RO(UK&ER)

Precio habitual $484.94 CAD $513.63 5% APAGADA


/
Impuesto incluido.   Envío calculado al finalizar la compra.
No disponible
Tipo de producto: Sistema completo – Negro
PayPal Visa Mastercard American Express Discover Apple Pay Google Pay

Avísame cuando esté disponible

Ya ha enviado una solicitud para esta variante.

Gracias por contactarnos. Nos pondremos en contacto con usted en cuanto el producto o la variante vuelva a estar disponible.
Gastado $100.00 más para obtener envío gratis
Entrega estimada entre - .

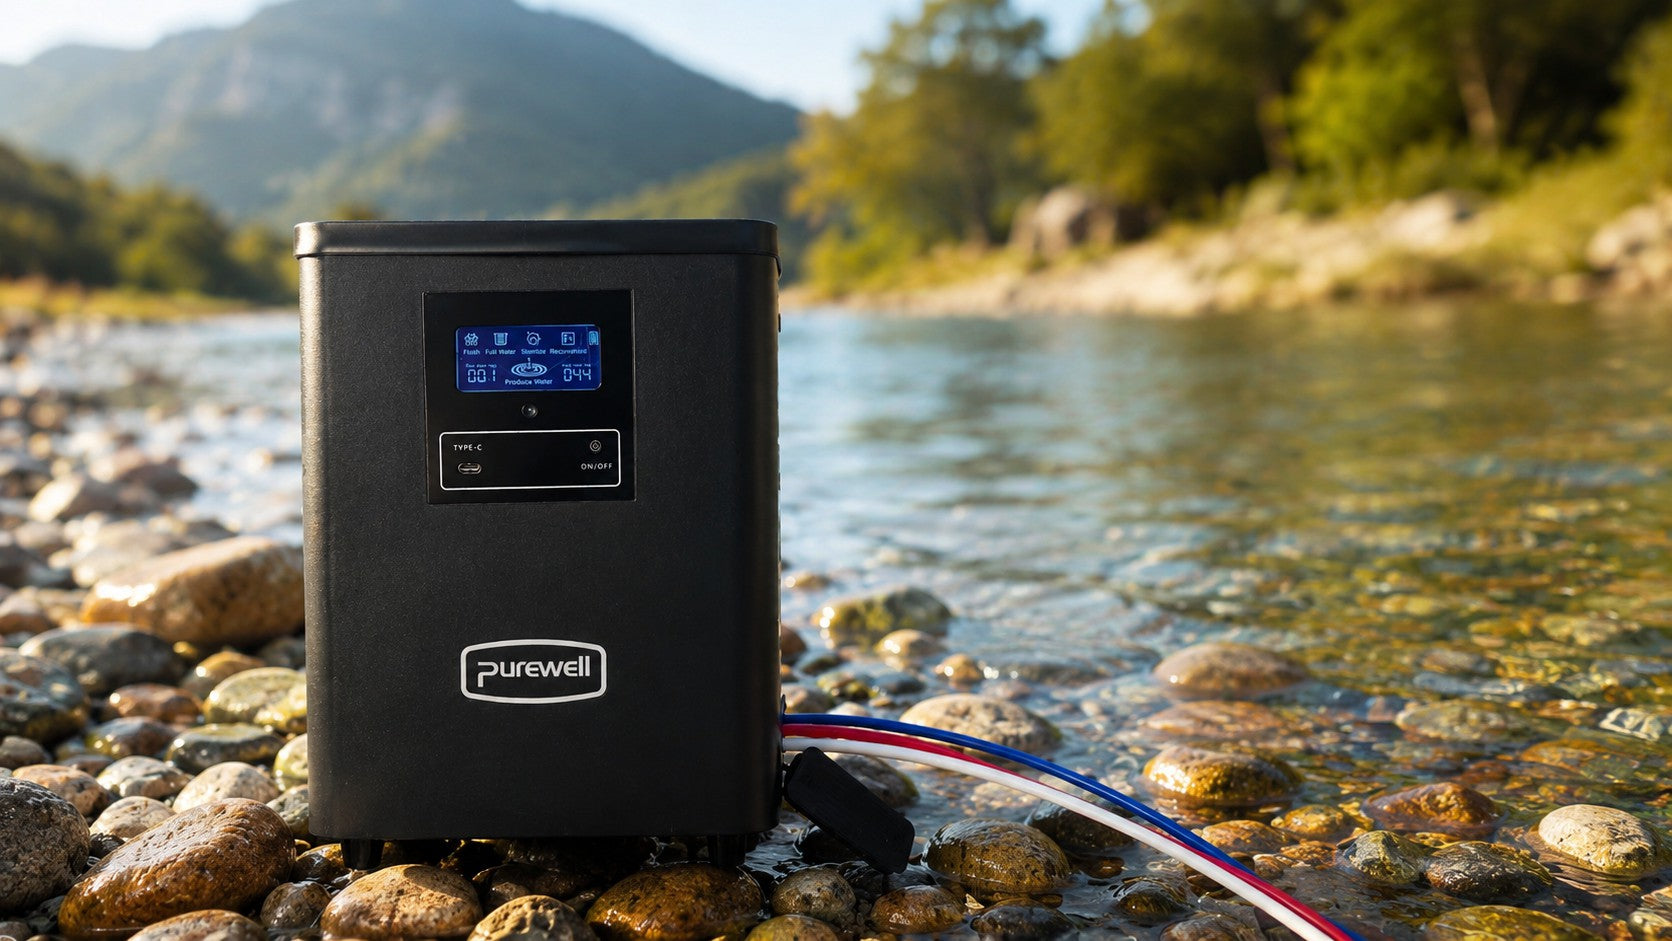
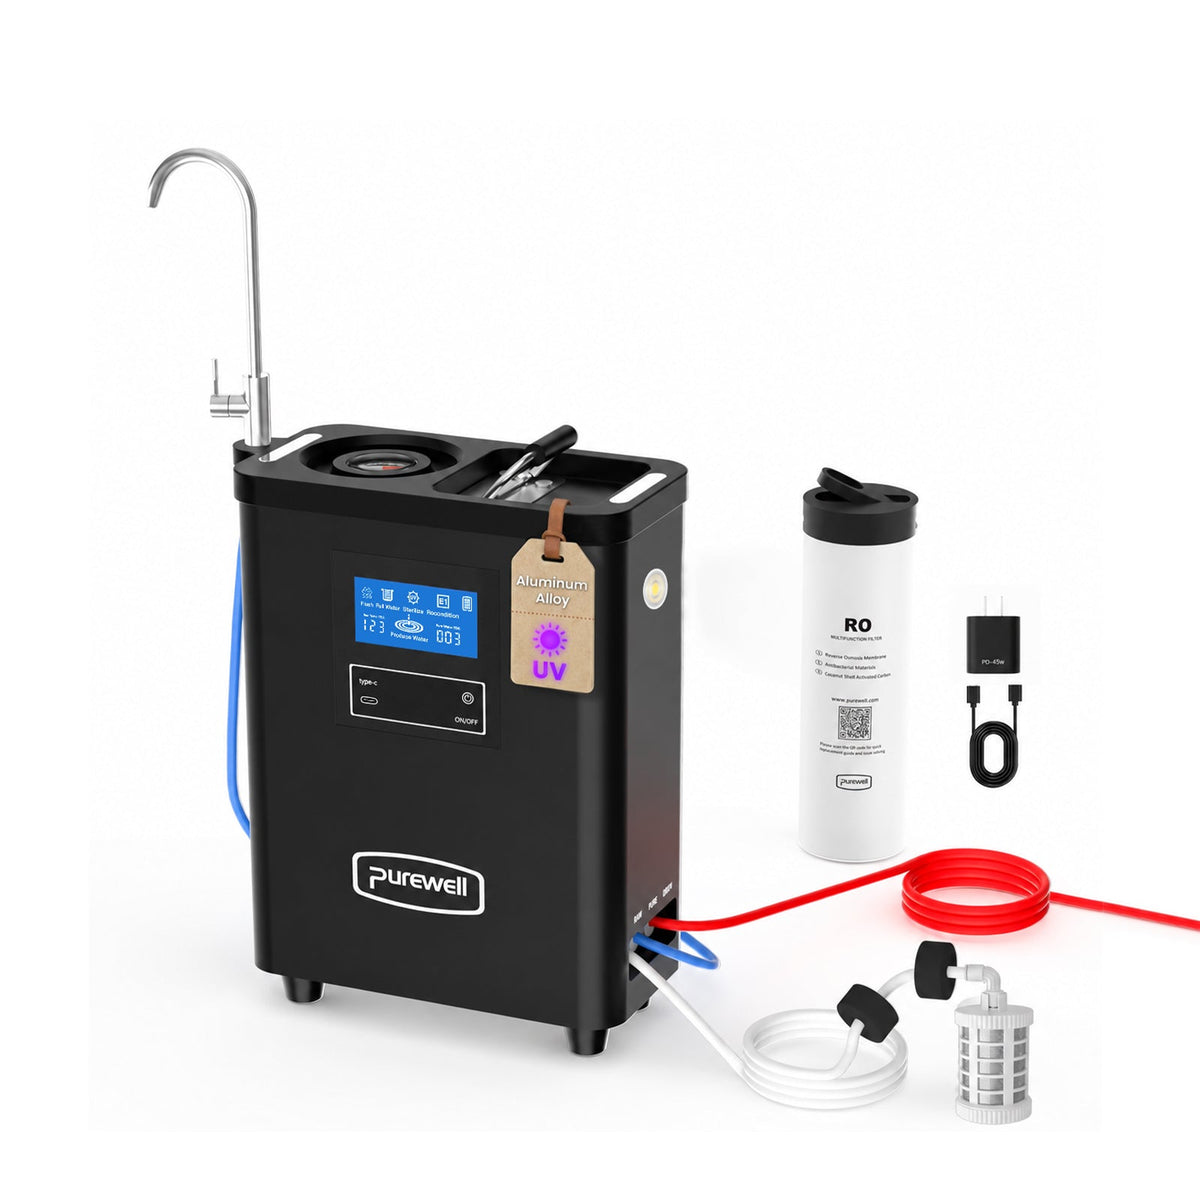
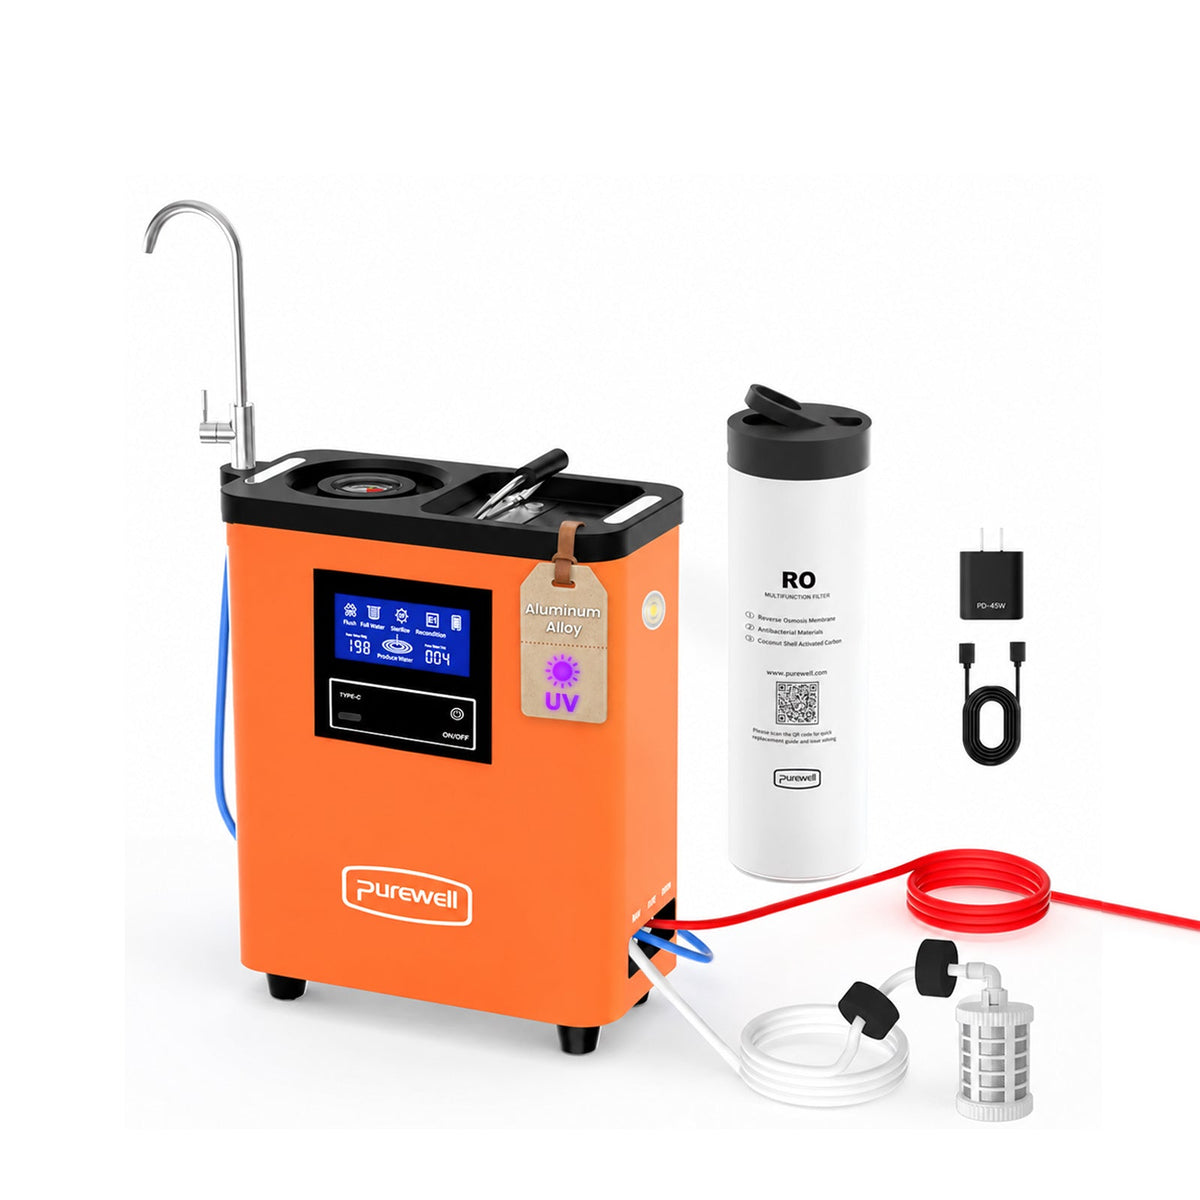
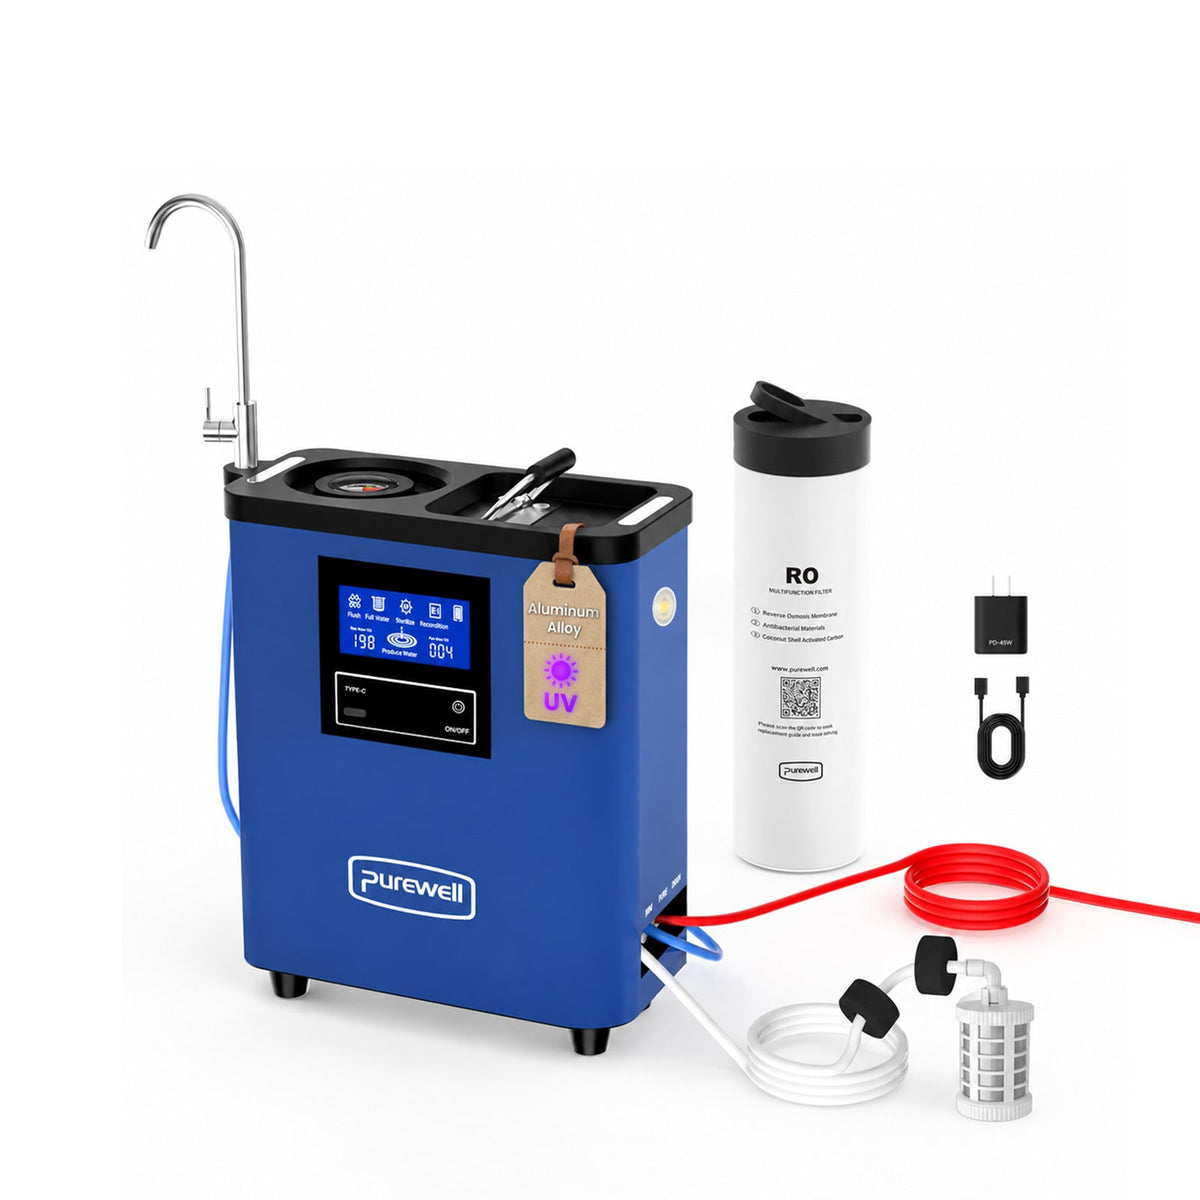
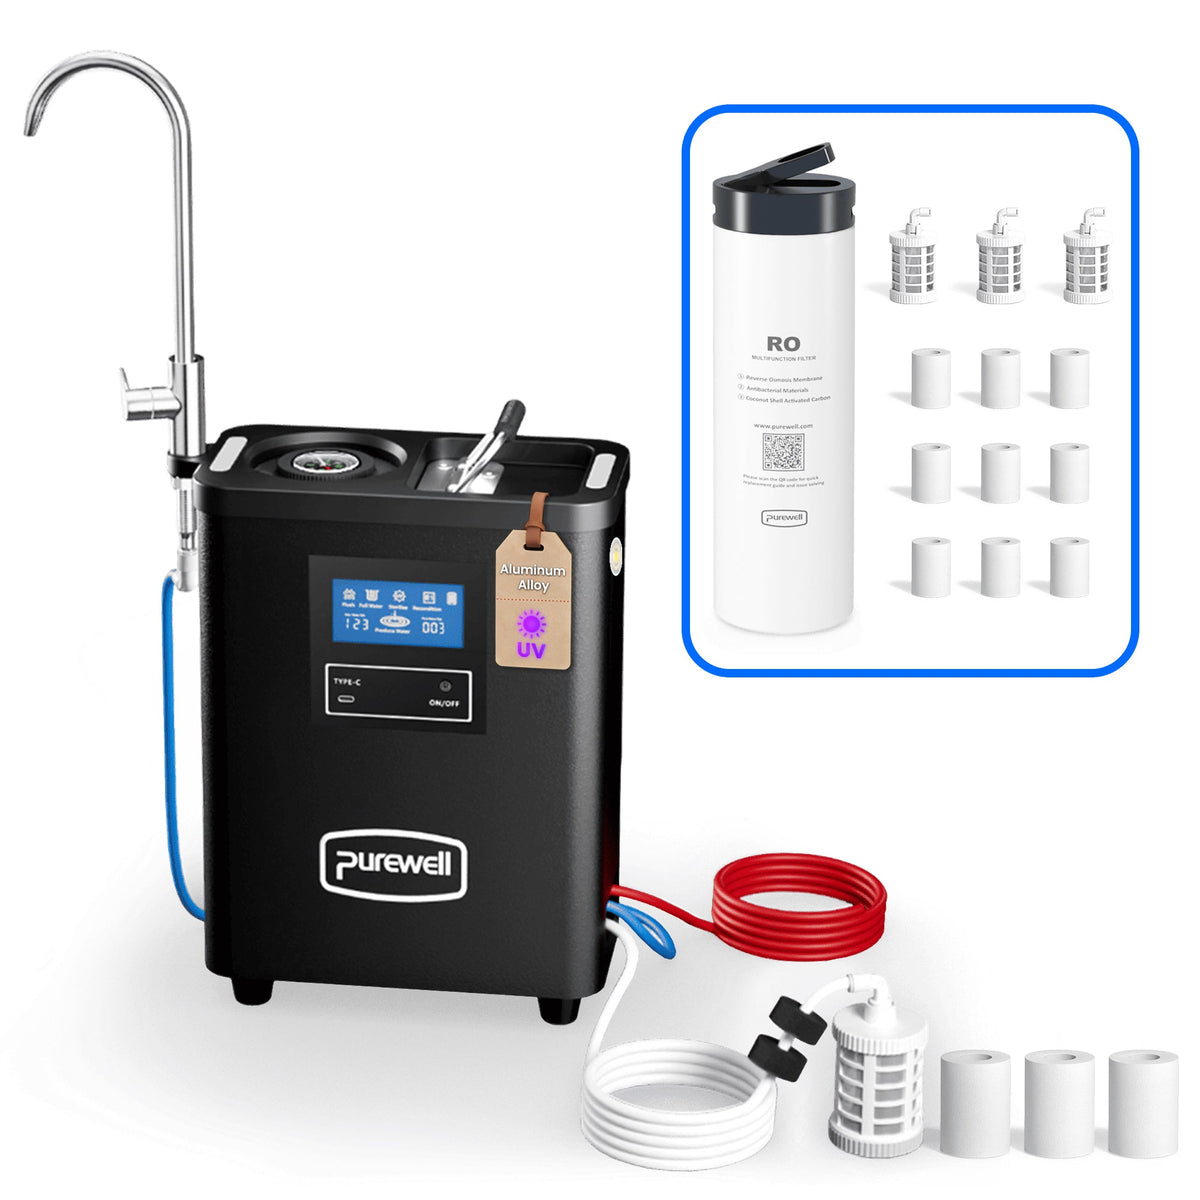
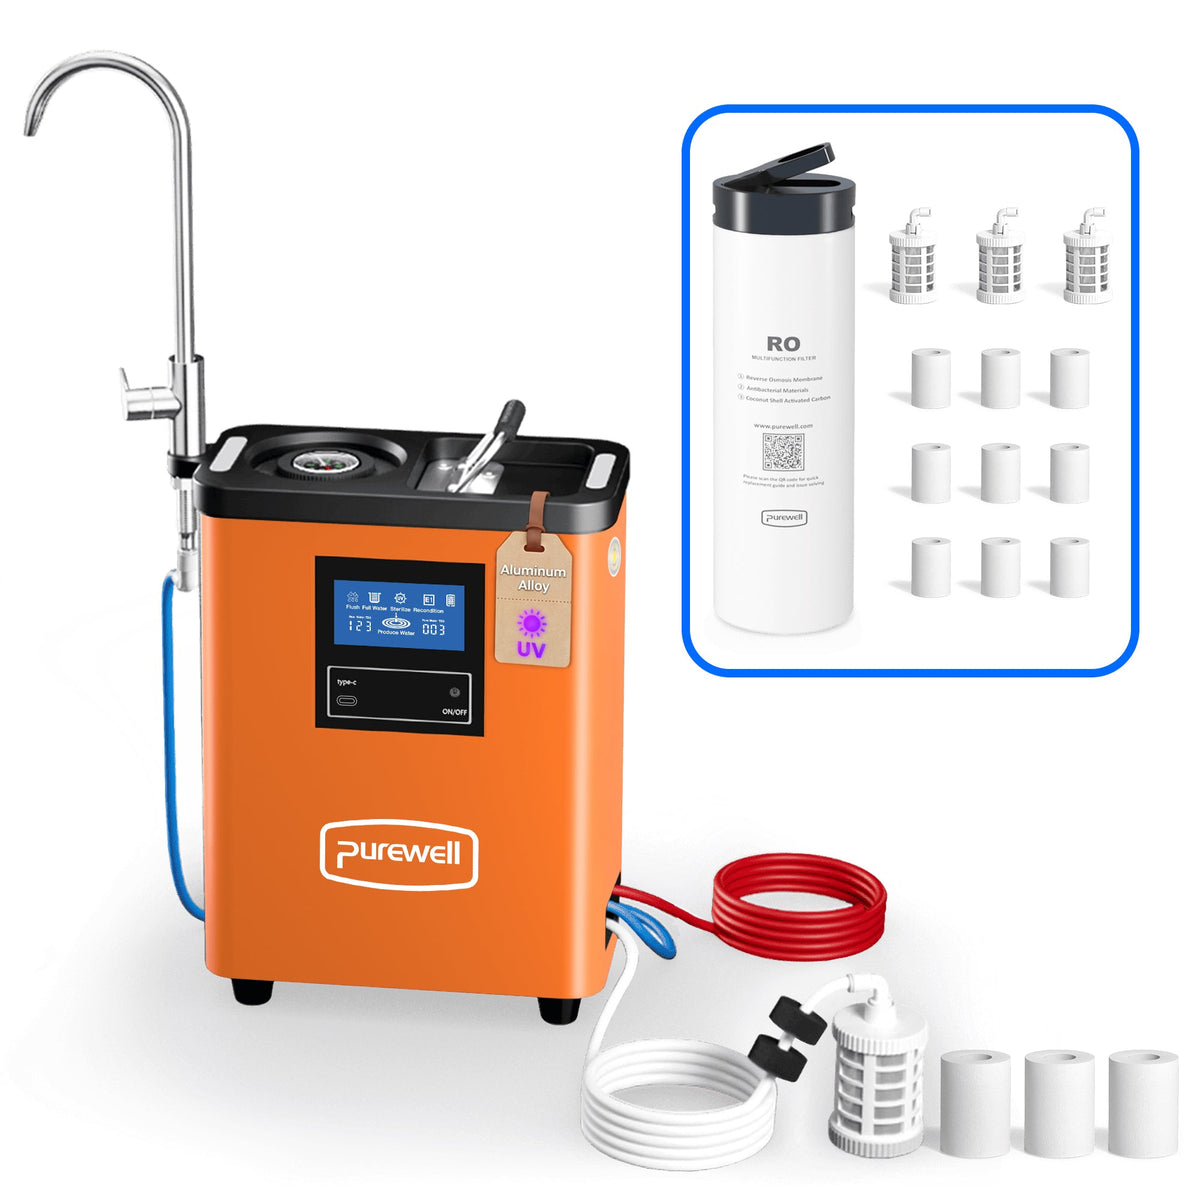
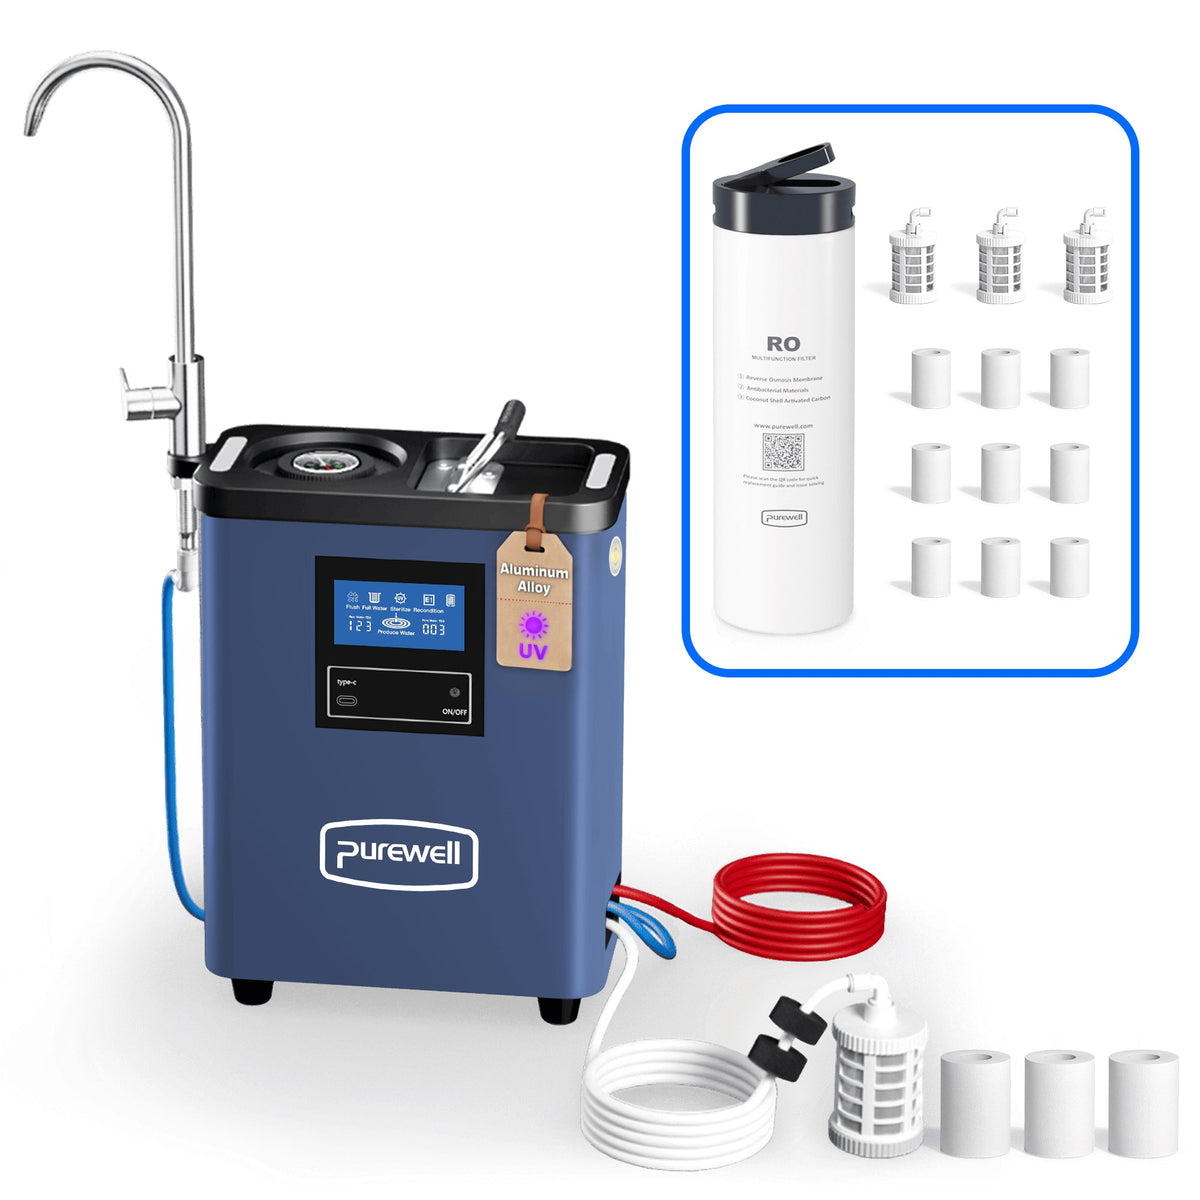
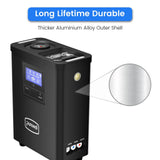
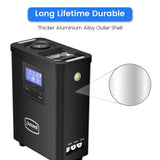
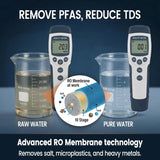
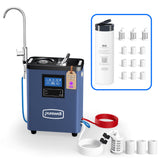
Disfrute de agua más limpia dondequiera que le lleve su viaje. El sistema portátil de filtro de agua RO combina prefiltración, carbón activado, tecnología de membrana RO, tratamiento UV y monitoreo de TDS en tiempo real en una unidad recargable, ideal para acampar, viajar en autocaravana, emergencias y uso de agua dulce al aire libre.

Ask about Sistema portátil de filtro de agua RO(UK&ER)

Detalles del producto

Descripción del producto

01
Nombre del Producto Sistema portátil de filtro de agua por ósmosis inversa

Un sistema de purificación por ósmosis inversa recargable diseñado para acampar, viajes en autocaravana, uso sin conexión a la red y preparación para emergencias.

N.º de modelo K8680

Sistema portátil eléctrico de purificación por ósmosis inversa con monitorización de TDS, tratamiento UV, iluminación y múltiples conexiones de agua.

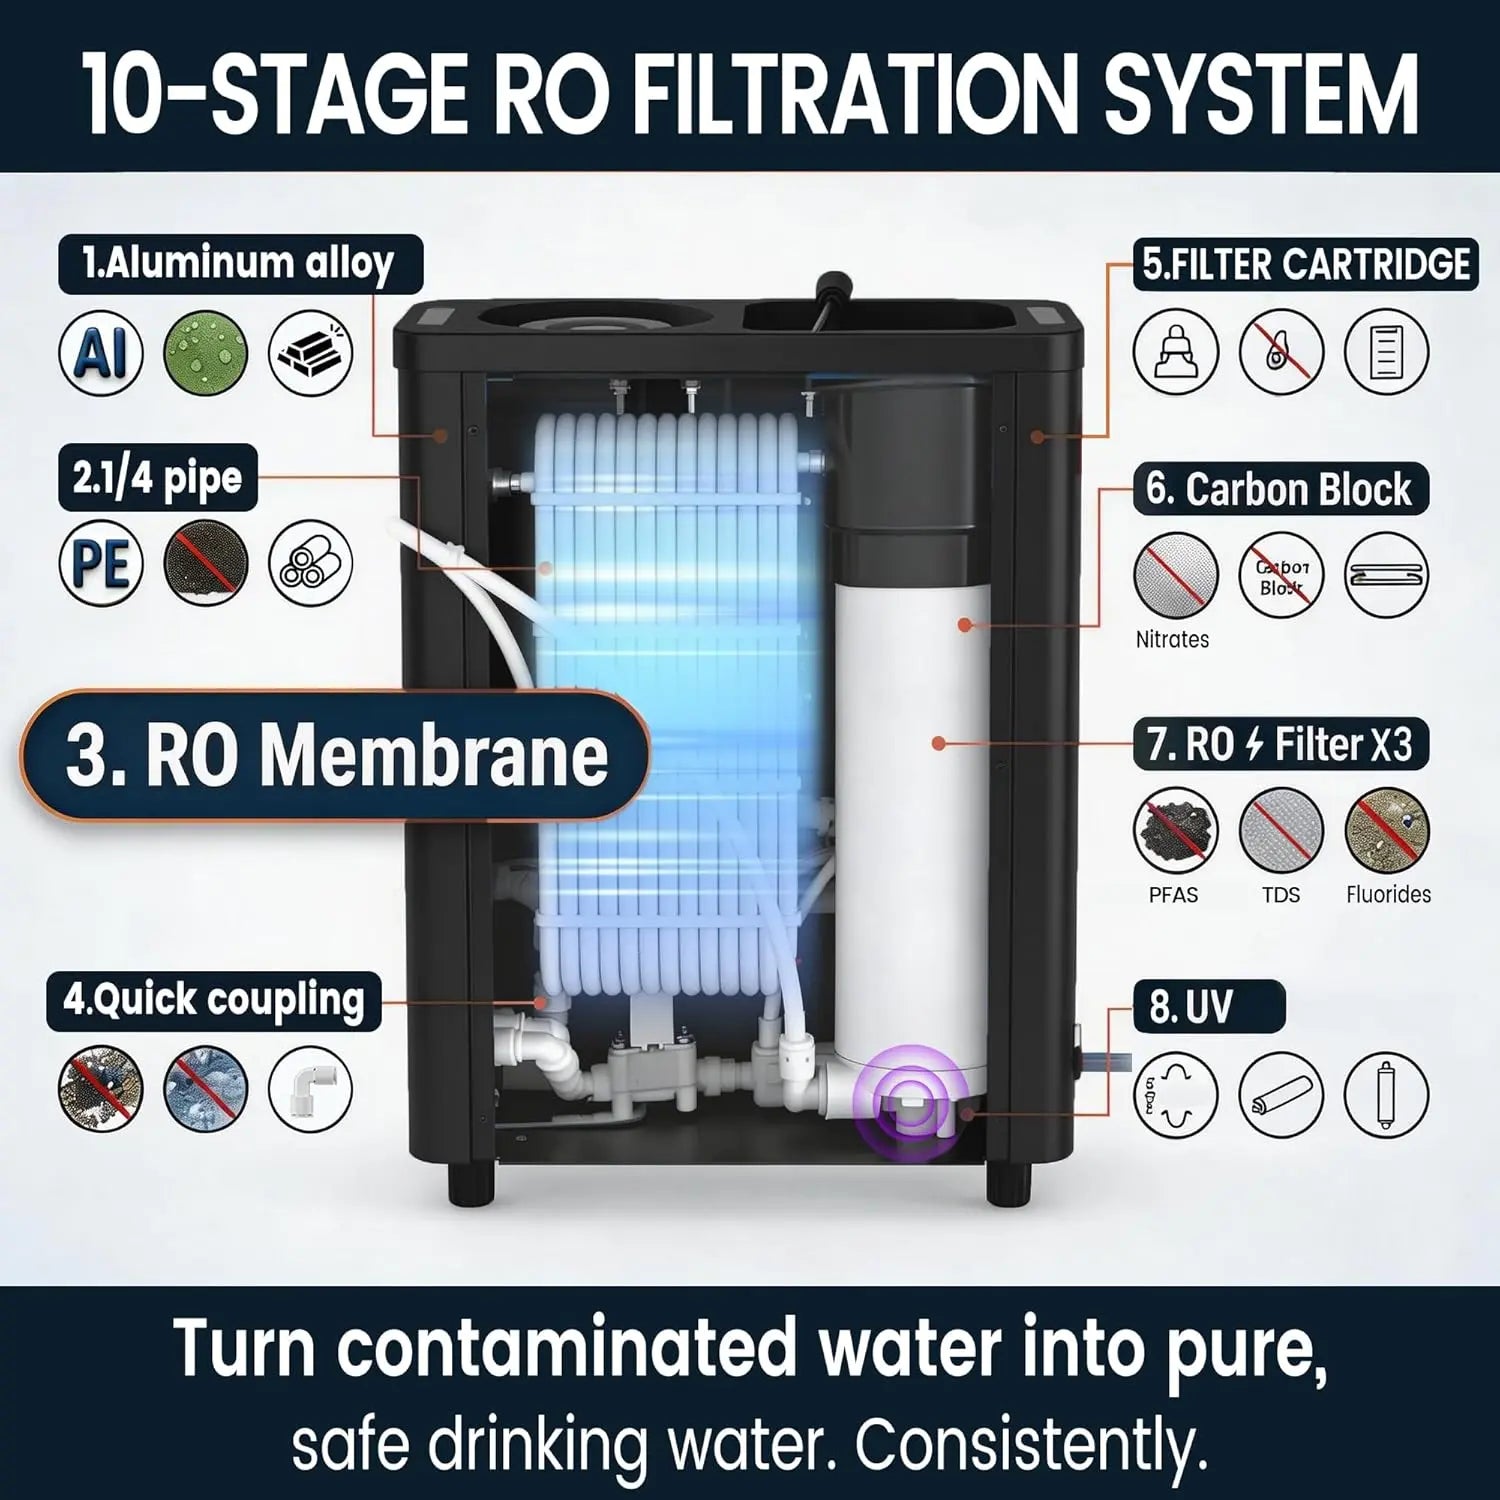
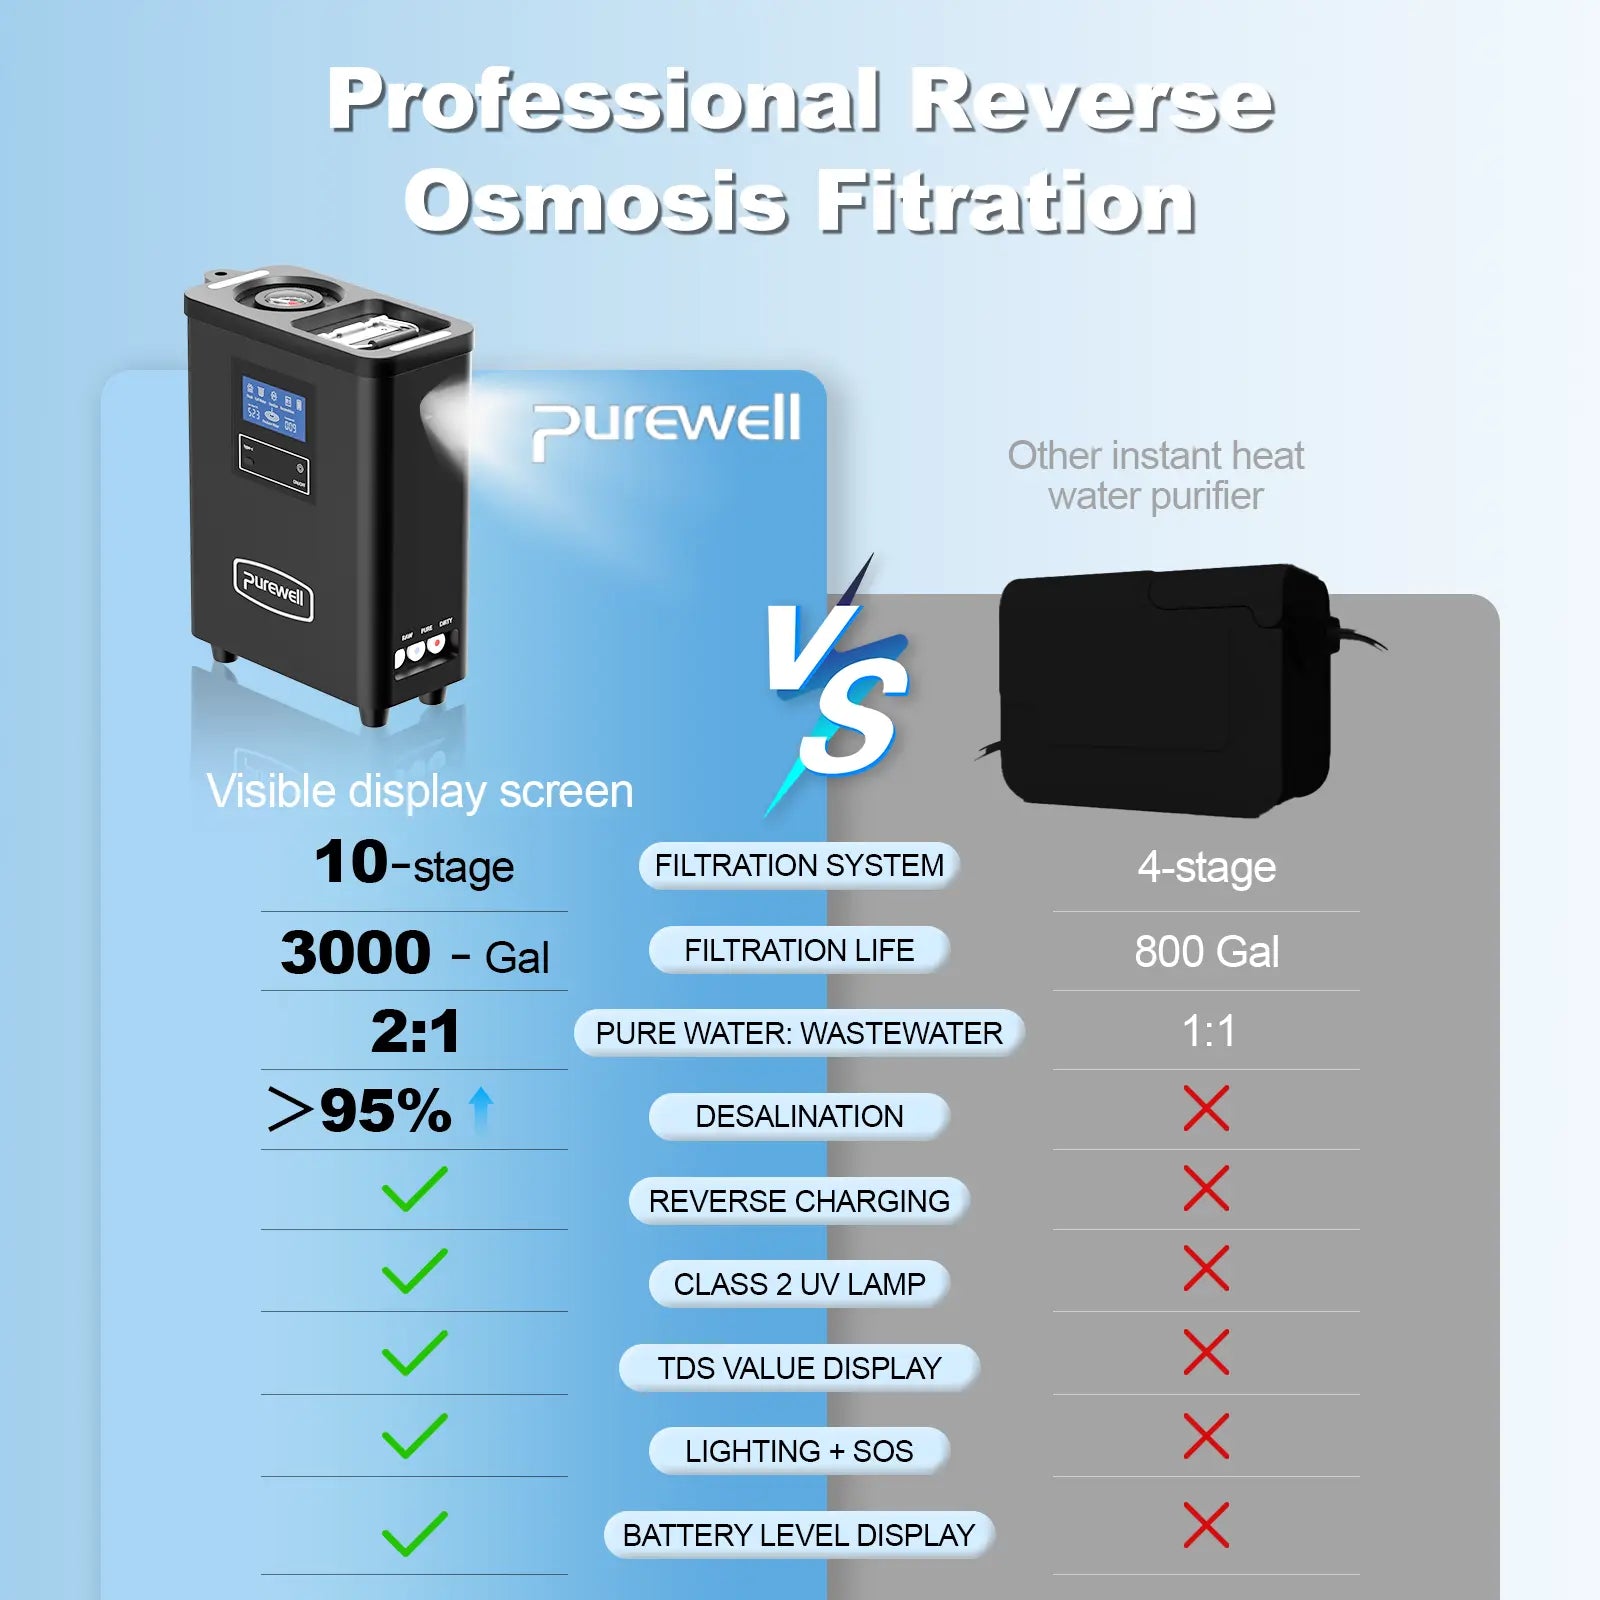
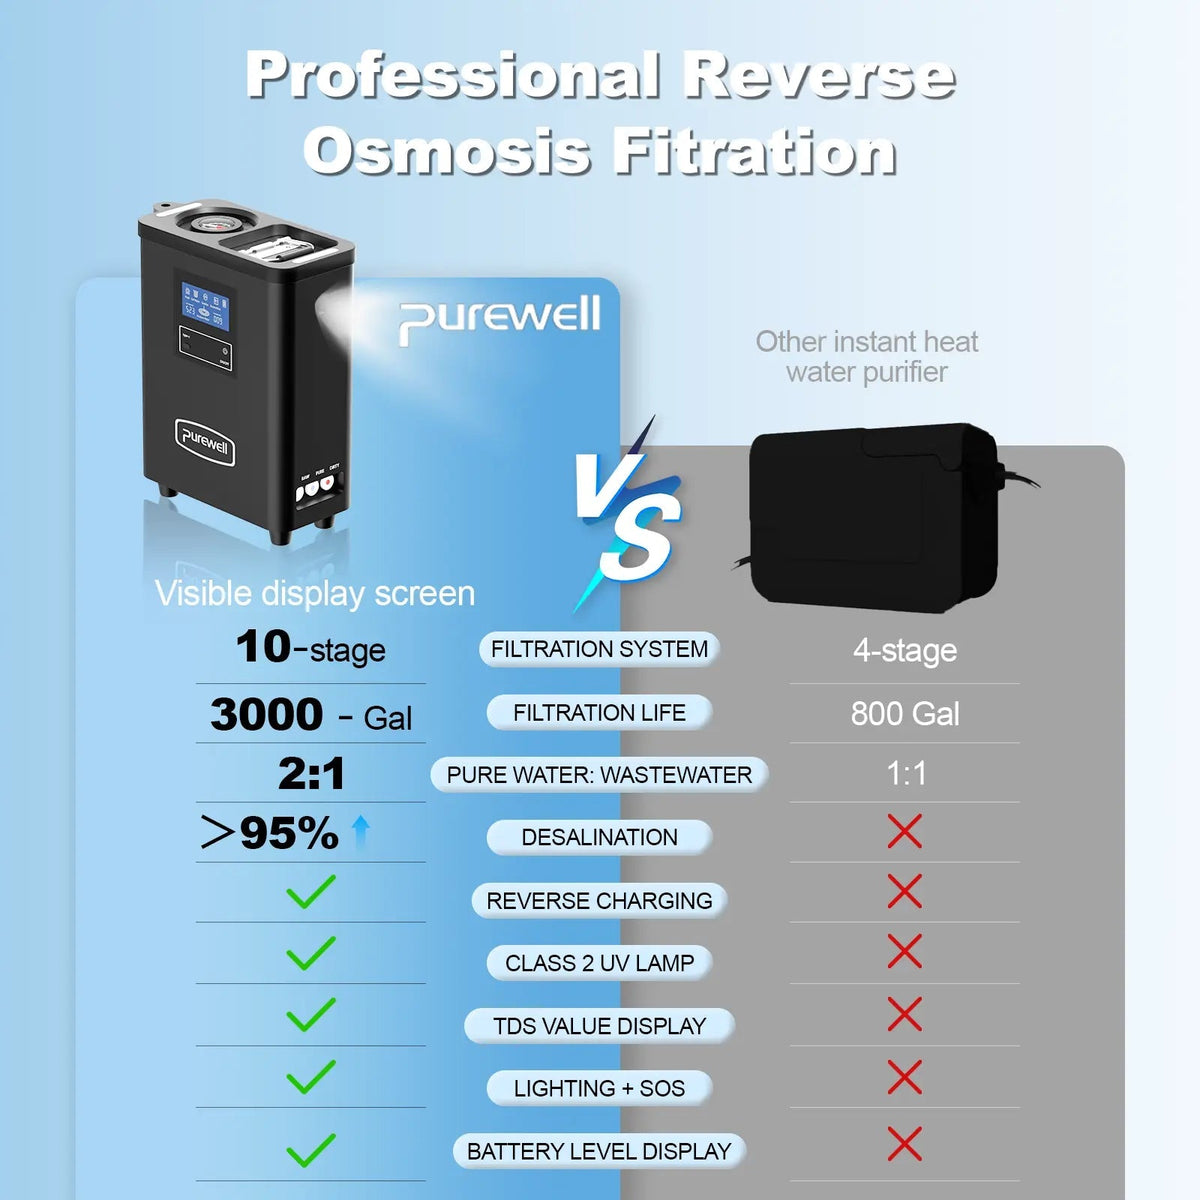
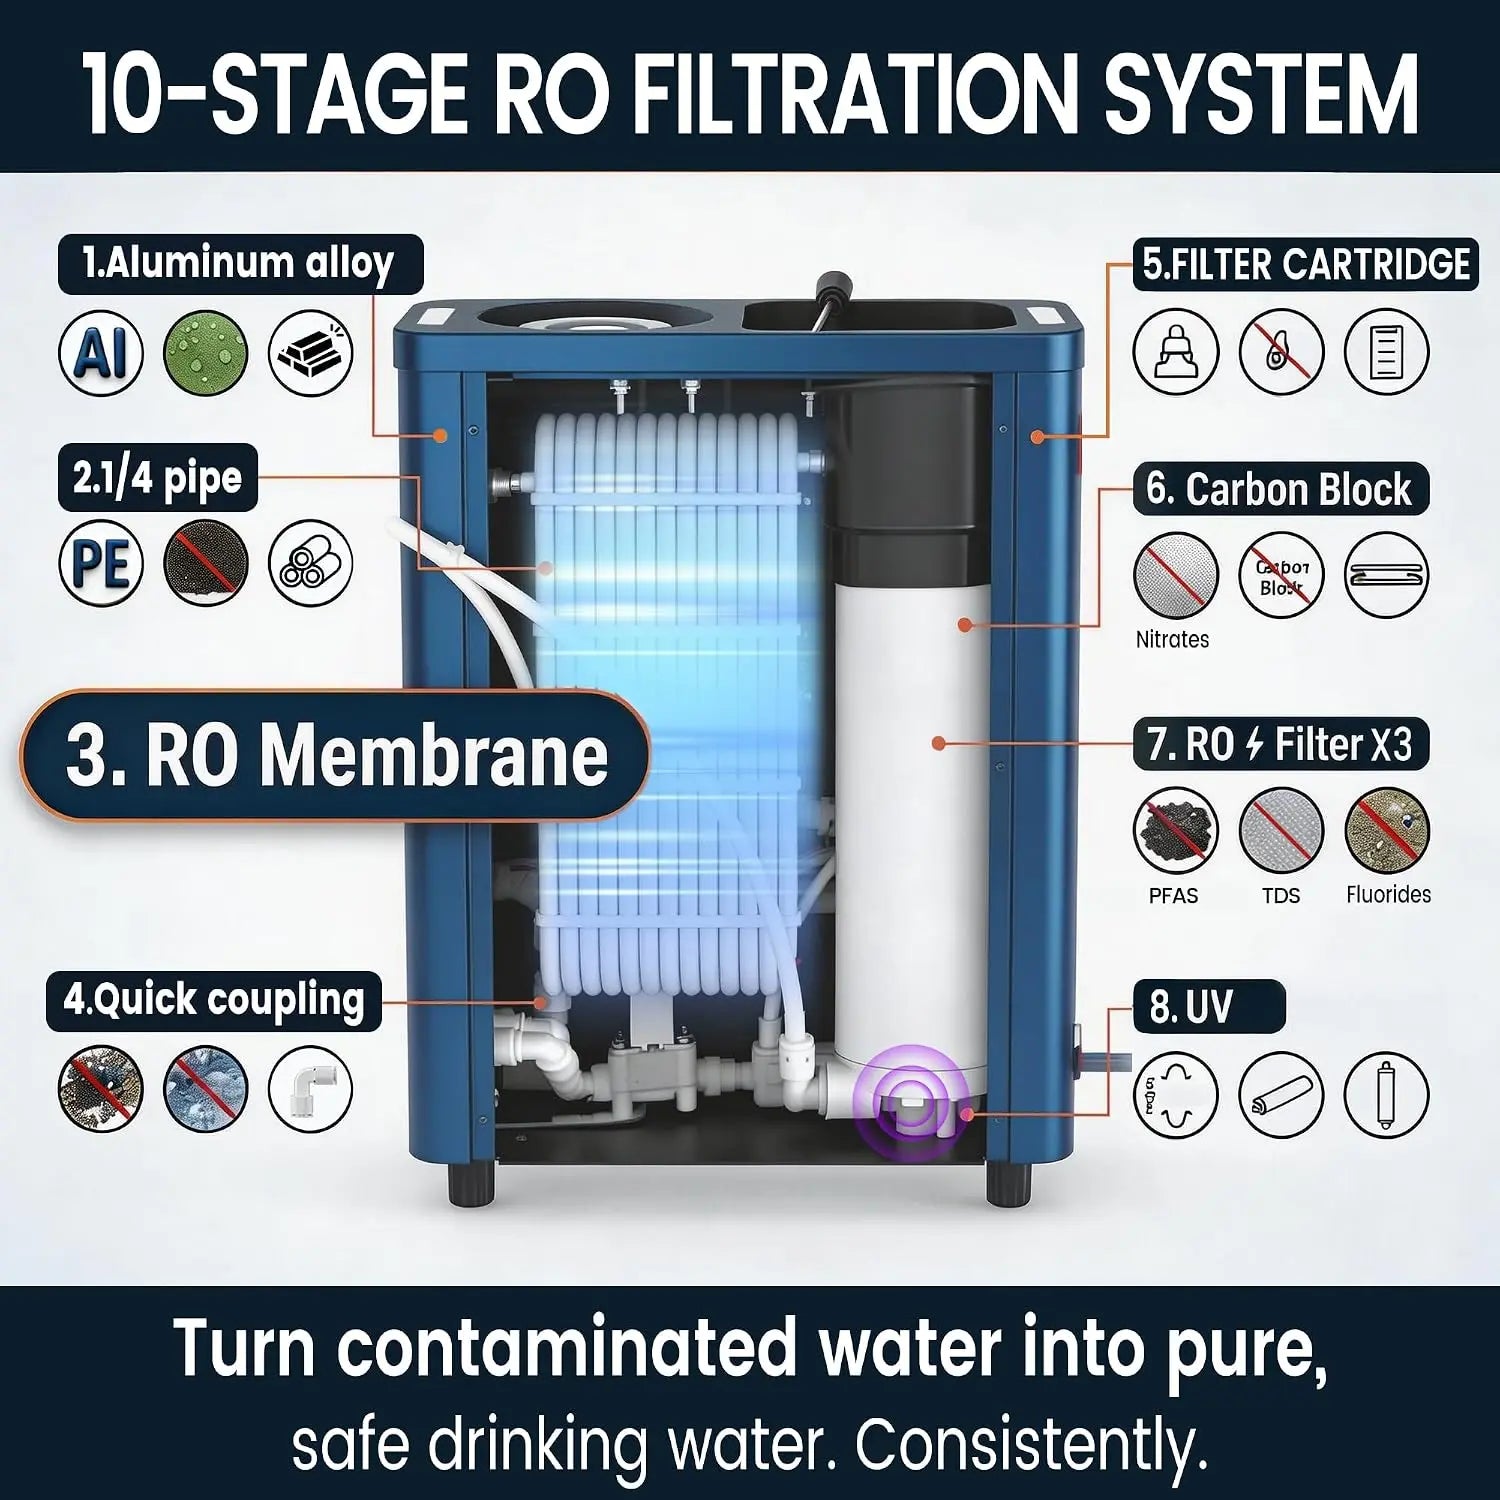
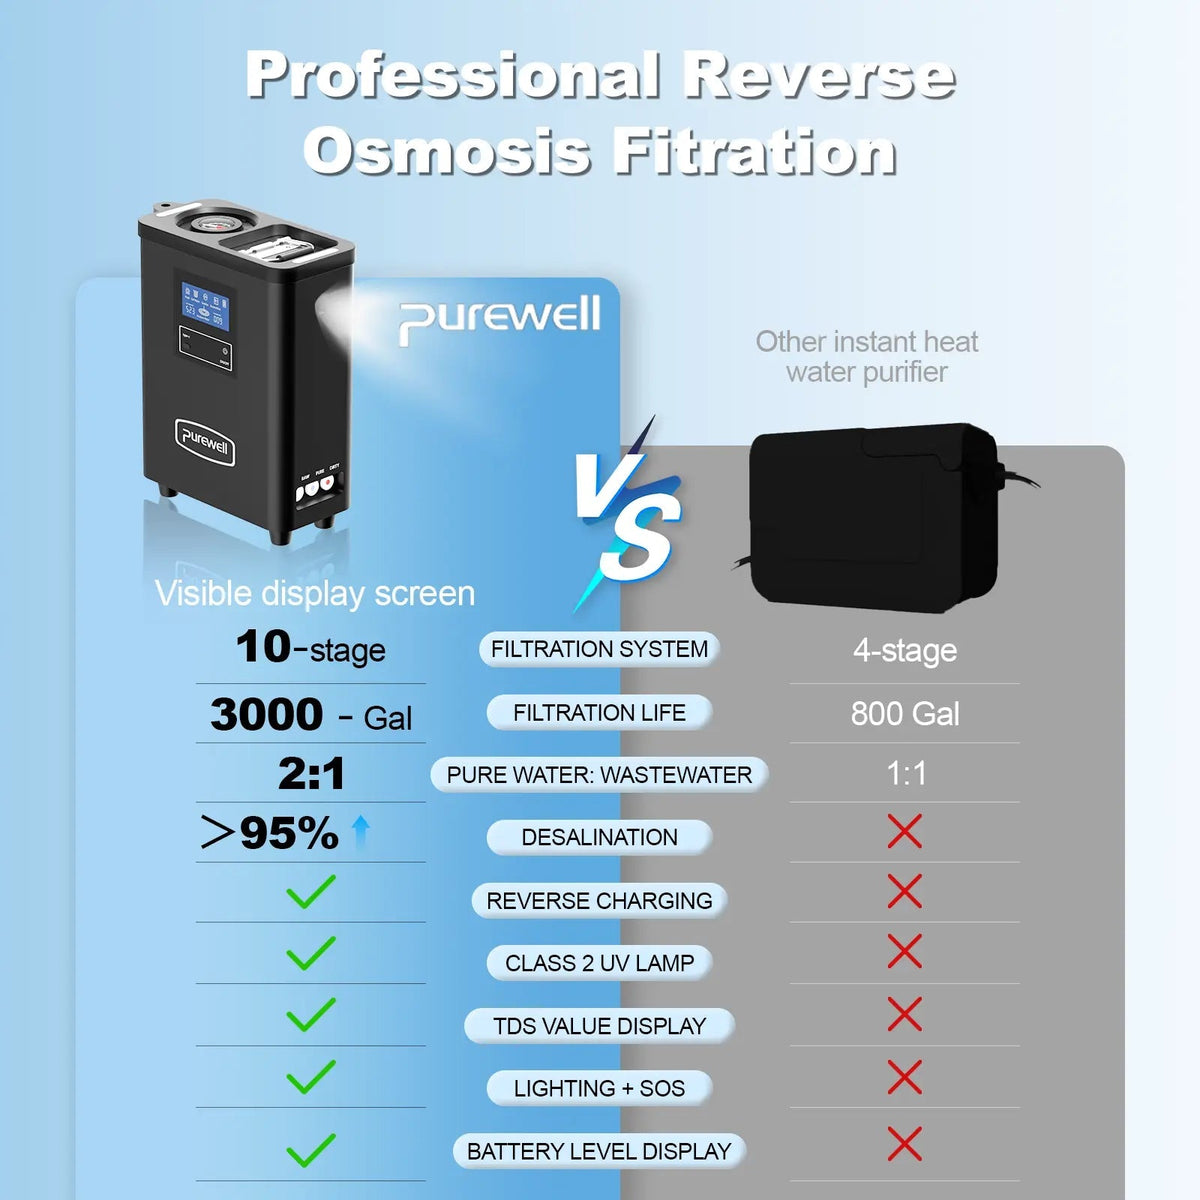
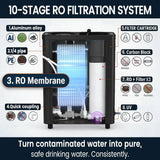
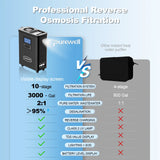
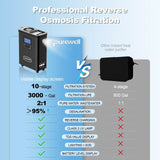
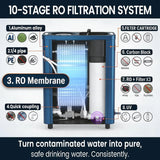
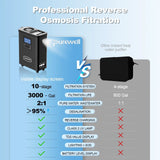
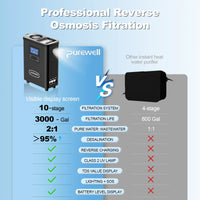
Nivel de filtración Filtración de 10 etapas

Combina prefiltración, carbón activado, filtración por membrana de ósmosis inversa y tratamiento UV.

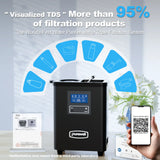
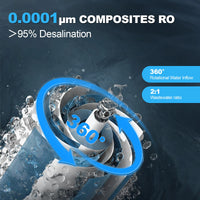
Tasa de desalinización 95%

Diseñado para reducir los sólidos disueltos en fuentes generales de agua dulce al aire libre.

De agua pura a agua residual 2:1

La proporción indicada se basa en las especificaciones de funcionamiento proporcionadas en el manual del producto.

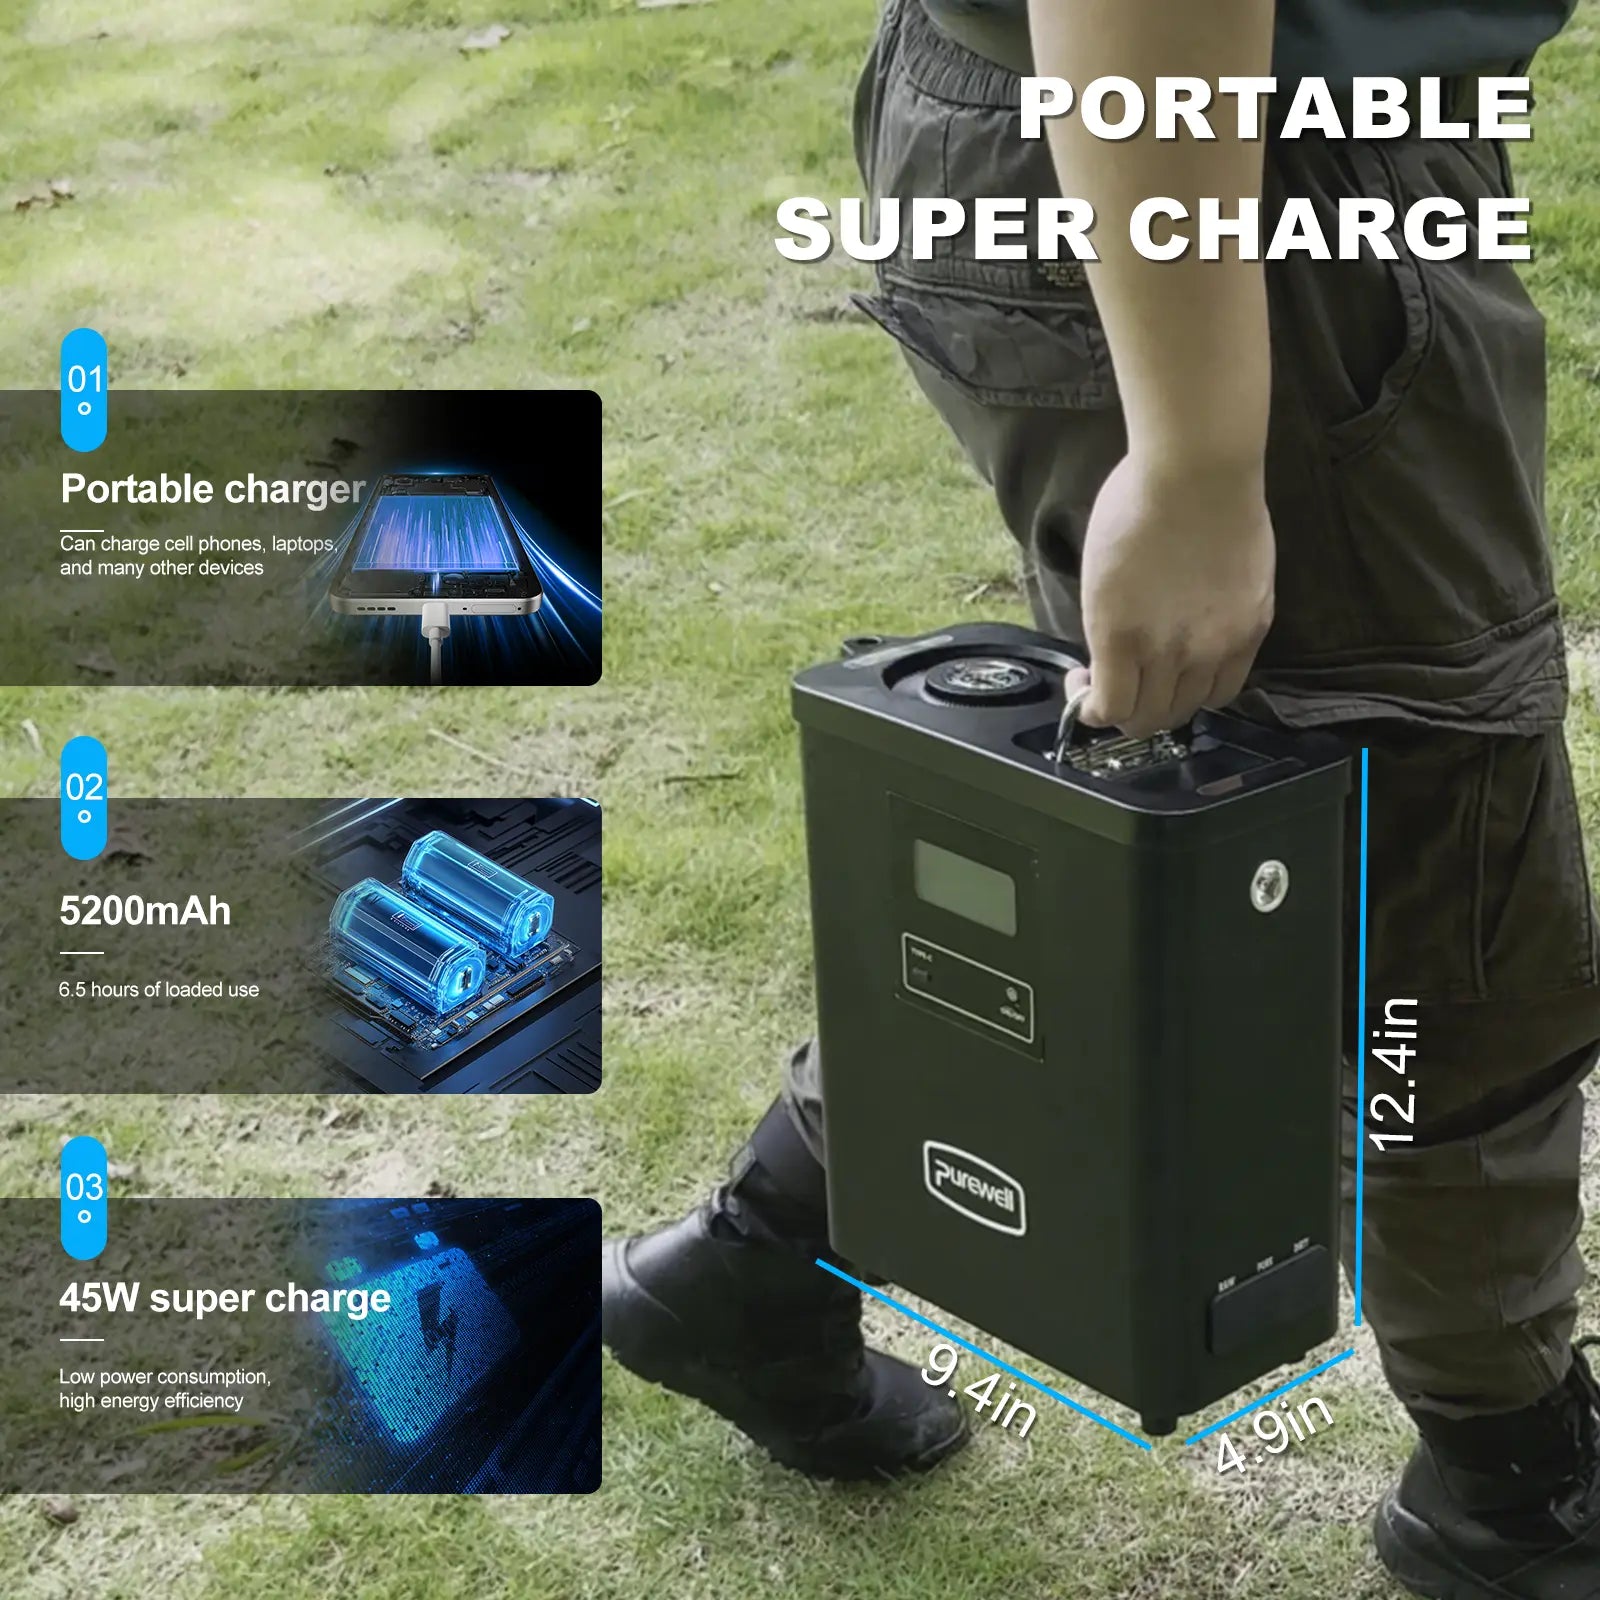
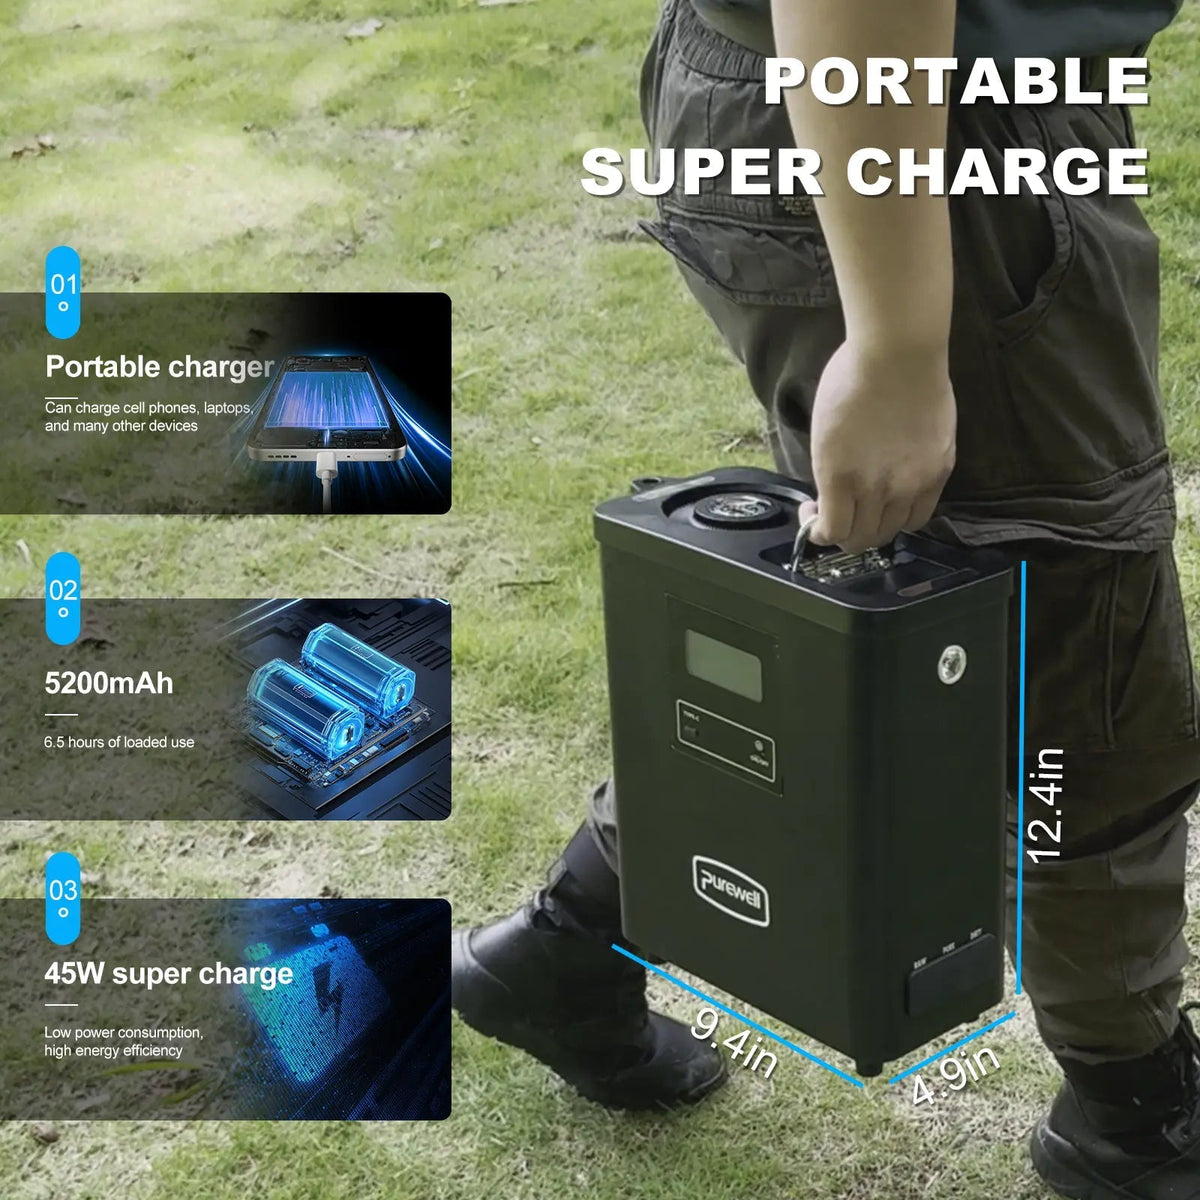
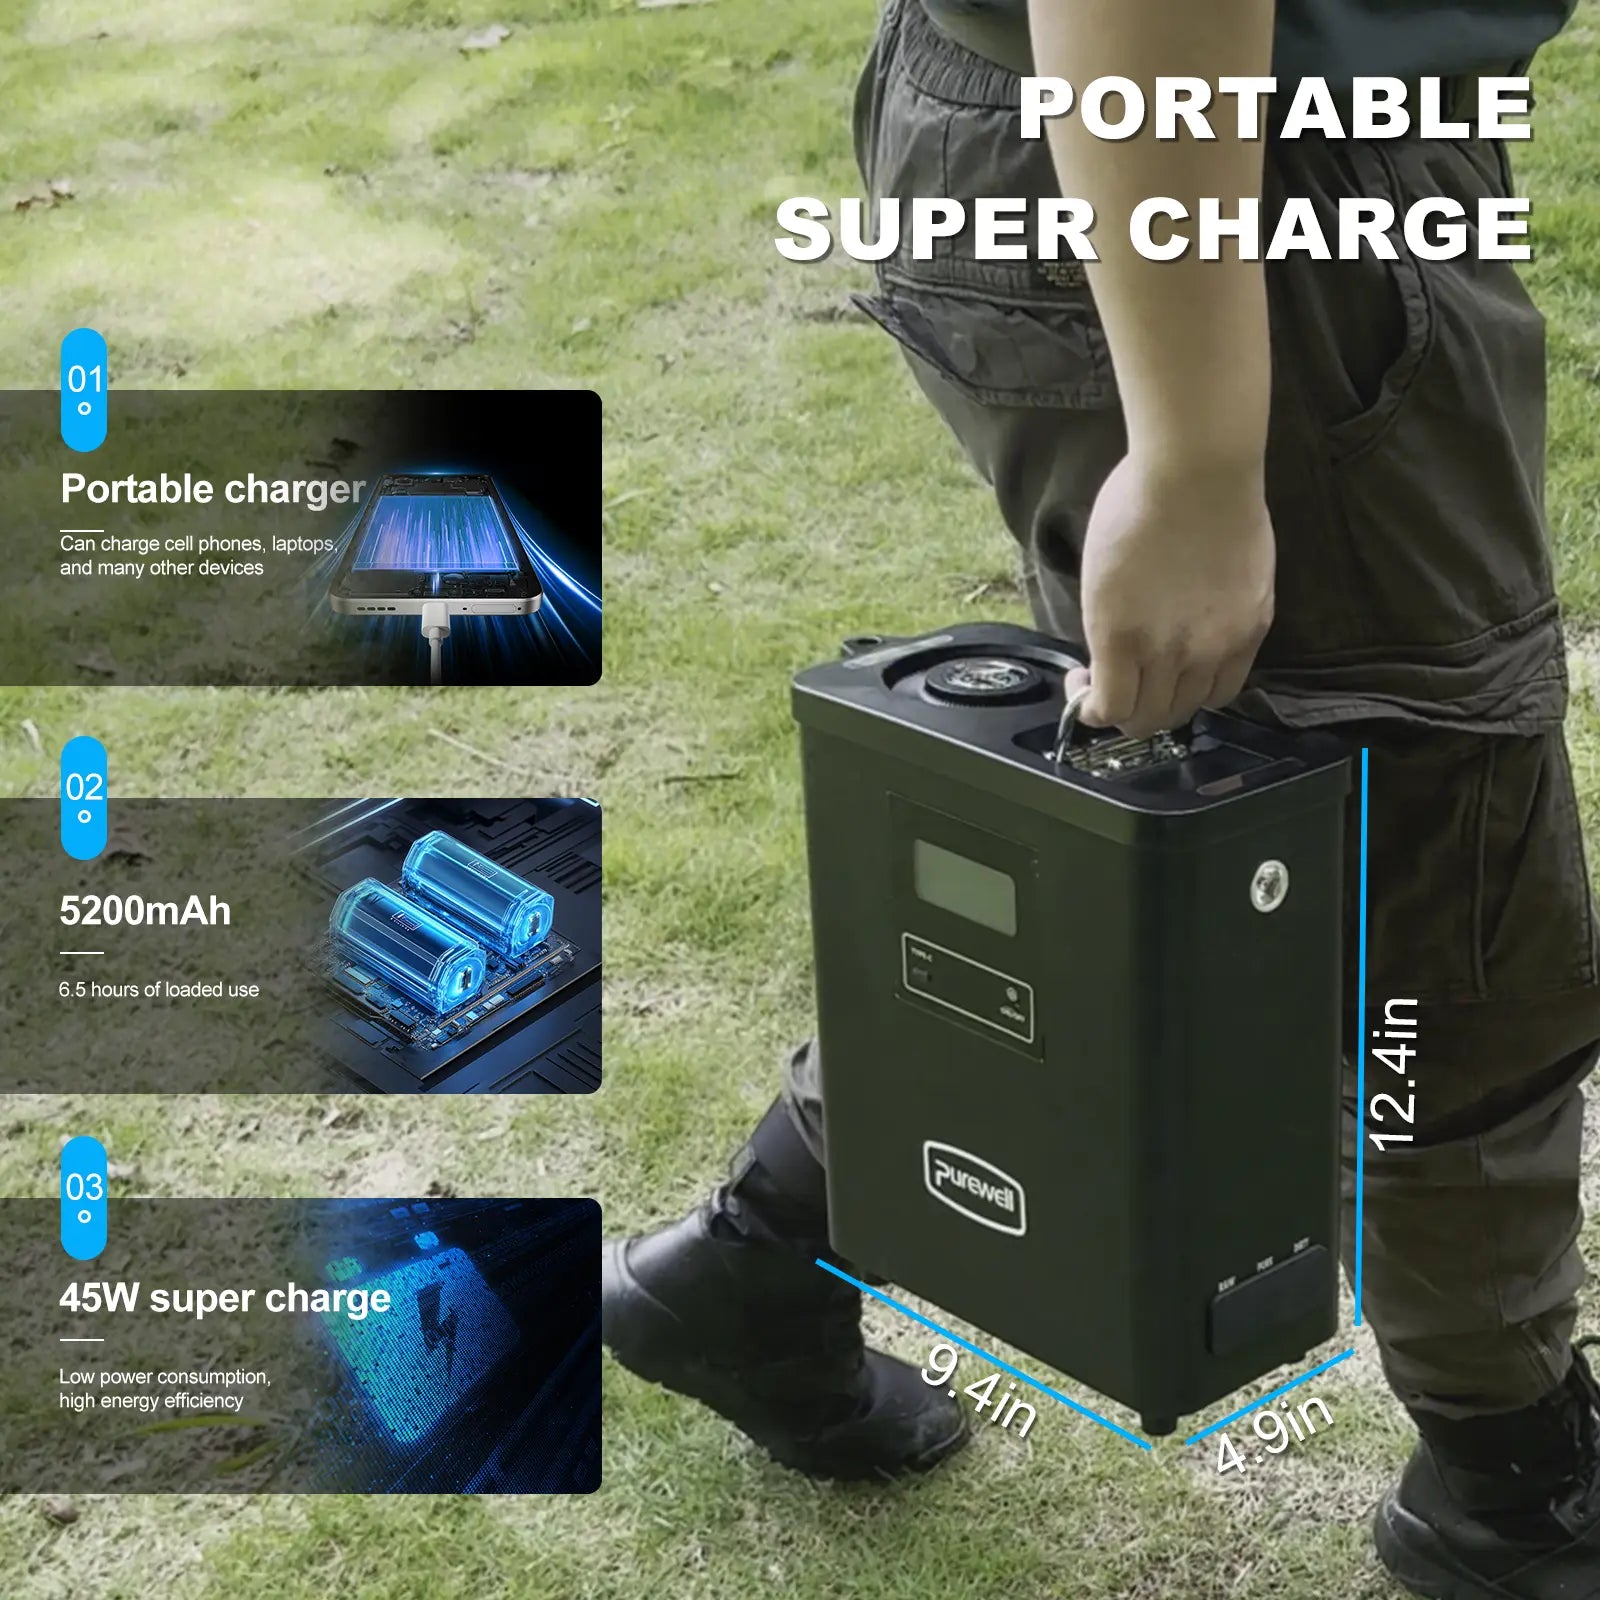
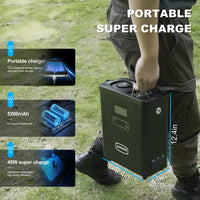
Tamaño del producto 240 × 125 × 315 mm

Aproximadamente 9.45 × 4.92 × 12.40 pulgadas.

Peso Neto / Bruto 9.3 lb / 13.7 lb

Adecuado para campismo con apoyo de vehículo, viajes en autocaravana, uso grupal al aire libre y almacenamiento de emergencia.

Fuente de agua Fuentes Generales de Agua Dulce al Aire Libre

Utilice la fuente de agua dulce más clara disponible siempre que sea posible para favorecer un mejor flujo y una mayor vida útil del filtro.

Aviso sobre la fuente de agua: Este sistema está diseñado para fuentes generales de agua dulce al aire libre. No está destinado a agua de mar, agua contaminada químicamente, aguas residuales industriales ni agua fuera del rango de temperatura recomendado.

Filtración por Ósmosis Inversa & Tratamiento UV

02

Múltiples capas de tratamiento en un solo sistema portátil

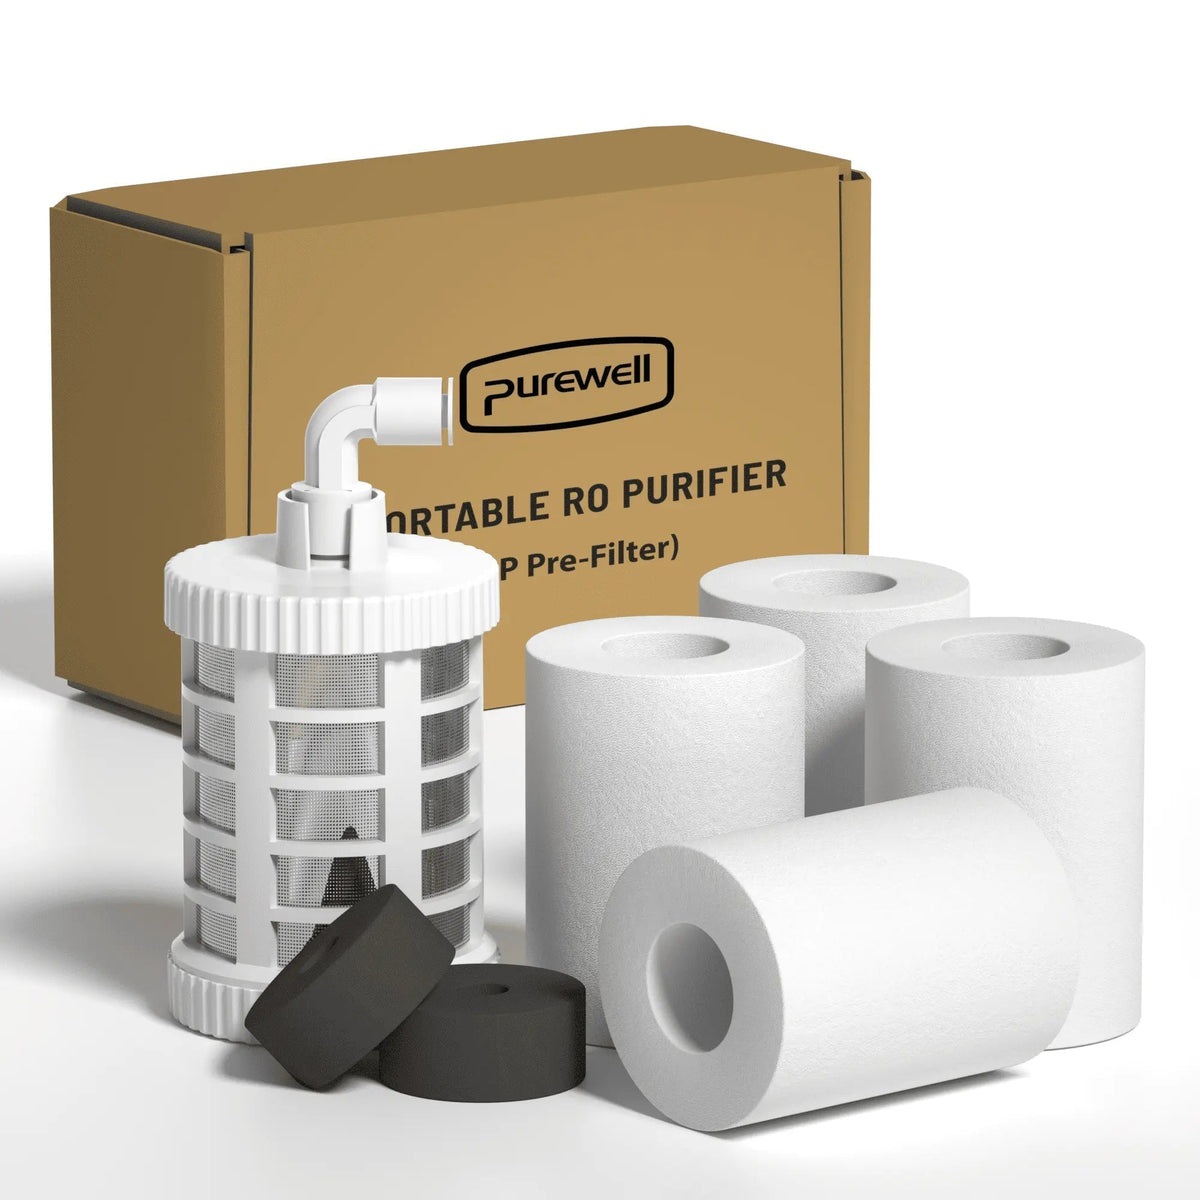
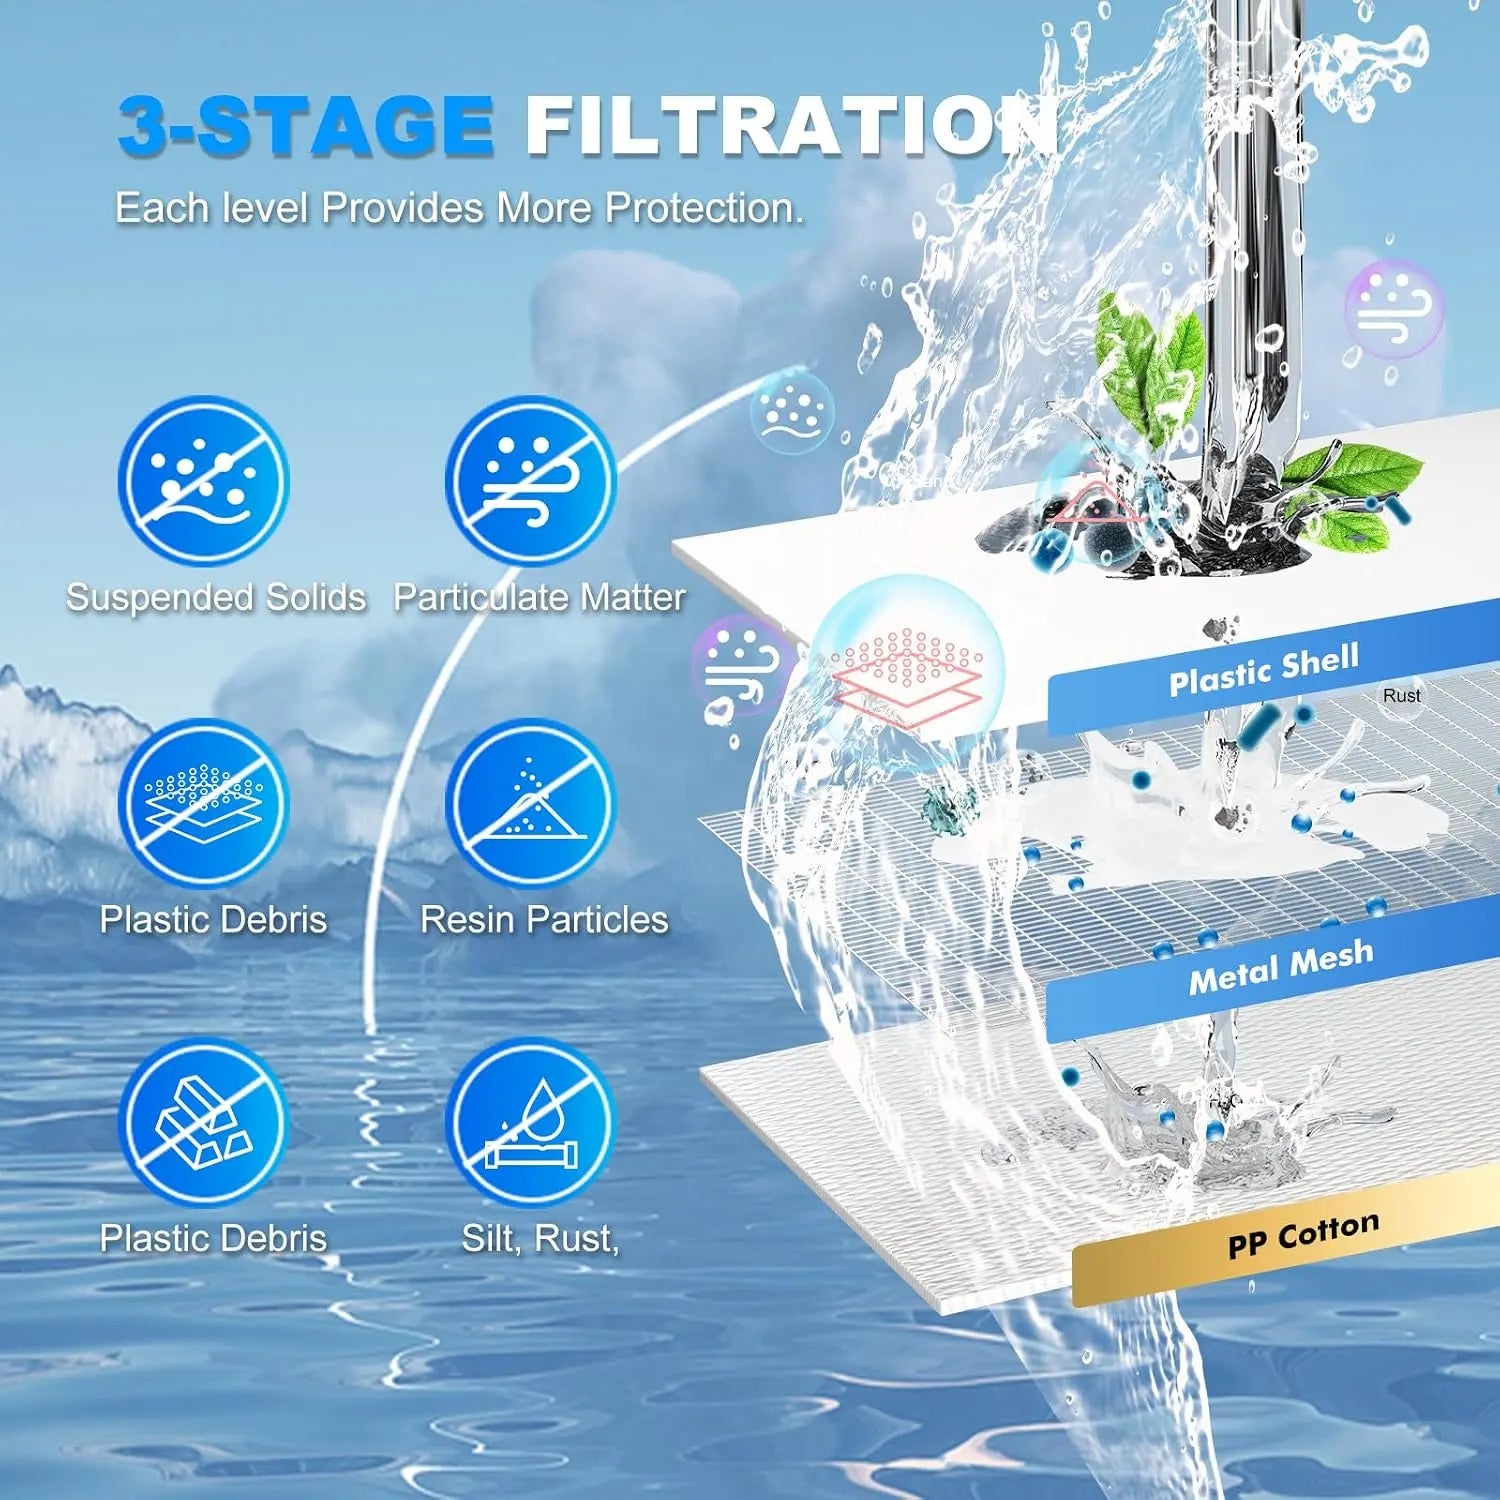
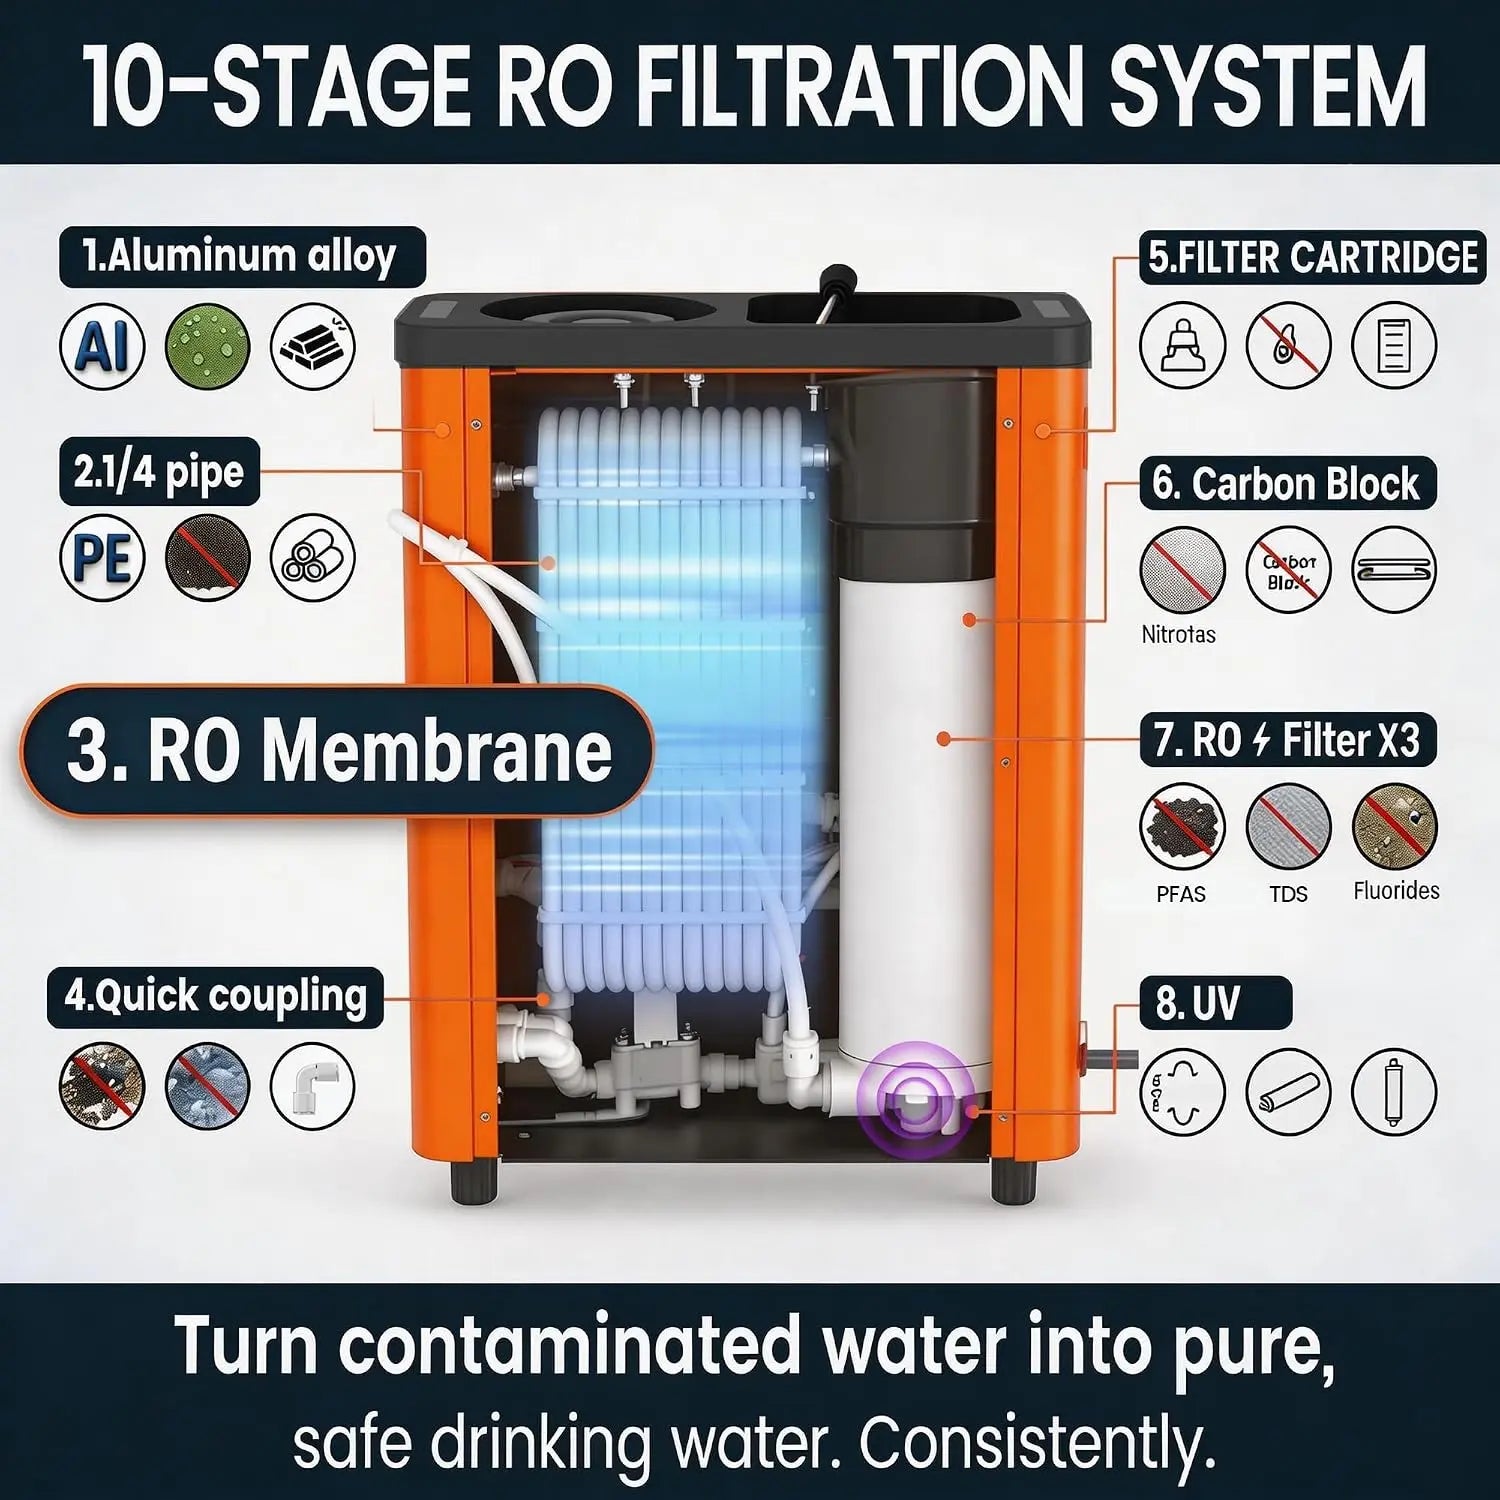
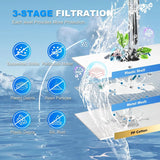
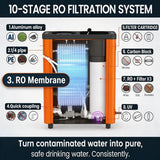
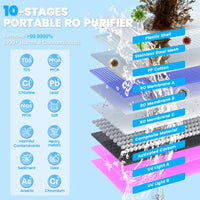
El K8680 combina un prefiltro de entrada reutilizable, algodón PP, carbón activado, una membrana de ósmosis inversa y tratamiento UV. Cada componente desempeña una función diferente antes de que el agua purificada llegue a la salida azul PURE.

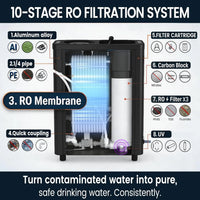
Sistema completo Tratamiento de Agua en 10 Etapas

El tratamiento multietapa ayuda a controlar los residuos visibles, los sedimentos, el sabor, el olor, los sólidos disueltos y los microorganismos en fuentes de agua dulce al aire libre.

Prefiltro Algodón PP Carbón activado Membrana de Ósmosis Inversa Tratamiento UV
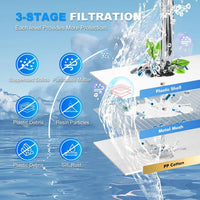
Prefiltro Malla de acero inoxidable

Ayuda a bloquear residuos más grandes como ramitas, hojas, malezas y otros materiales visibles antes de que el agua entre al sistema.

Reutilizable Residuos grandes Entrada exterior
Limpie y mantenga regularmente
Capa de Prefiltro Algodón PP de grado médico

Ayuda a capturar partículas mayores de 5 μm, incluidos microsedimentos, óxido, huevos de insectos y residuos minerales.

Partículas >5 μm Óxido Sedimento
Capacidad nominal: hasta 500 galones
Capa del cartucho RO Carbón activado

Ayuda a reducir el color, el cloro, el sabor desagradable, el olor, los detergentes sintéticos y determinadas sustancias orgánicas.

Reducción de cloro Mejora del sabor Reducción de olores
Capa del cartucho RO Membrana de ósmosis inversa

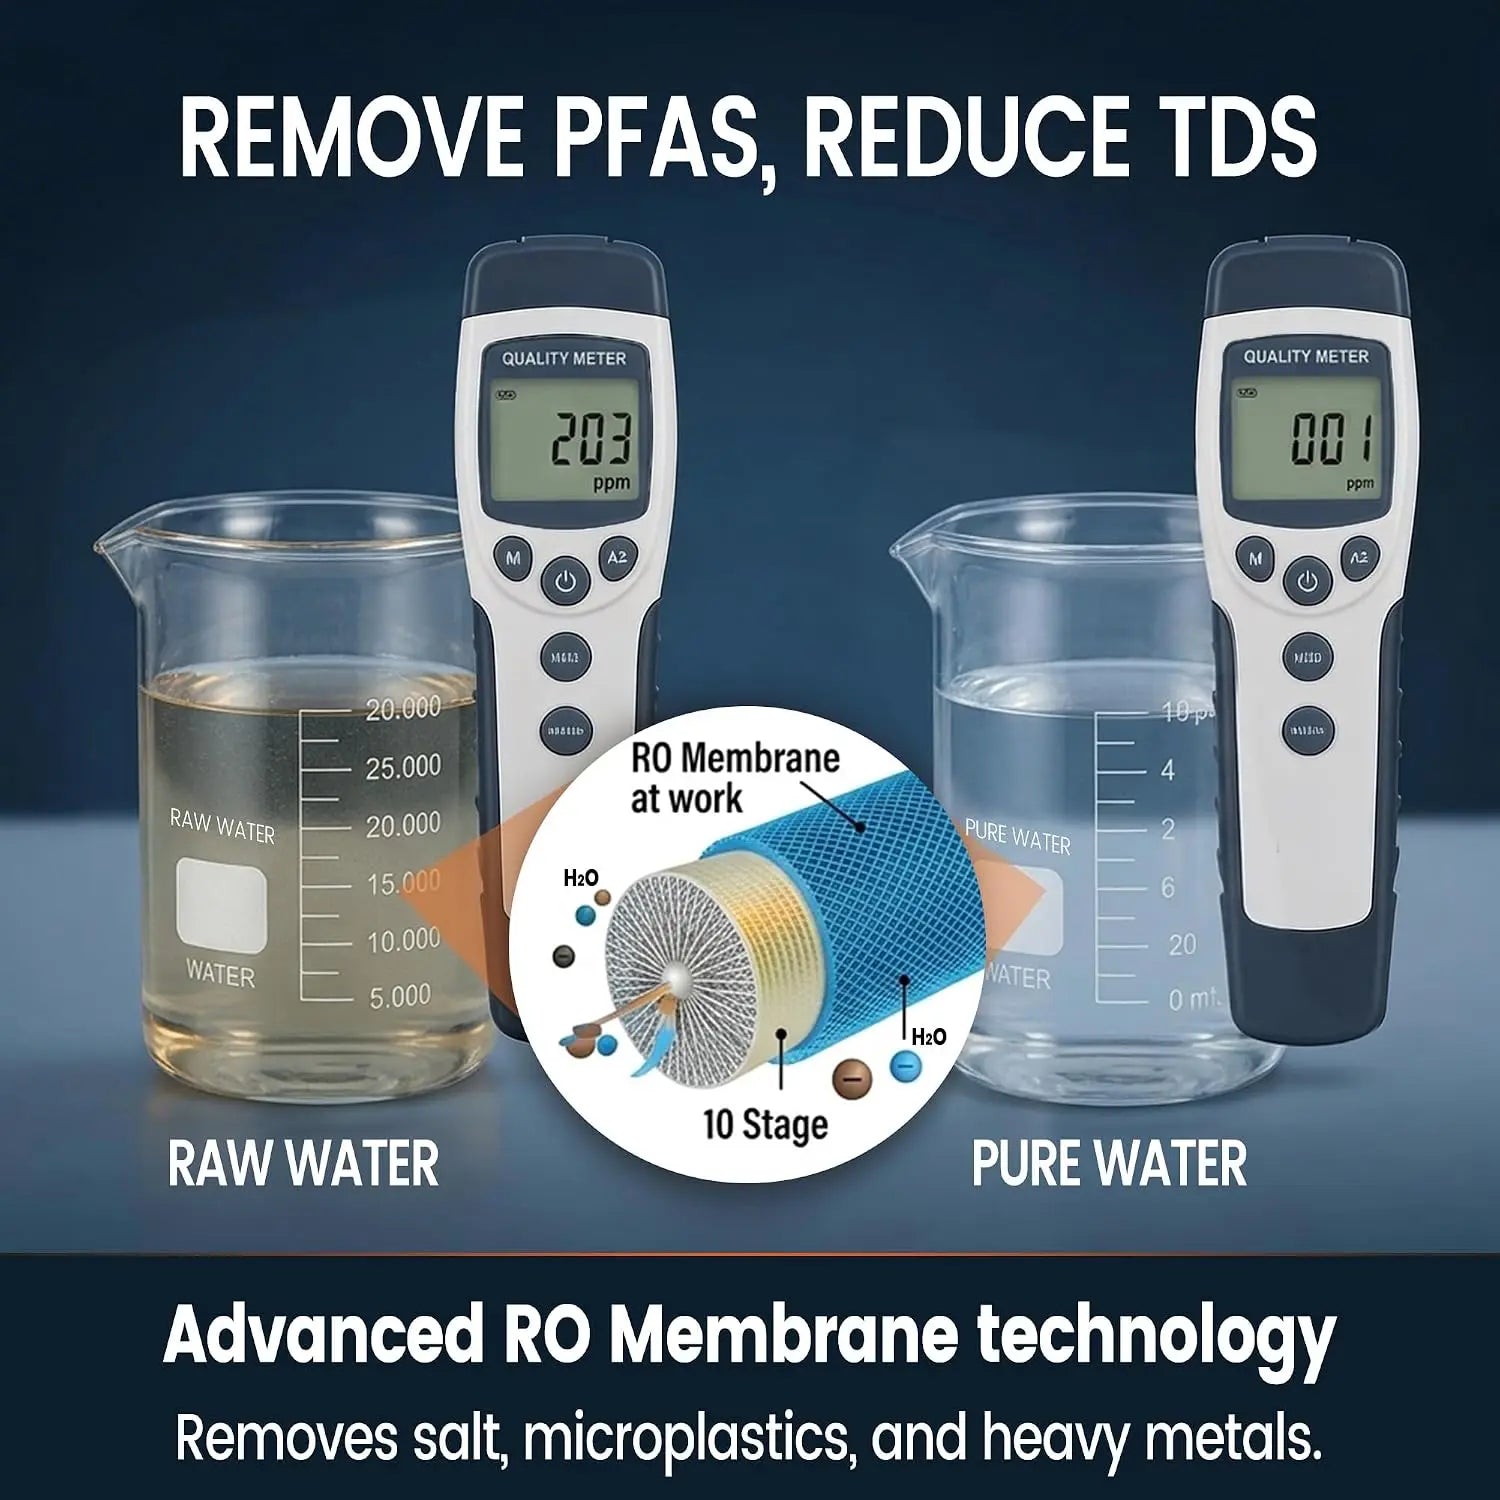
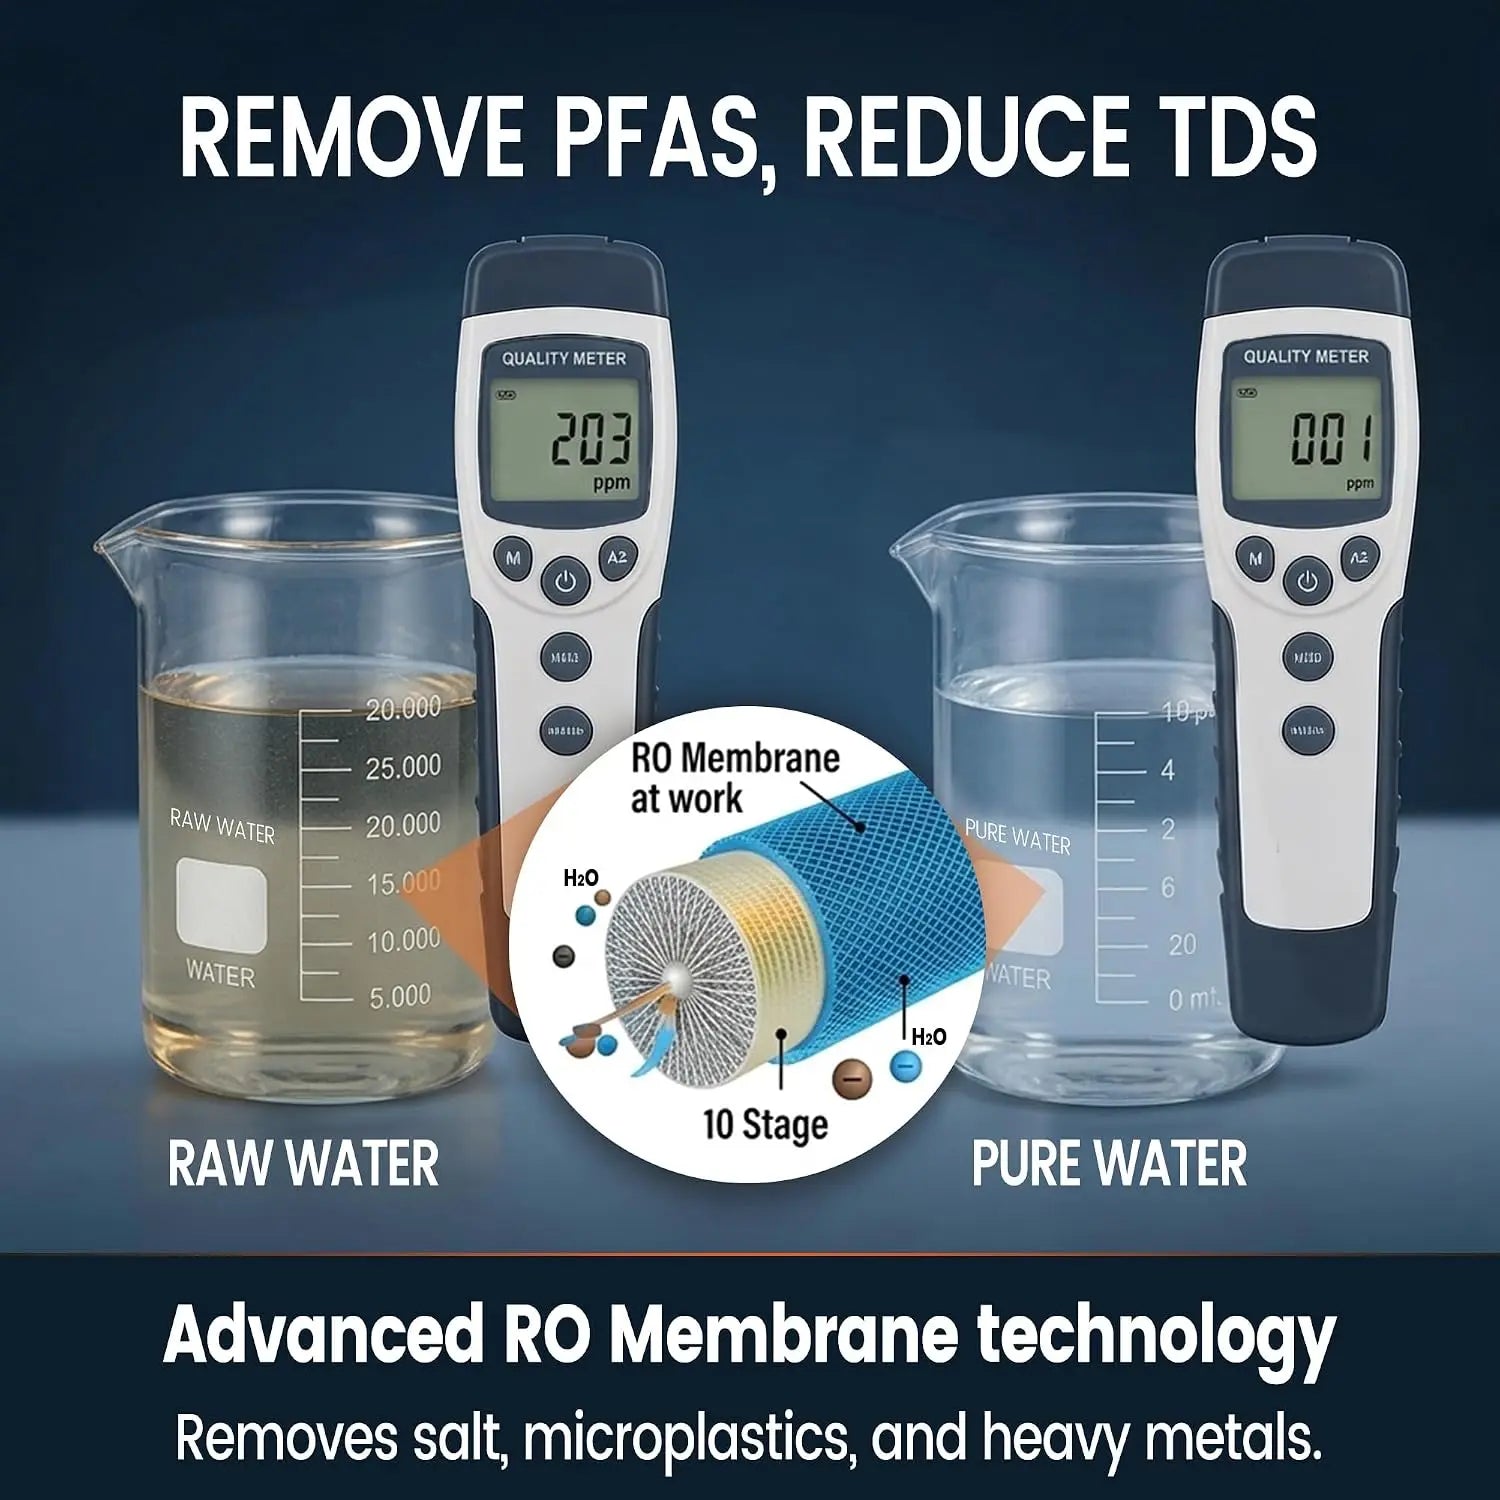
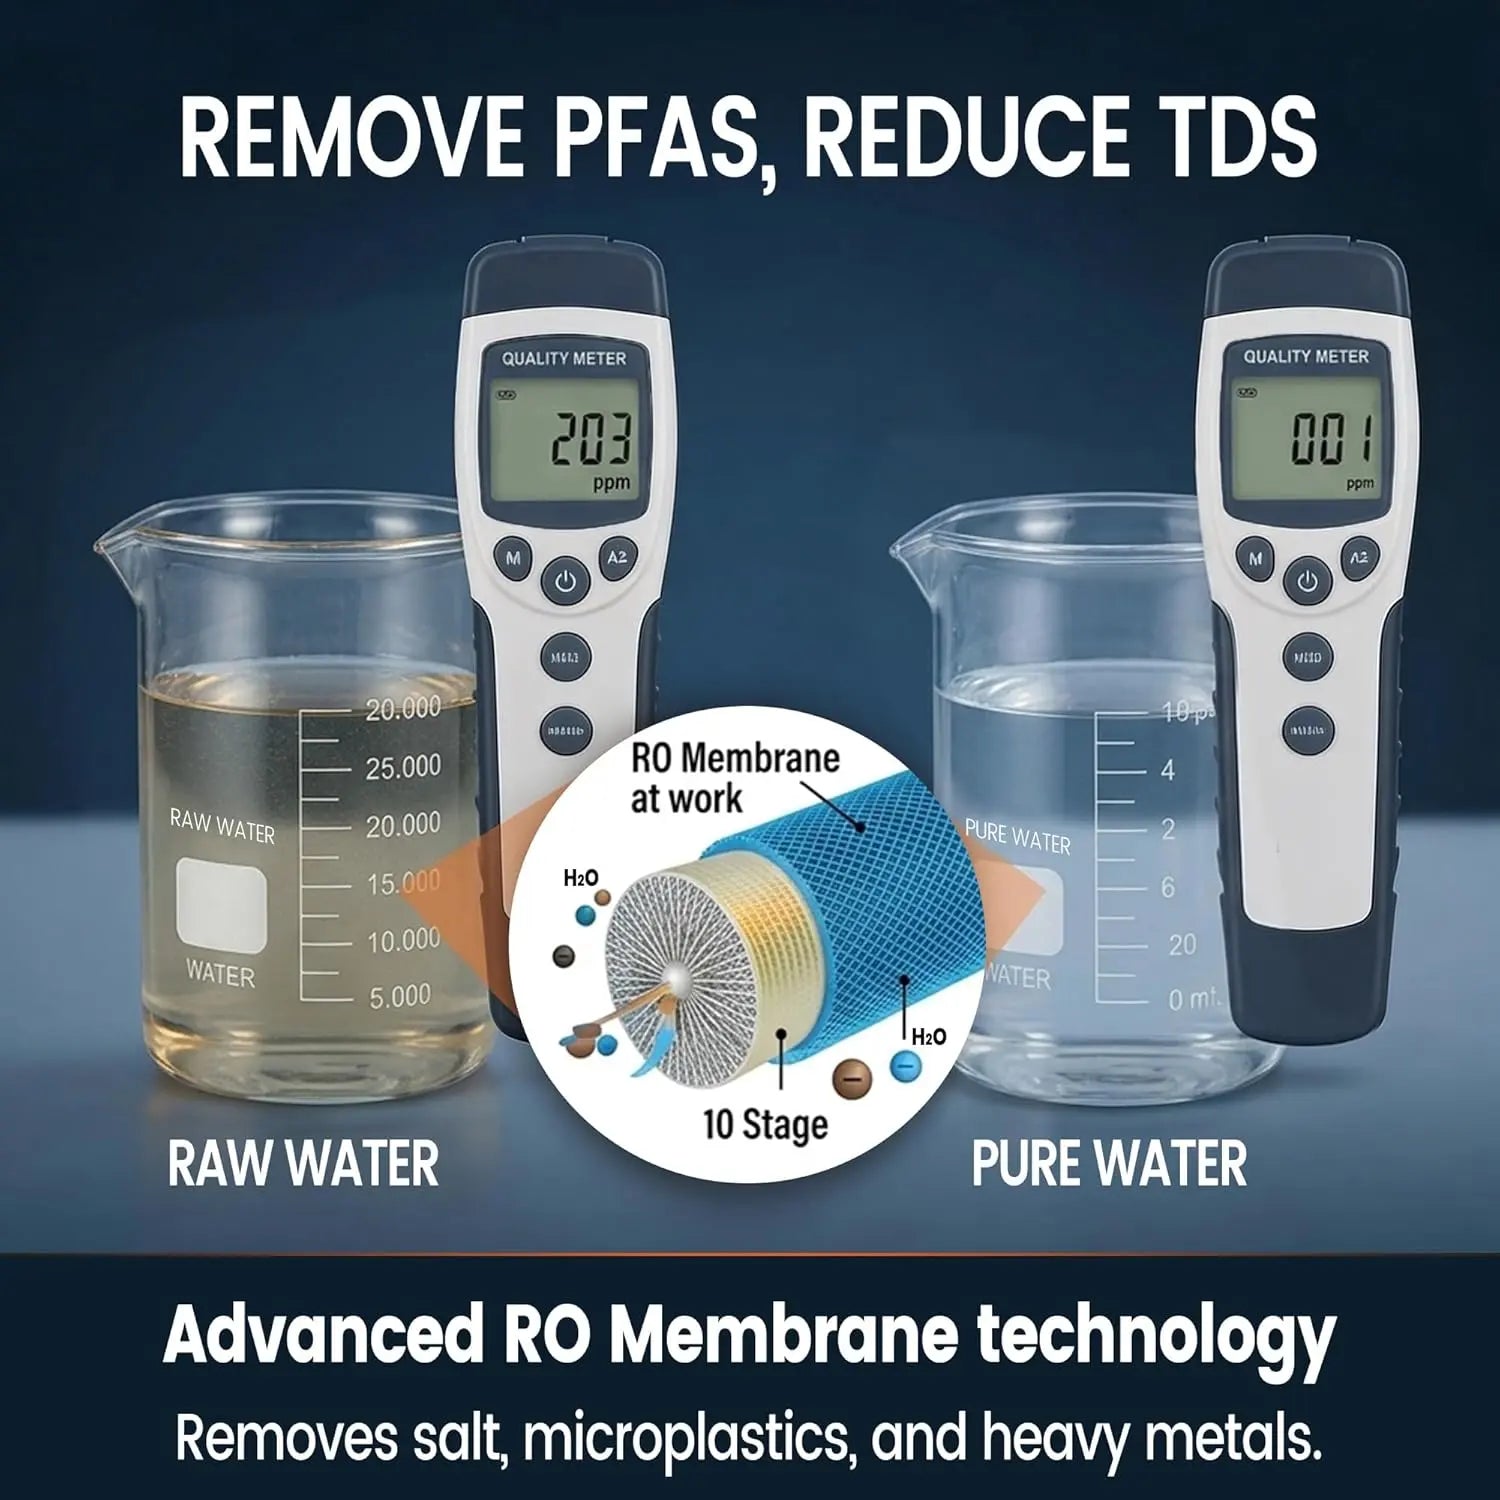
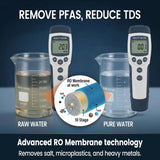
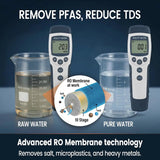
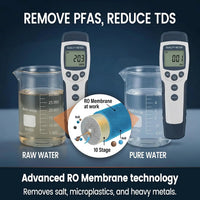
Favorece una purificación de alta precisión y ayuda a reducir los sólidos disueltos, metales pesados seleccionados, PFOA, PFOS y otros contaminantes indicados.

Reducción de TDS Purificación por Ósmosis Inversa Alta precisión
Capacidad nominal: hasta 3,000 galones
Tratamiento final Lámpara Germicida UV

Proporciona una etapa adicional de tratamiento dirigida a bacterias y virus mientras el sistema está en funcionamiento.

Tratamiento UV Funcionamiento automático
Vida útil indicada como de por vida en el manual
Nota sobre la vida útil del filtro: La vida útil real del cartucho varía según la calidad del agua de la fuente, el nivel de TDS, la carga de sedimentos, el volumen filtrado y el mantenimiento. Controle la lectura de TDS del agua purificada y reemplace el cartucho antes cuando disminuya el rendimiento de filtración.

Potencia, autonomía & iluminación

03
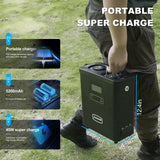
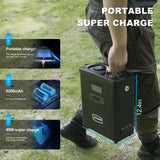
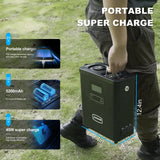
Capacidad de la batería 5200 mAh

La batería recargable integrada permite la filtración portátil lejos de una fuente de alimentación fija.

Tiempo de funcionamiento Hasta 6.5 horas

La autonomía se basa en las especificaciones del producto y puede variar según las condiciones de funcionamiento.

Tiempo de carga Aproximadamente 2–3 horas

Recargue a través de la conexión de carga Type-C integrada.

Voltaje / Corriente 24V / 10A

Utilice el cargador de alimentación correspondiente especificado para el sistema.

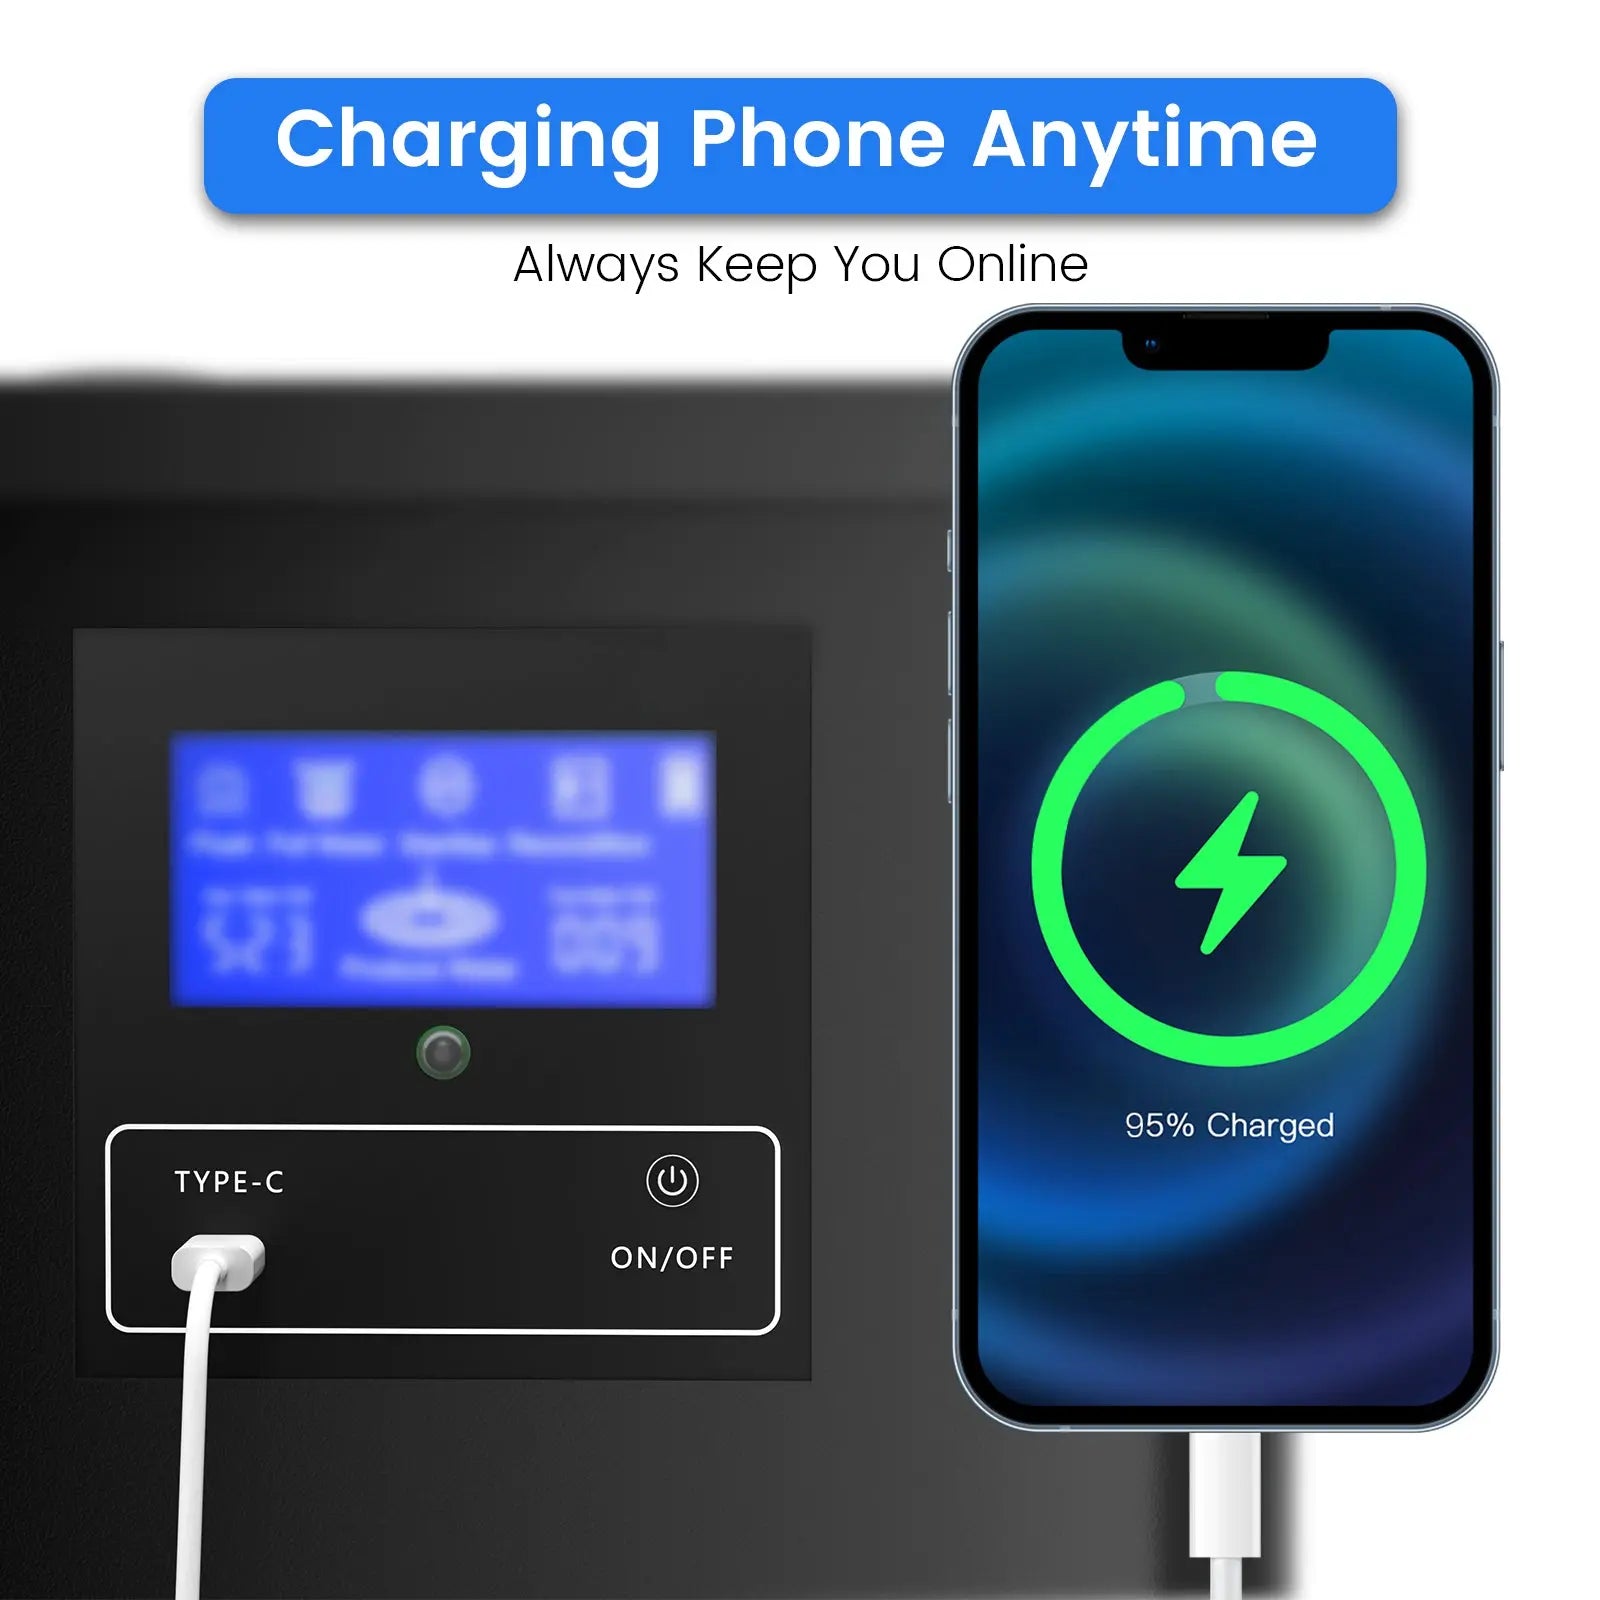
Función Type-C Carga Directa & Inversa

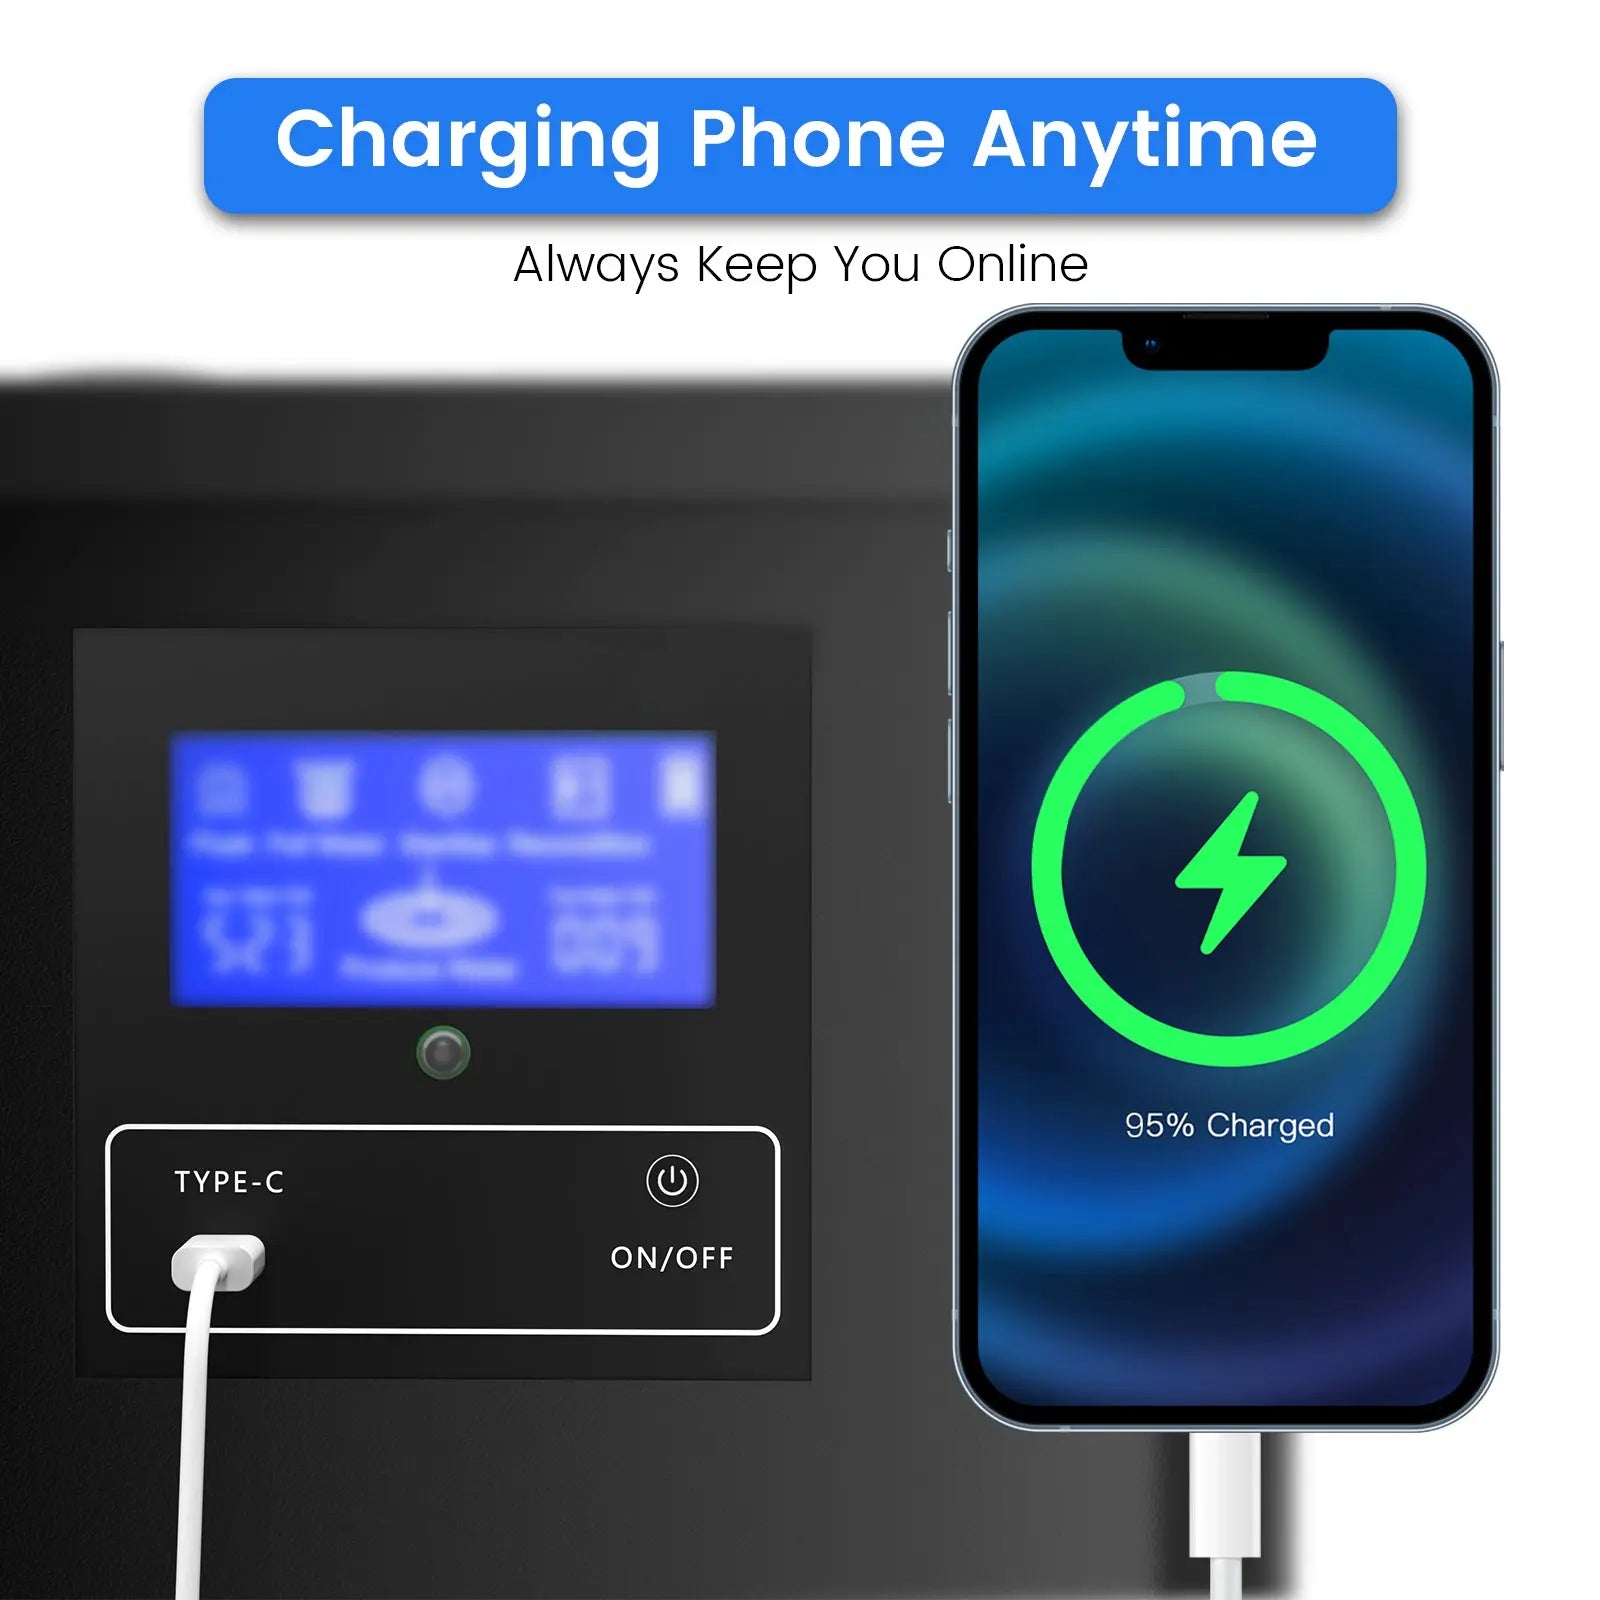
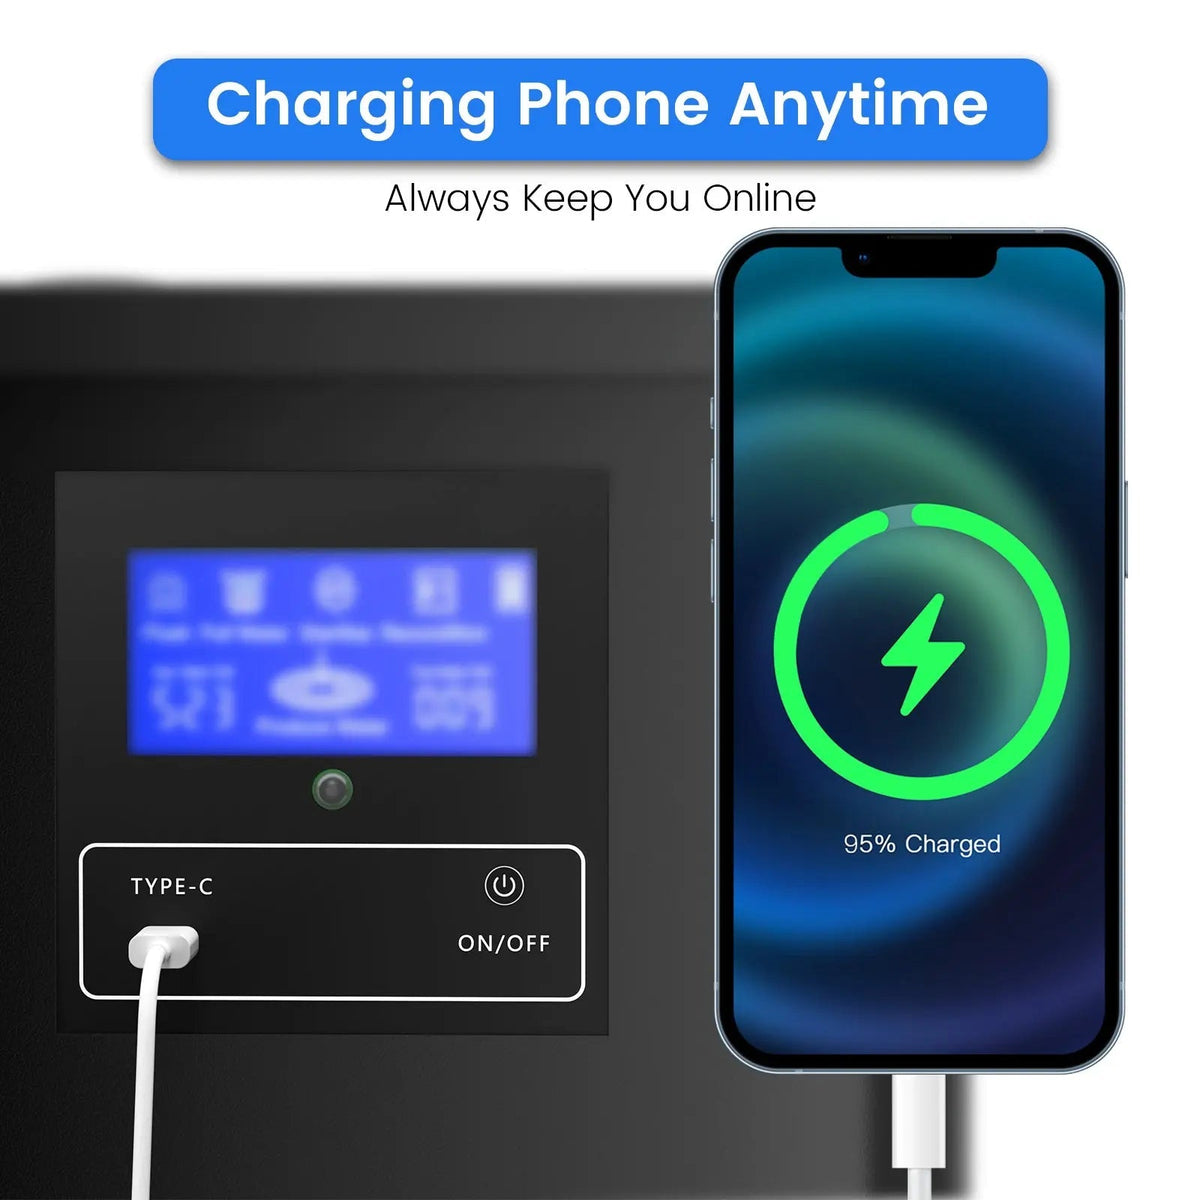
Permite cargar el purificador y suministrar energía de emergencia a dispositivos externos compatibles.

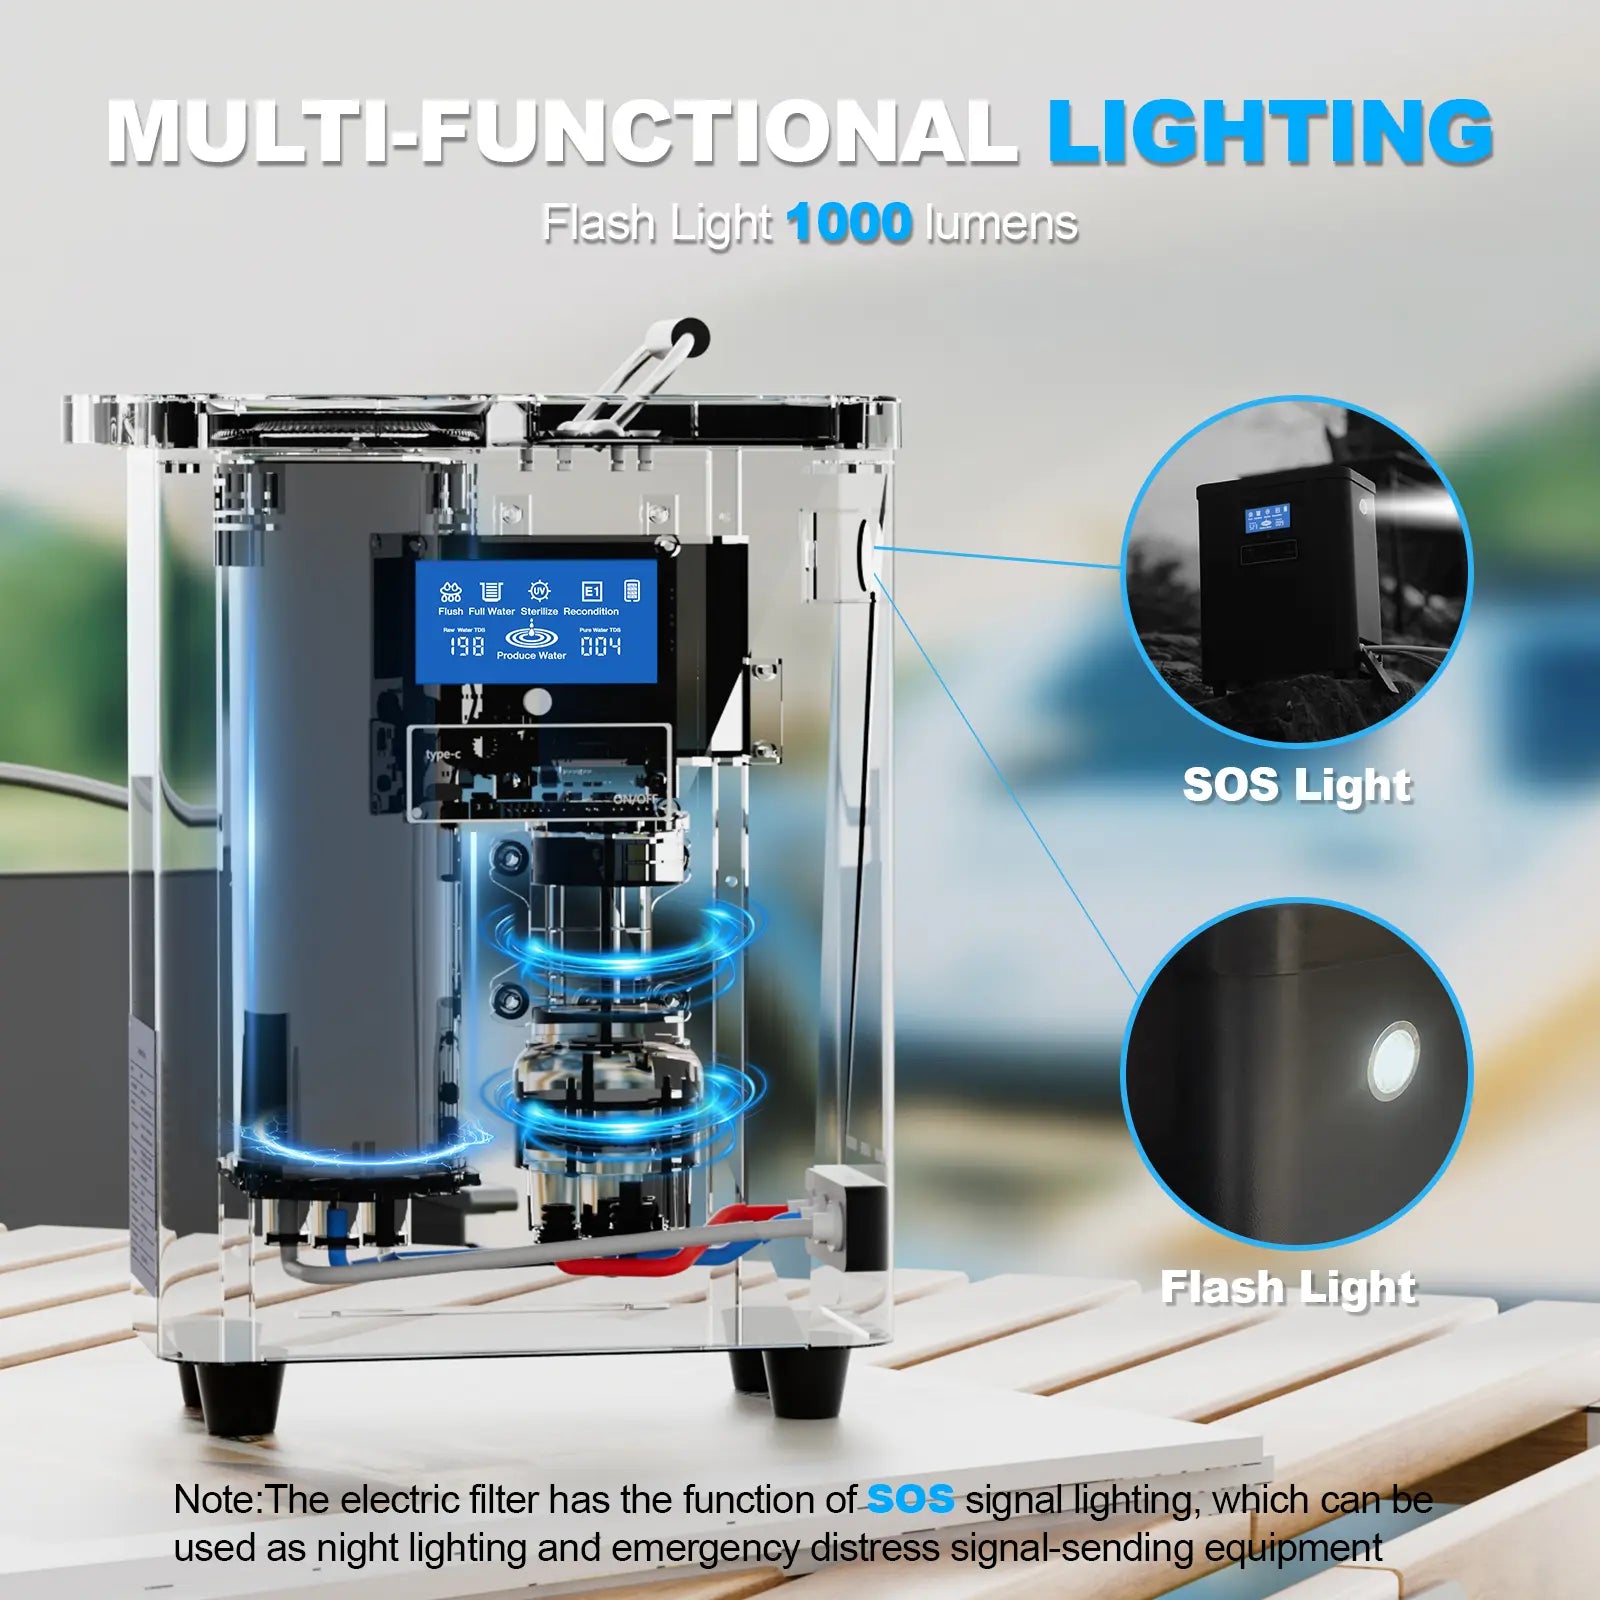
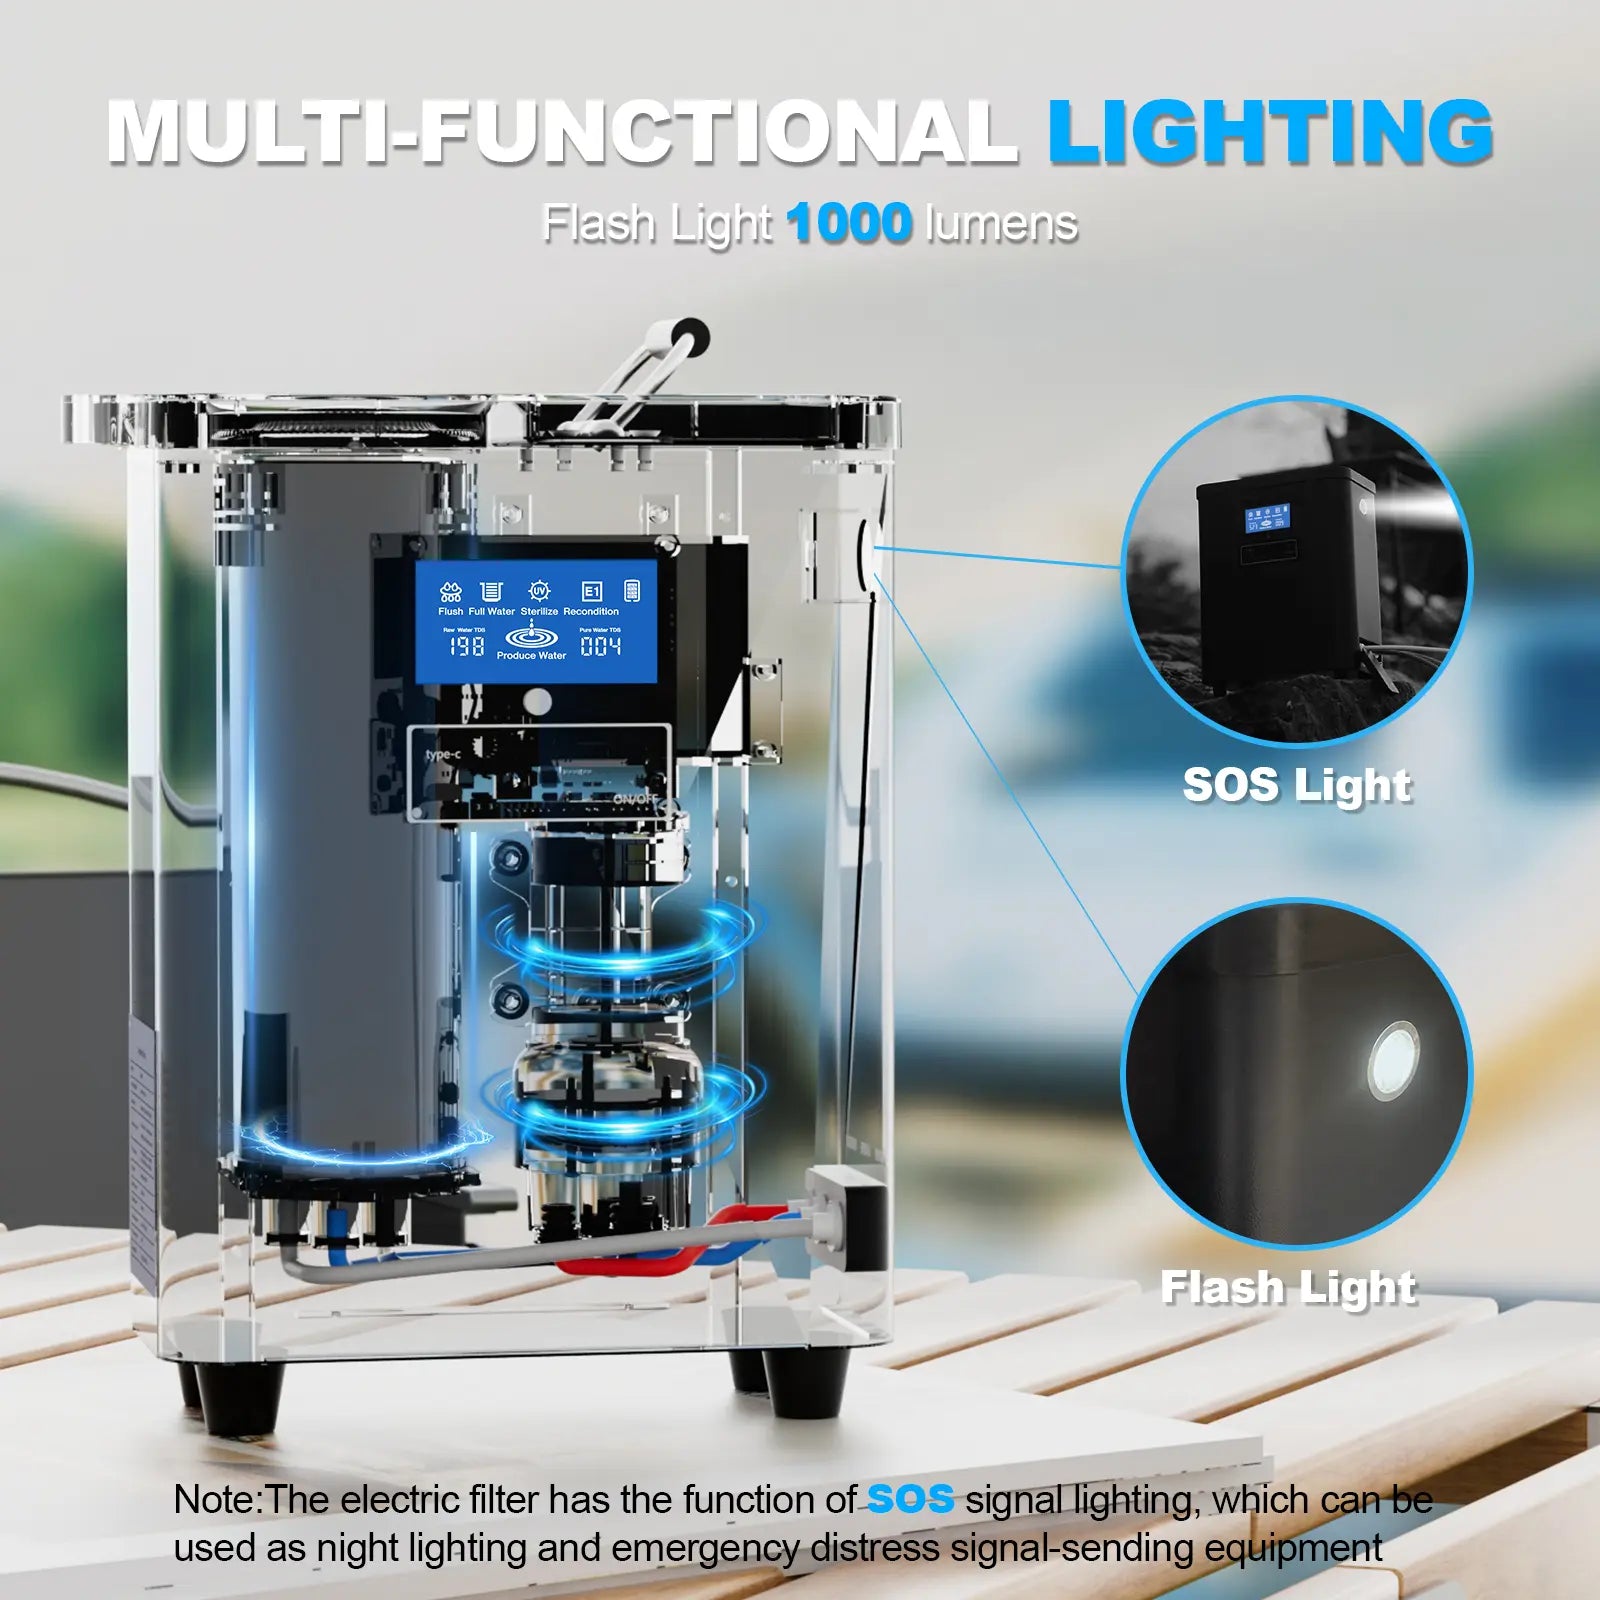
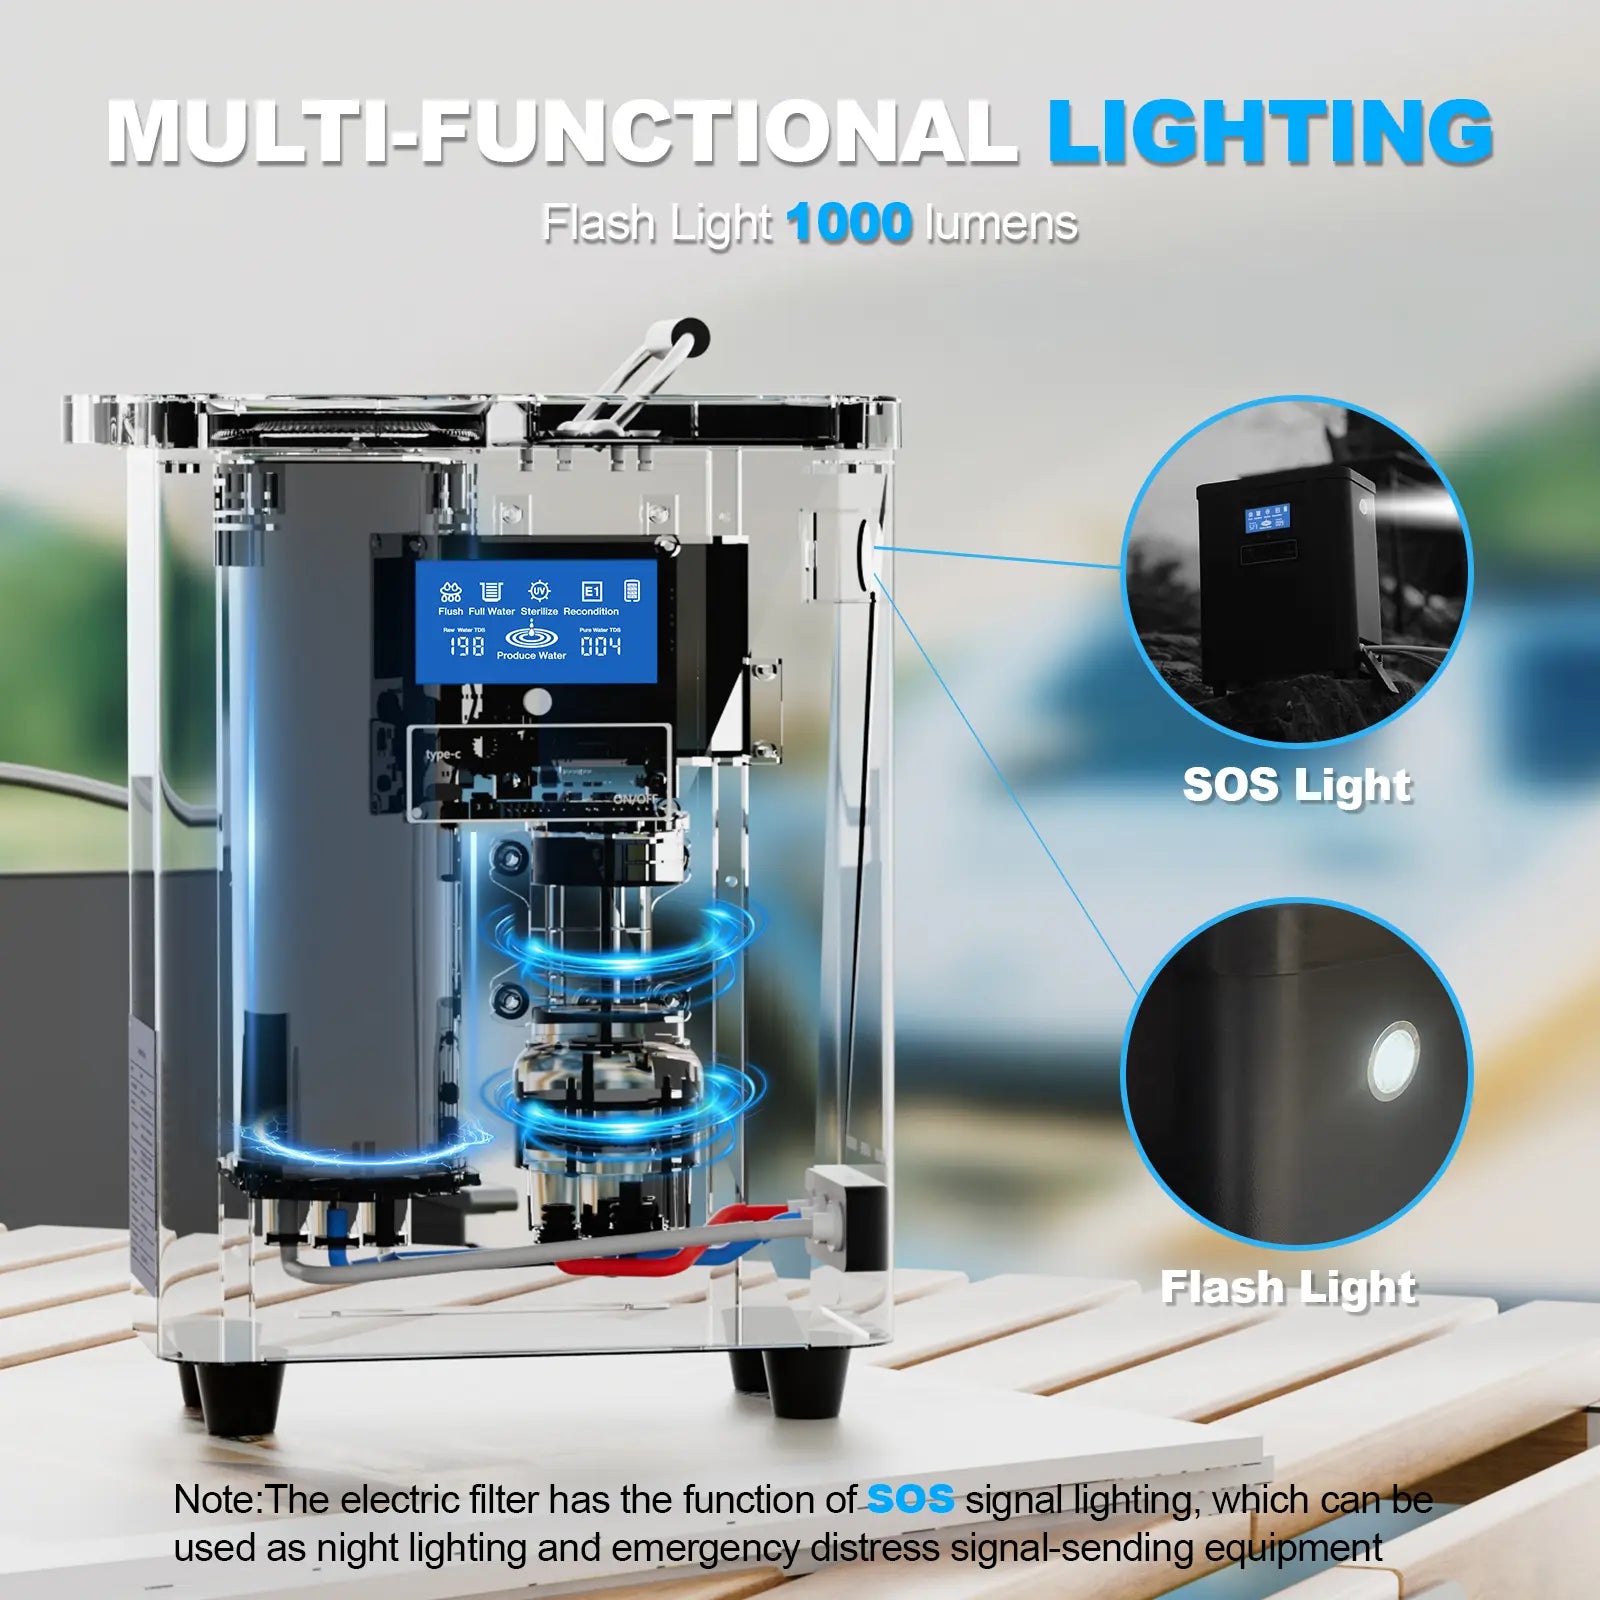
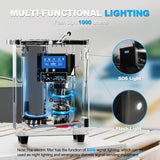
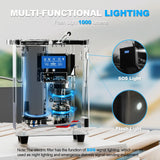
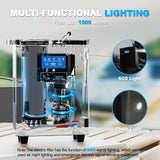
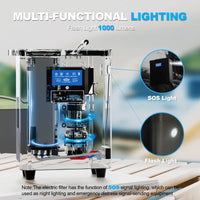
Potencia de iluminación 10W / 24V

La iluminación integrada facilita el uso nocturno y las situaciones de emergencia al aire libre.

Brillo de la iluminación 1000 lúmenes

Incluye un modo de iluminación estándar y un modo intermitente SOS.

Cumplimiento Indicado en el Manual CE / FCC / RoHS / UL

Las referencias de cumplimiento se enumeran en la sección de especificaciones del producto del manual.

Pantalla inteligente & Monitoreo del sistema

04

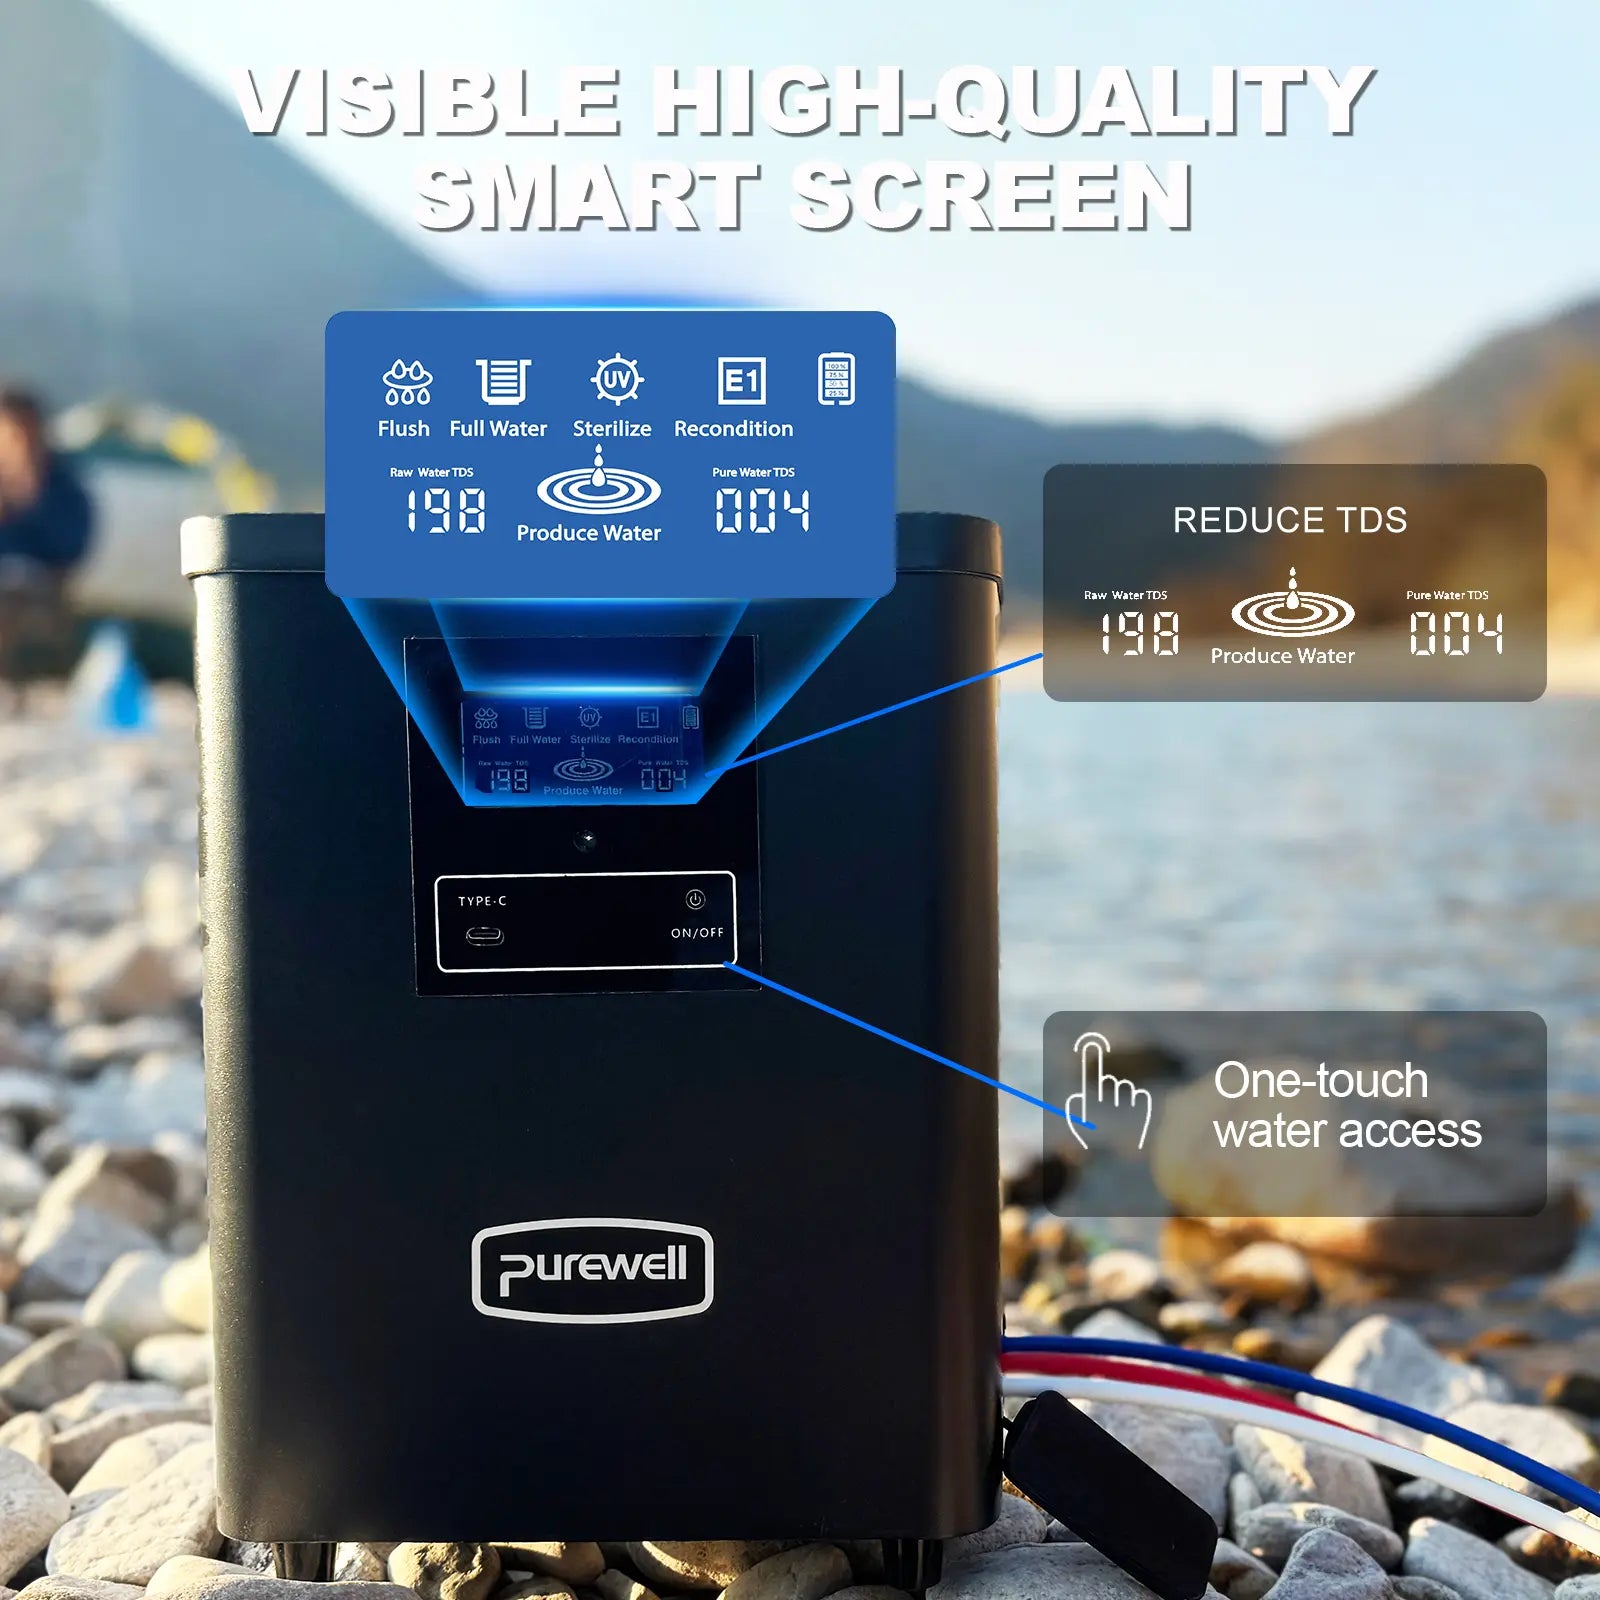
Vea la Calidad del Agua y el Estado de Funcionamiento de un Vistazo

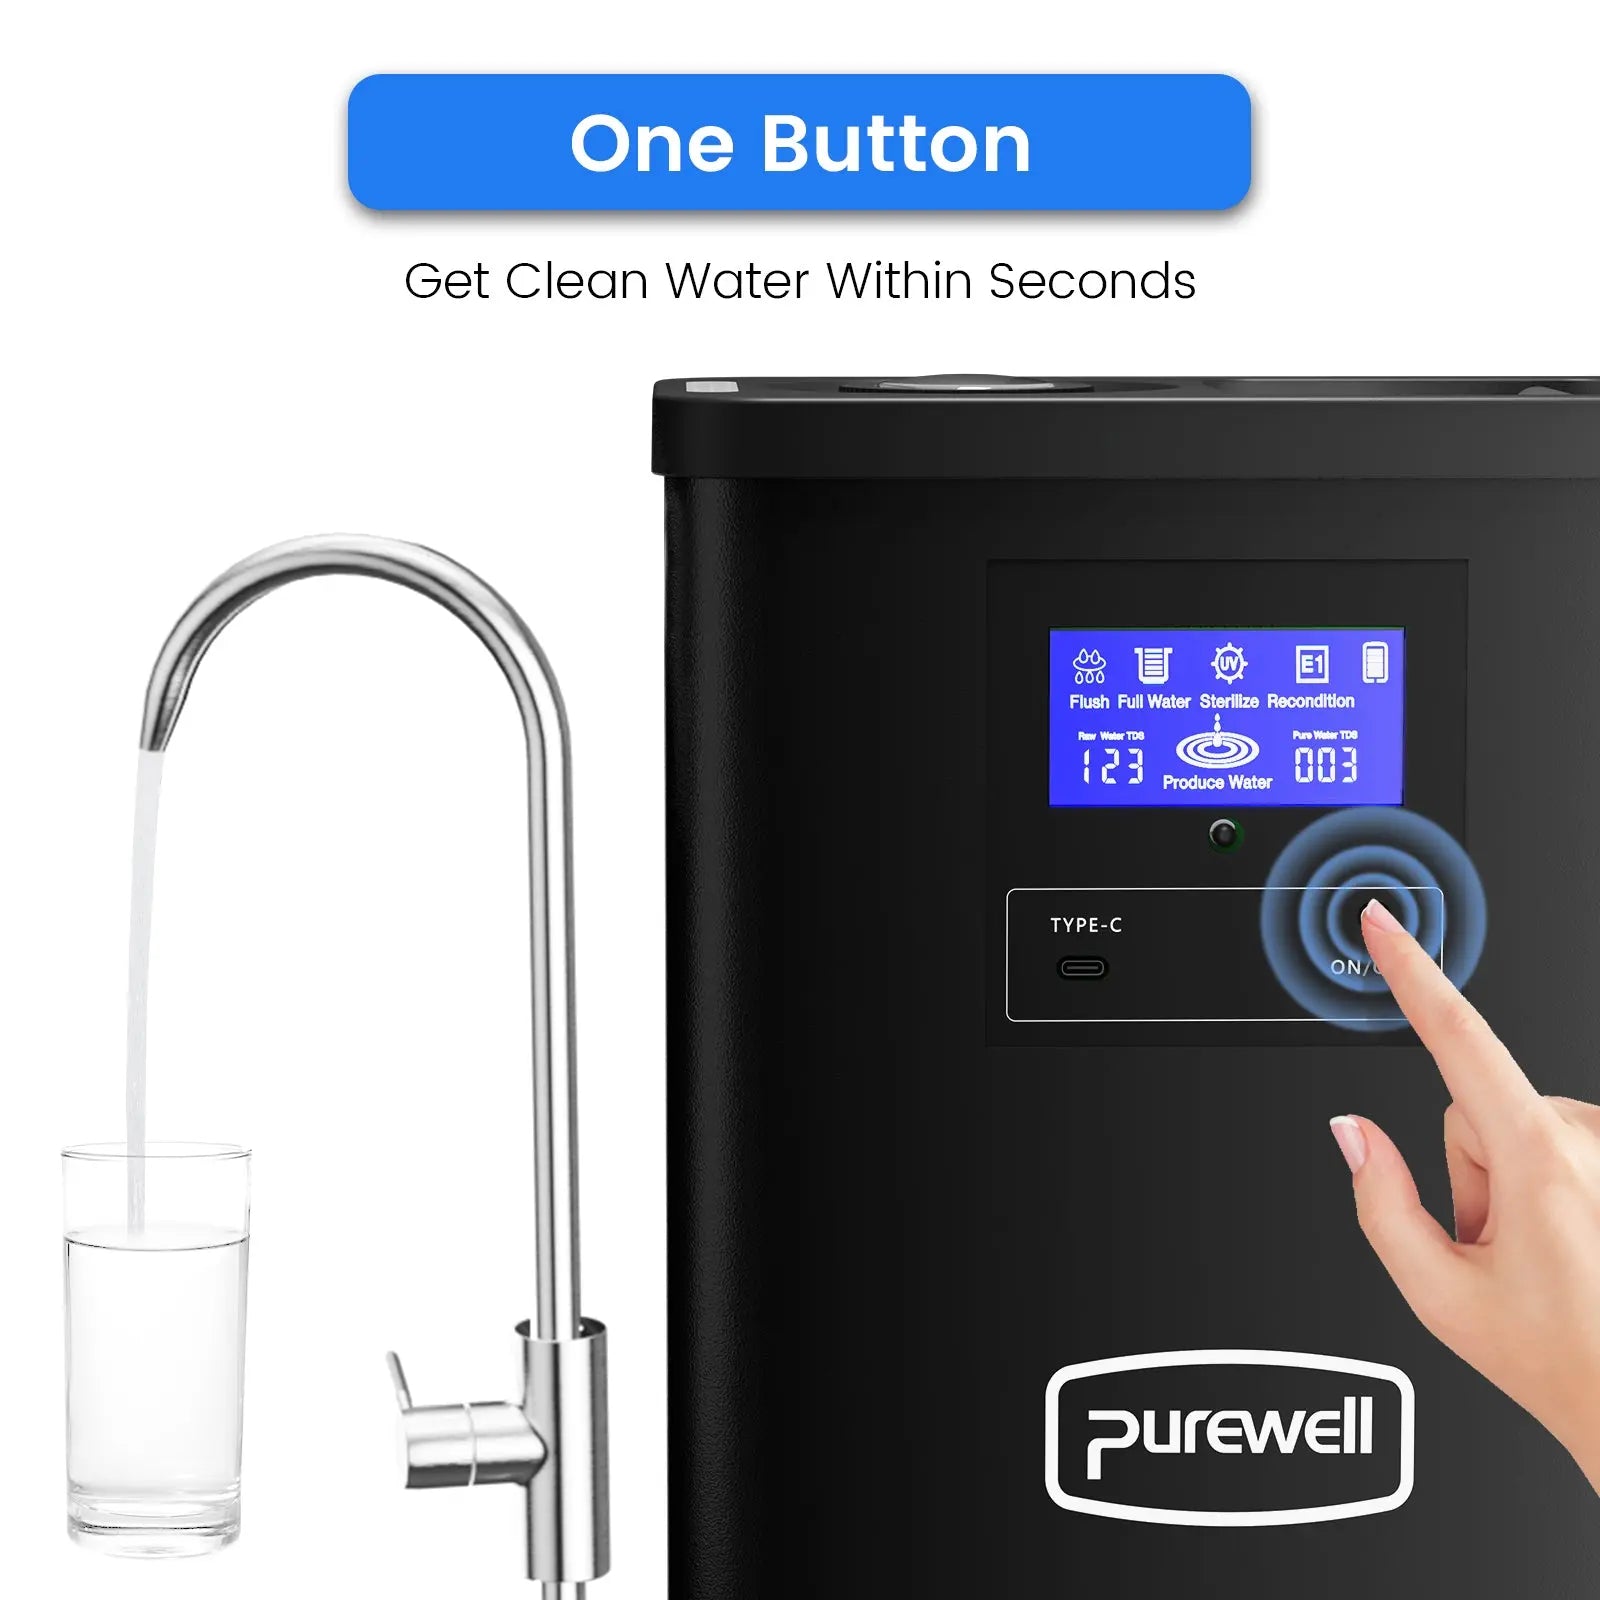
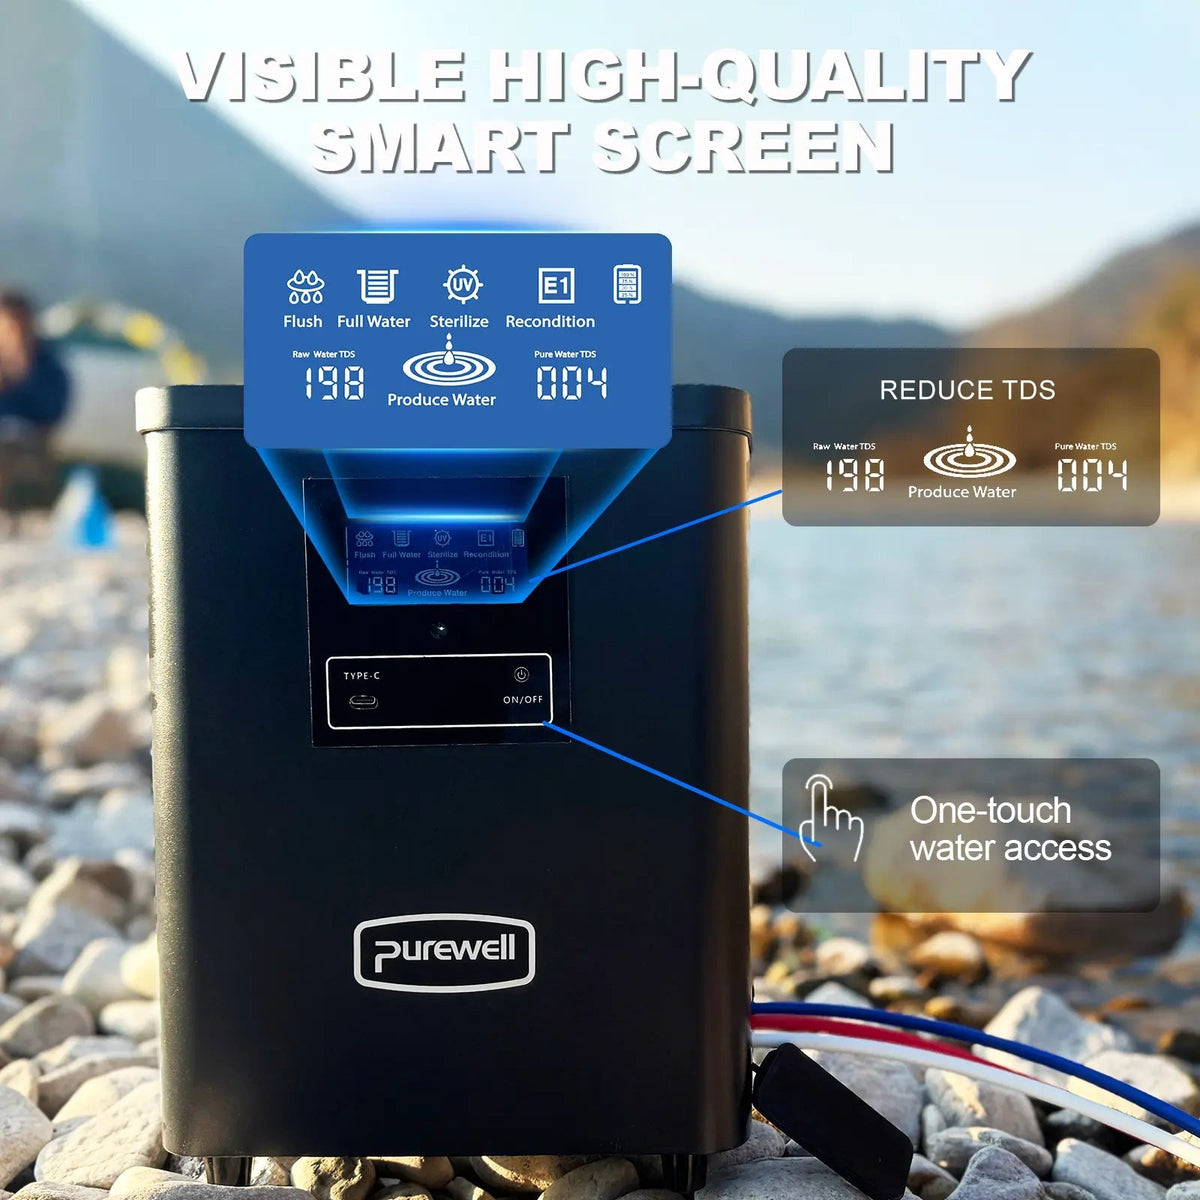
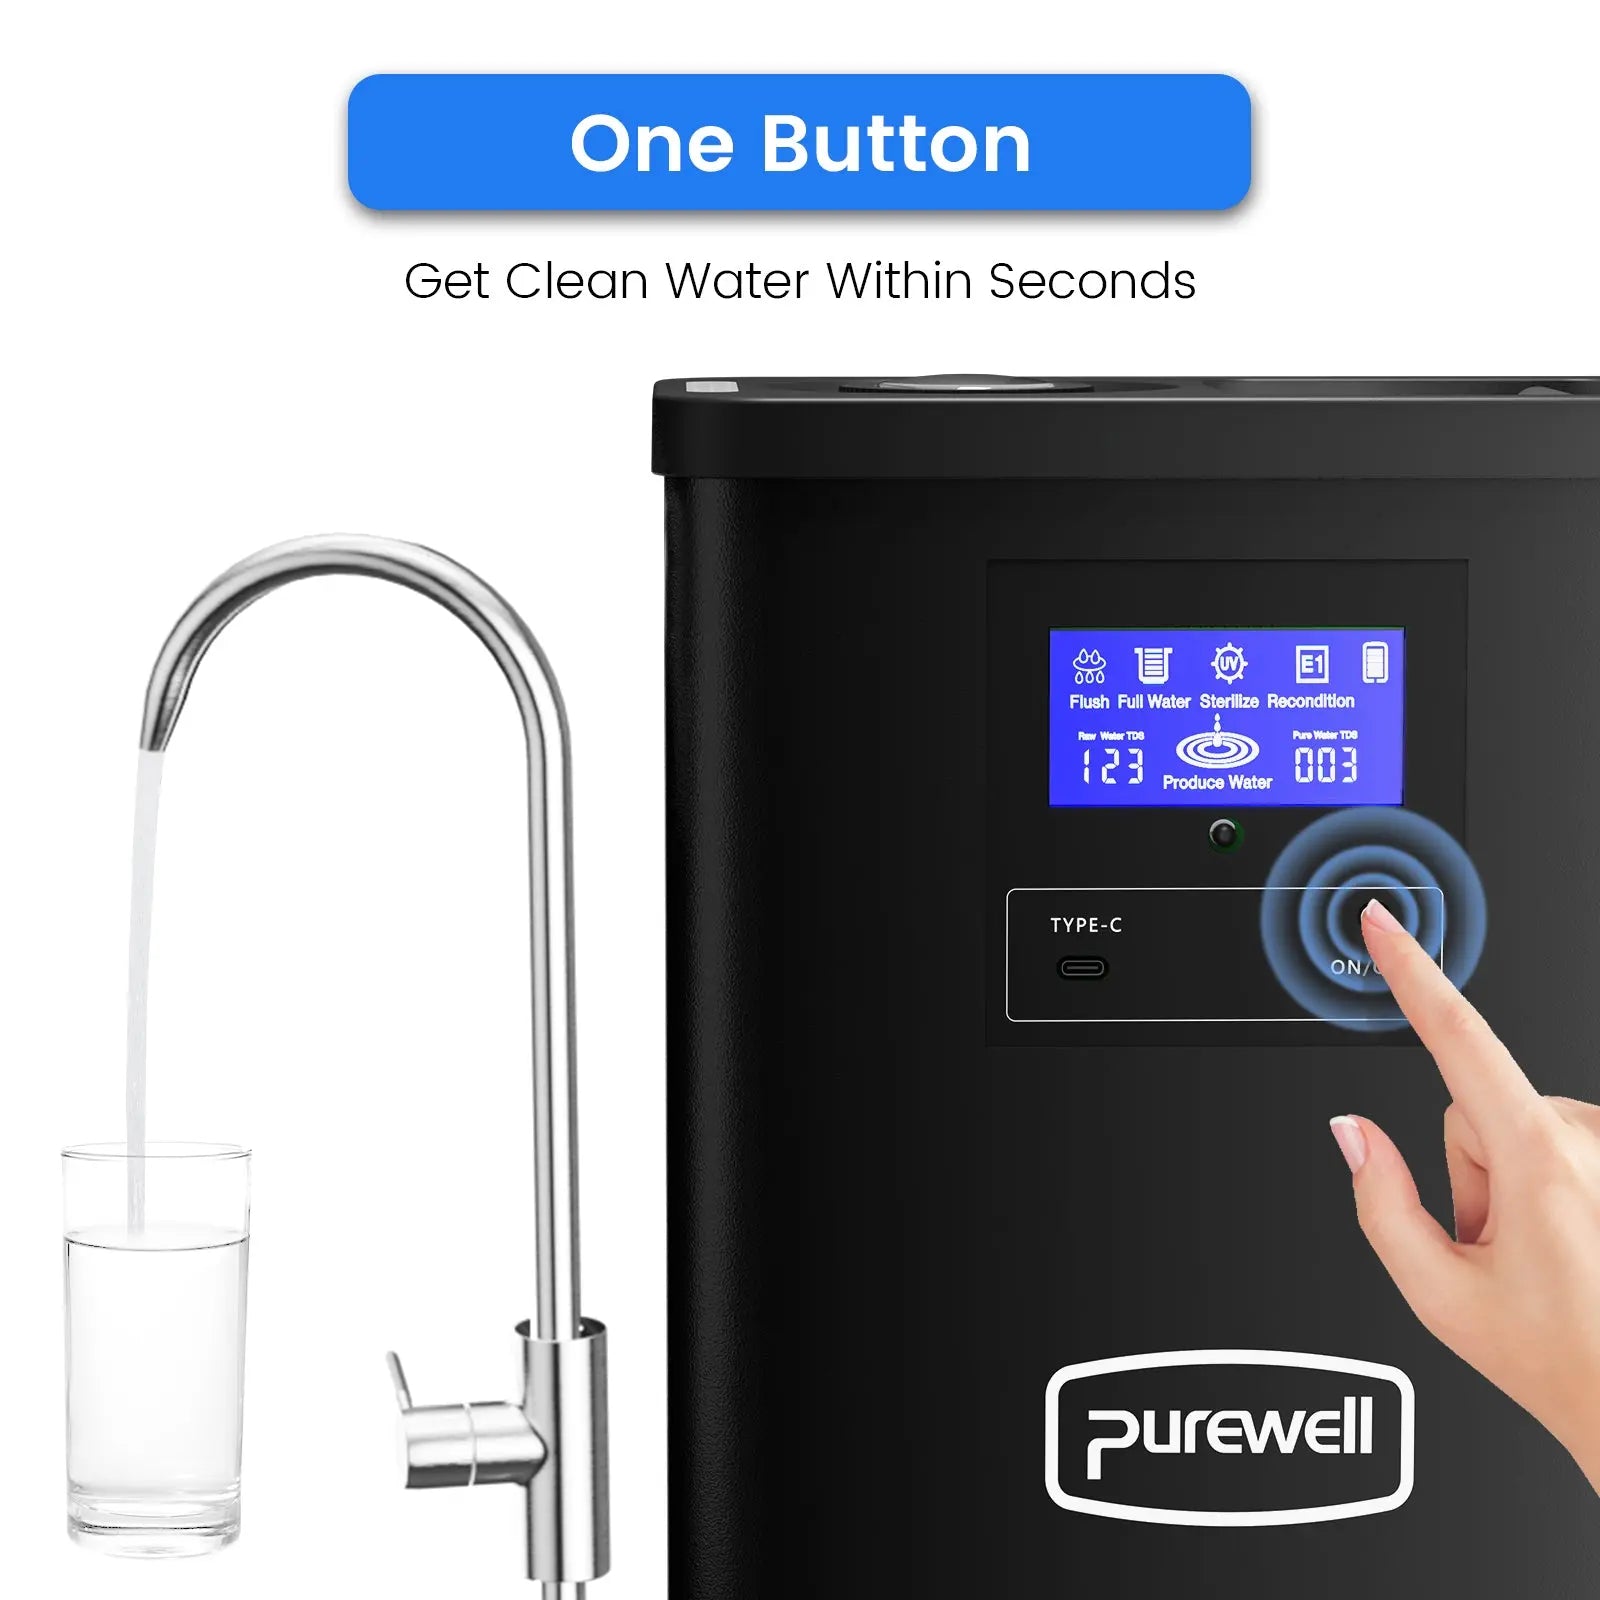
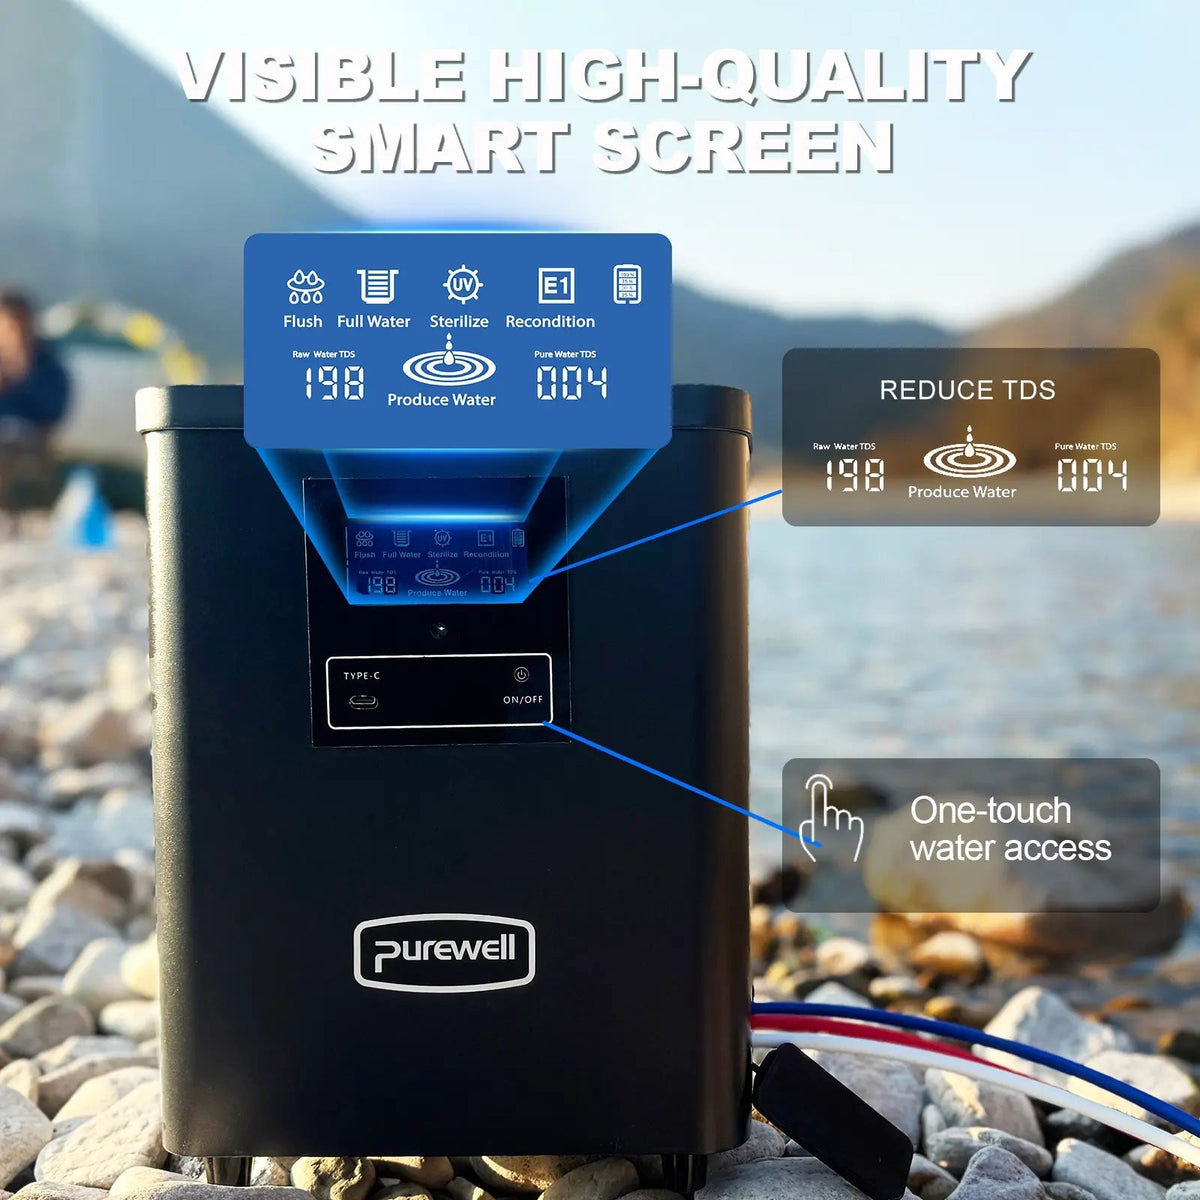
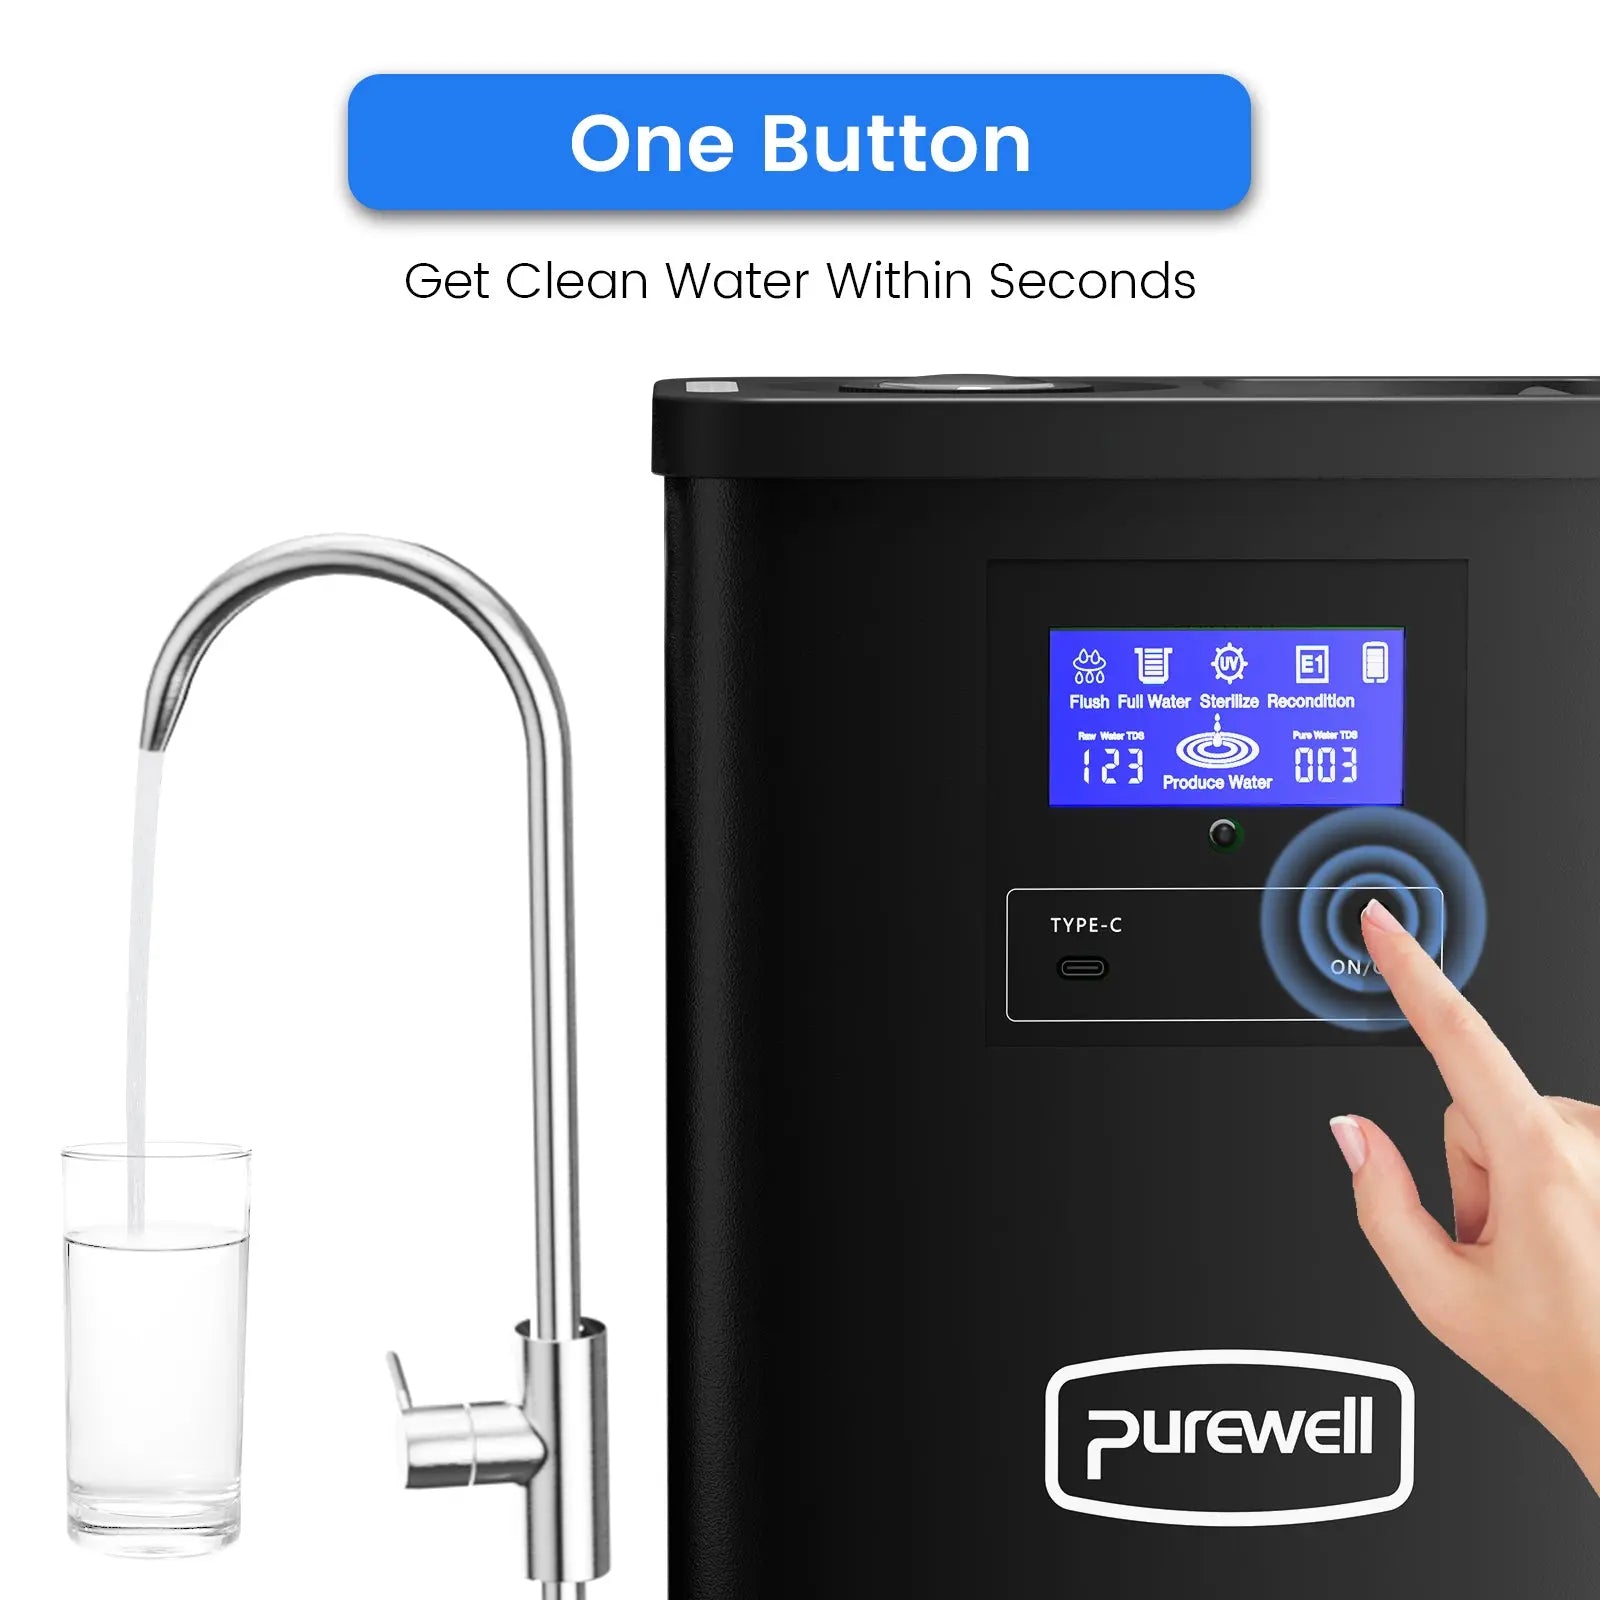
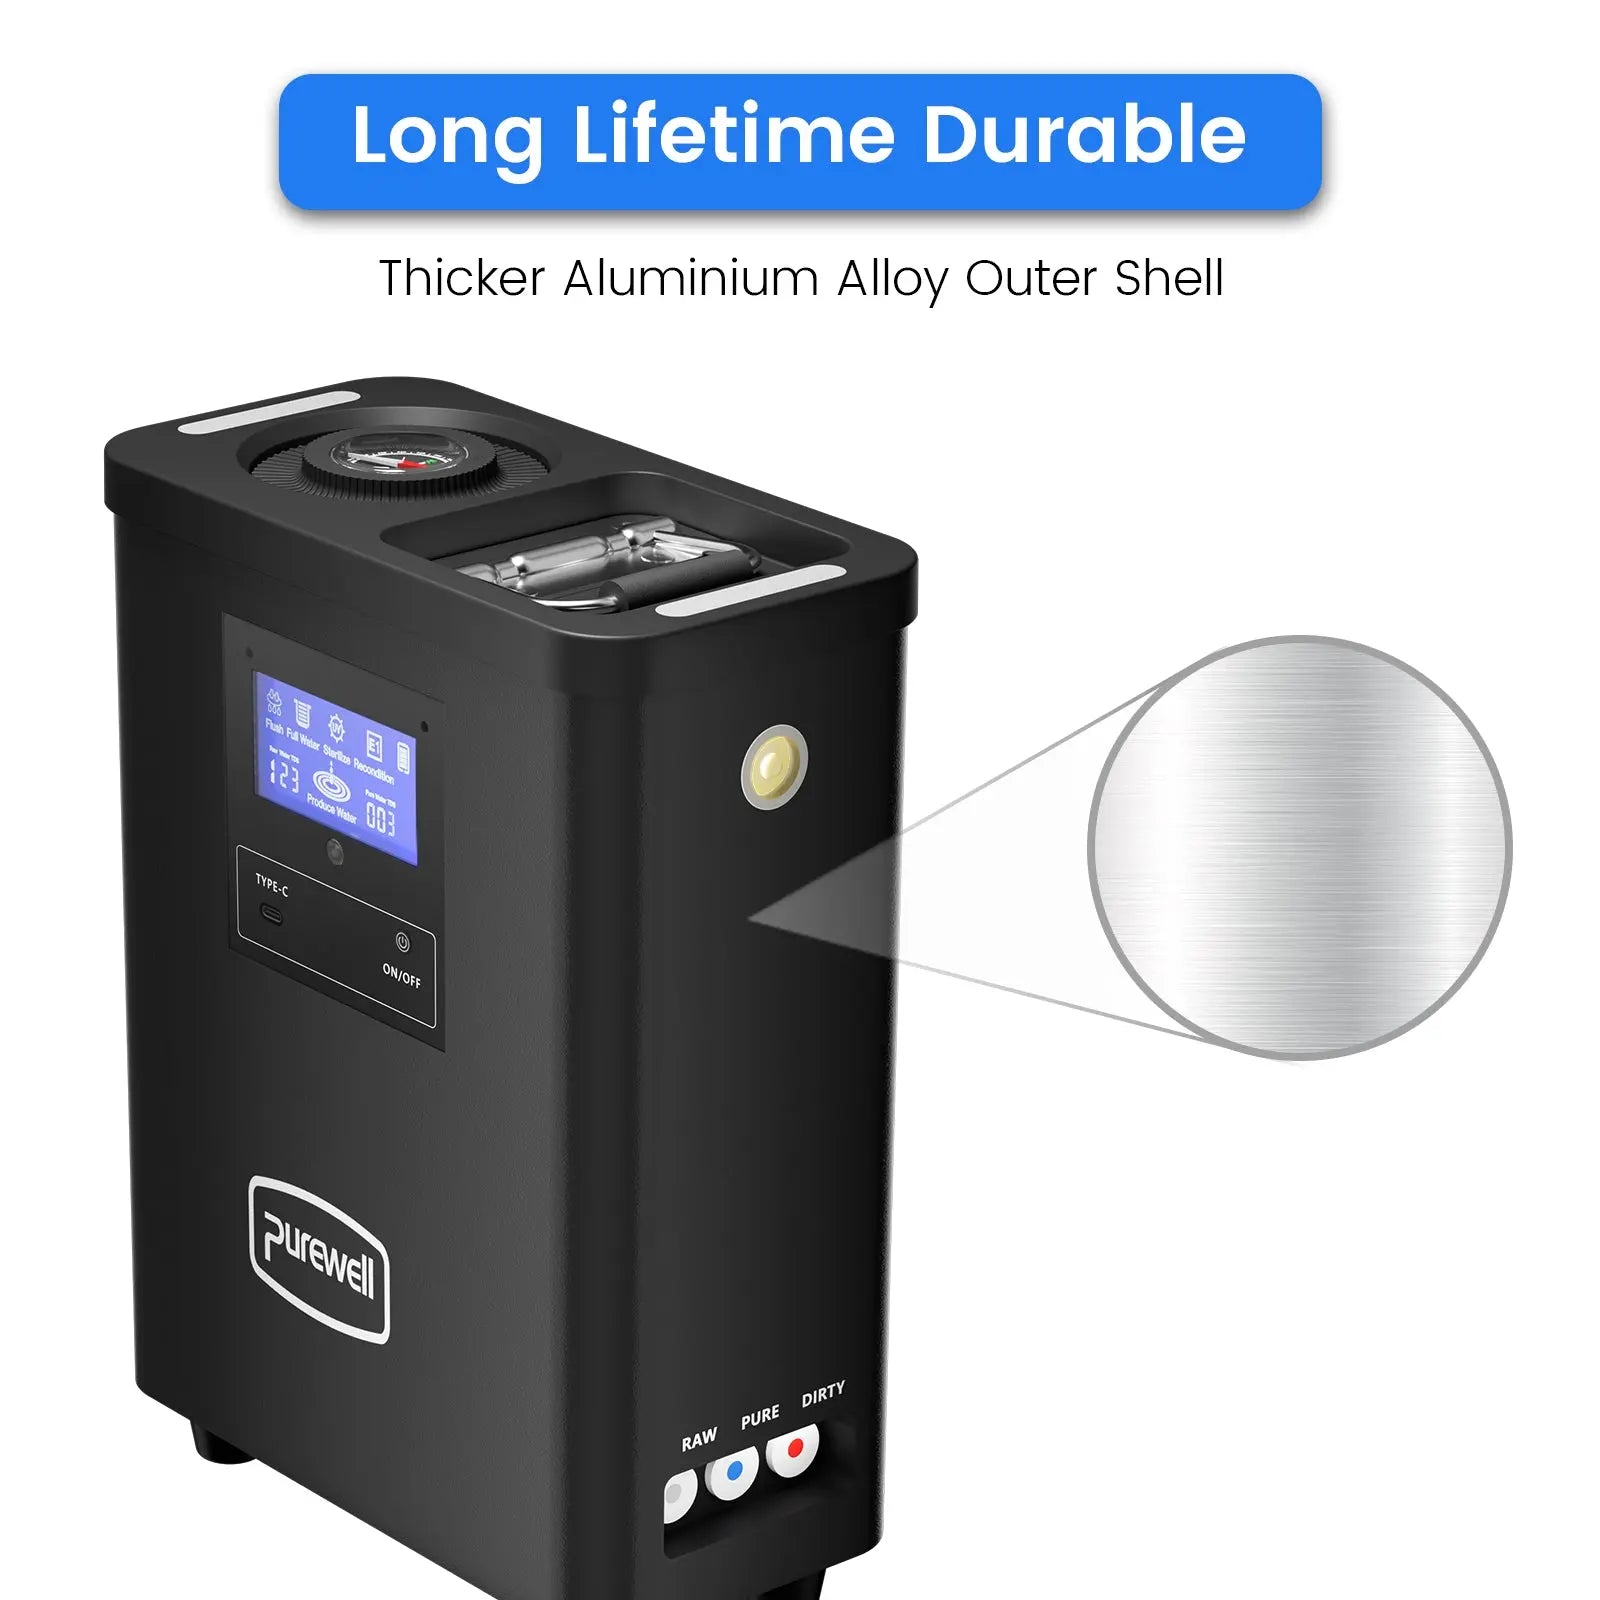
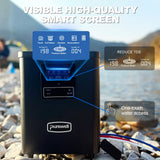
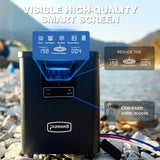
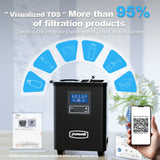
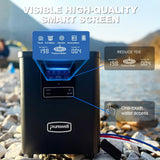
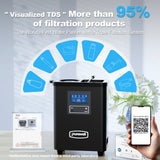
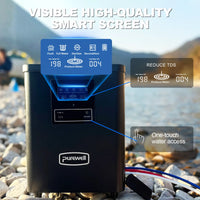
La pantalla de control frontal muestra el TDS del agua cruda, el TDS del agua purificada, el nivel de la batería, el estado del enjuague, el estado de producción de agua, el funcionamiento UV y los recordatorios de mantenimiento.

F
Enjuagar Limpieza Automática

El enjuague automático comienza cuando se enciende el purificador y finaliza cuando se apaga el indicador.

R
TDS del agua cruda Supervisión del Agua de Origen

Muestra el nivel de TDS de la fuente de agua cruda entrante.

P
TDS del agua purificada Supervisión del Agua Filtrada

Muestra el nivel de TDS del agua purificada después de la filtración.

UV
Esterilizar Estado de Funcionamiento UV

El indicador UV permanece encendido mientras el sistema de tratamiento UV funciona con normalidad.

W
Producir agua Estado de Filtración

El indicador de producción de agua permanece encendido durante el funcionamiento normal de filtración.

B
Batería Energía Restante

Muestra el nivel restante de la batería para planificar mejor el uso en exteriores.

A
Agua llena Respuesta de la Válvula de Presión

La válvula de presión integrada responde cuando se abre o se cierra la salida de agua purificada.

E1
Reacondicionar Recordatorio de Mantenimiento

Una luz de mantenimiento parpadeante puede indicar una falla interna de un componente que requiere inspección.

Mantenga pulsado 3 segundos
Encender o apagar

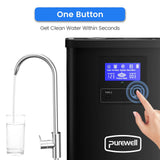
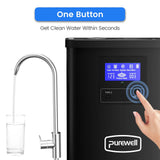
Mantenga presionado el botón principal durante tres segundos.

Pulse una vez
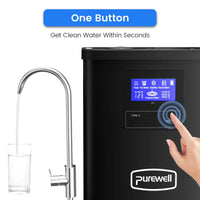
Iniciar o detener la filtración

Use una pulsación corta mientras el sistema esté encendido.

Presione Dos Veces
Encienda o apague la luz

Dos pulsaciones cortas controlan la luz de trabajo integrada.

Pulse 3 veces
Activar o Desactivar el Modo SOS

Tres pulsaciones cortas activan o desactivan la luz SOS.

Conexiones de agua

05
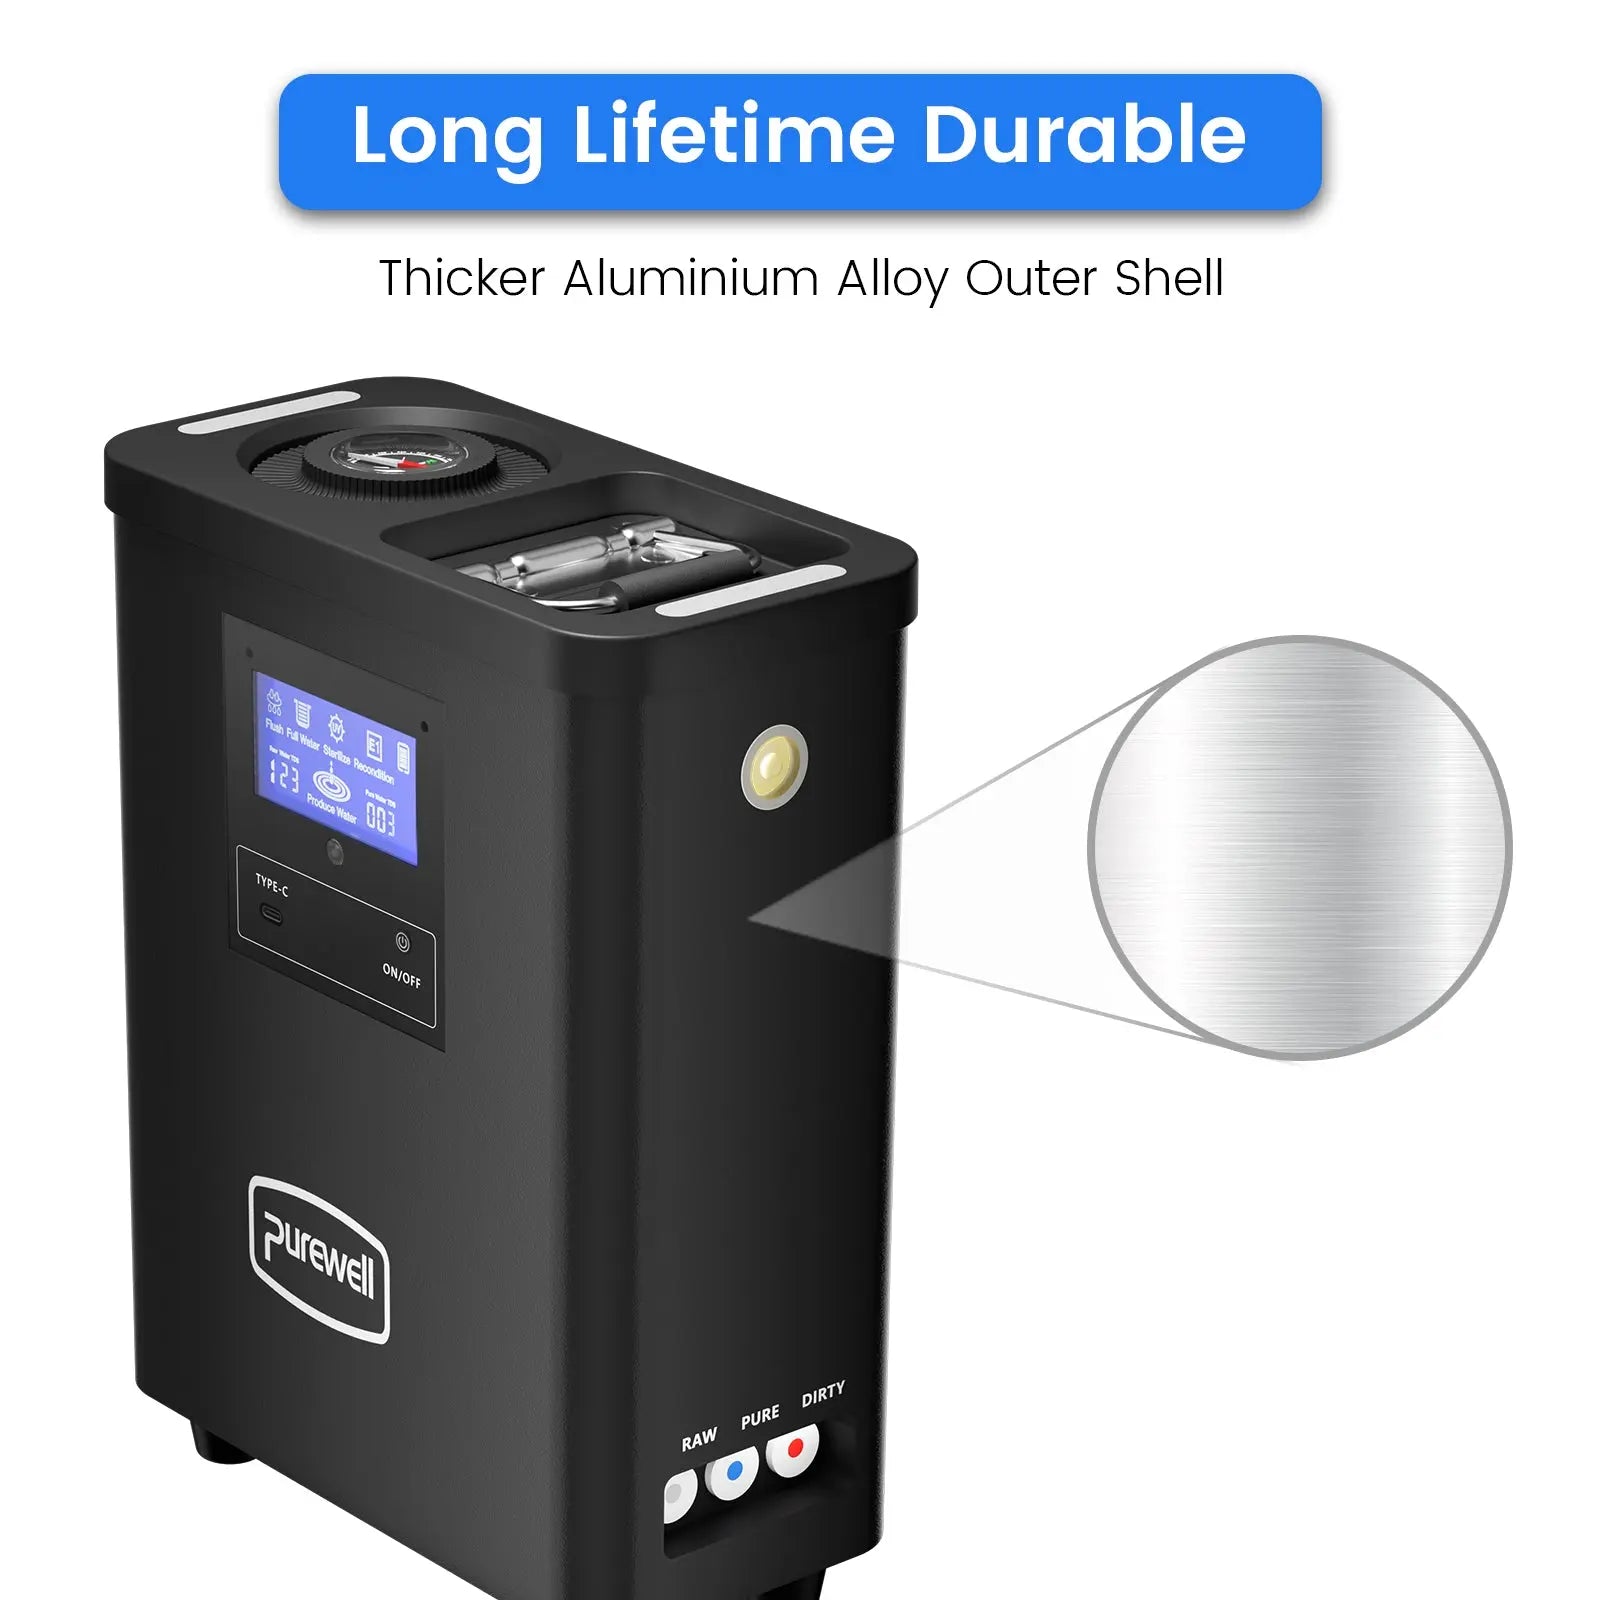
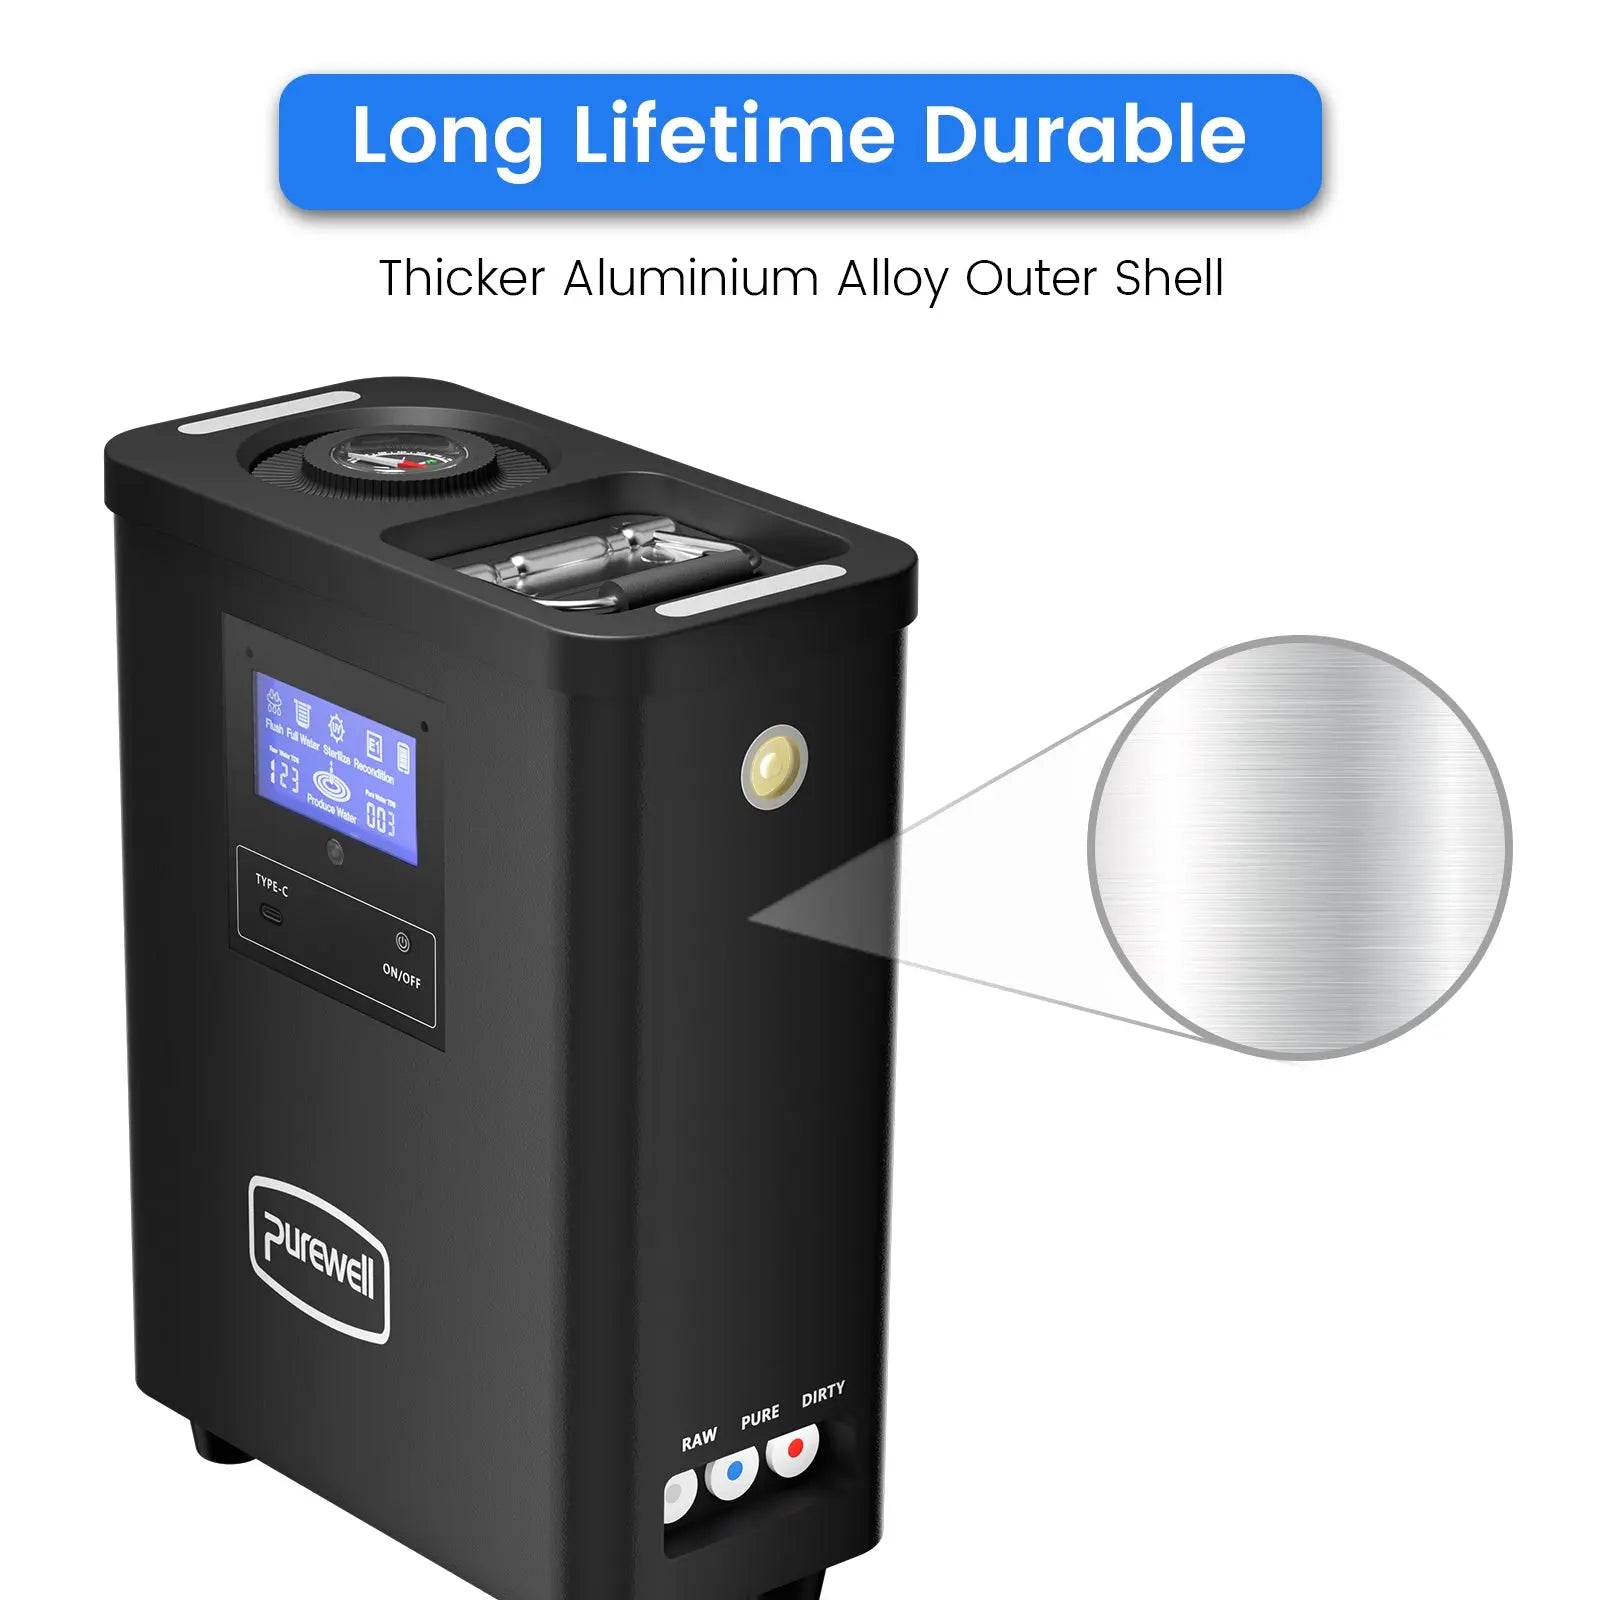
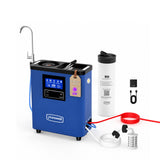
Tubo blanco · CRUDA
Extraer Agua de la Fuente

Conecte la tubería blanca al prefiltro reutilizable, coloque la entrada en la fuente de agua cruda y conecte el extremo opuesto a la entrada RAW.

Tubería azul · PURE
Recoja agua purificada

Conecte el tubo azul a la salida PURE y diríjalo al grifo incluido o a un recipiente de agua limpia.

Tubería roja · SUCIO
Drene el agua concentrada

Conecte el tubo rojo a la salida DIRTY y dirija el extremo opuesto a un lugar de drenaje adecuado.

Procedimiento de uso inicial: Compruebe que todas las tuberías y juntas estén instaladas de forma segura. Después de insertar el cartucho de ósmosis inversa, encienda el sistema y déjelo funcionar durante aproximadamente 30–60 segundos para enjuagar la membrana de ósmosis inversa antes de recoger agua potable.

Cuidado, sustitución & notas de uso

06
01
Use agua dentro del rango recomendado

La temperatura del agua sin tratar debe mantenerse entre 41°F y 100°F / 5°C y 38°C.

02
Opere en un entorno adecuado

La temperatura ambiental recomendada es de 40°F–104°F / 4°C–40°C.

03
Haga retrolavado del prefiltro mensualmente

La limpieza regular del prefiltro ayuda a reducir obstrucciones y favorece una entrada de agua más estable.

04
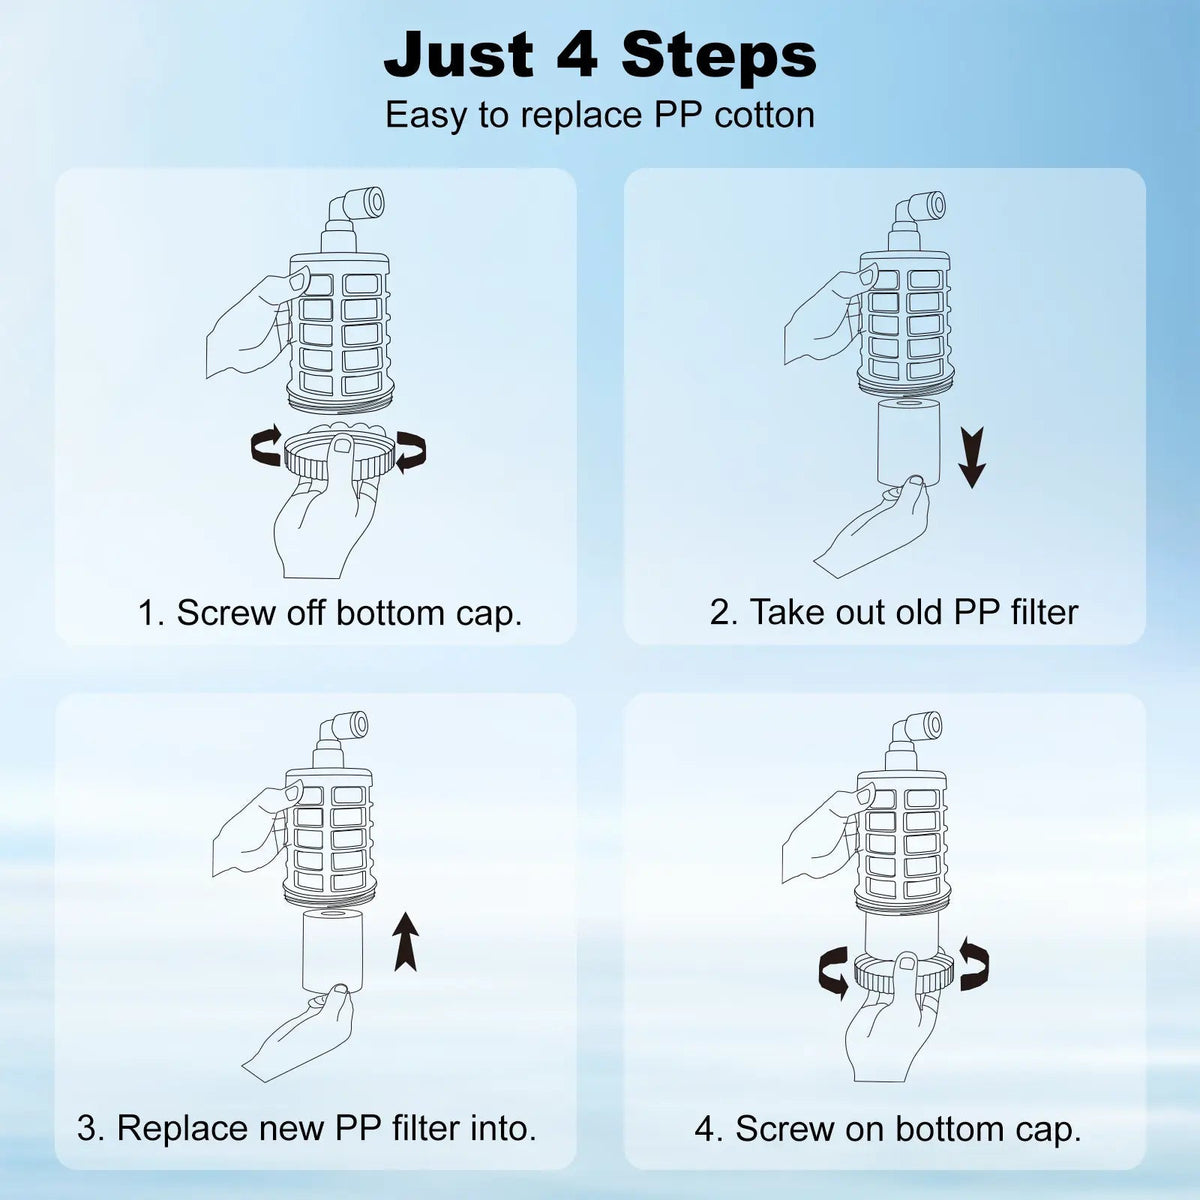
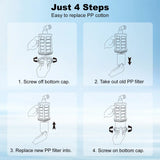
Reemplace el algodón PP según sea necesario

El manual recomienda el reemplazo aproximadamente cada 3–6 meses, según el agua de origen y el uso.

05
Reemplace el cartucho RO a tiempo

El manual recomienda aproximadamente cada 6–12 meses, o antes si el TDS aumenta o el rendimiento de filtración disminuye.

06
No abra ni lave el cartucho de ósmosis inversa

El cartucho de ósmosis inversa es reemplazable y no debe limpiarse ni desmontarse por dentro.

07
Mantenga seco el puerto de carga

No vierta agua ni otros líquidos en la conexión de carga Type-C.

08
No sumerja la máquina

Limpie el exterior con cuidado sin sumergir el sistema eléctrico de purificación en agua.

09
Evite materiales de limpieza abrasivos

No use lana de acero, limpiadores abrasivos, gasolina, acetona ni otros líquidos corrosivos.

10
Prepárese adecuadamente para el almacenamiento prolongado

Drene el sistema, retire los filtros, deje que todas las piezas se sequen al aire y guárdelas en un lugar fresco y seco.

11
El agua residual puede ser normal

Puede quedar una pequeña cantidad de agua después de las pruebas de presión, flujo de agua y UV realizadas en fábrica.

12
Revise las conexiones antes de cada viaje

Inspeccione el cartucho, las juntas, los acoplamientos rápidos, las tuberías y las salidas antes del funcionamiento.

Guía de reemplazo: La capacidad nominal en galones y los meses de reemplazo recomendados son valores de referencia. La calidad del agua de origen, los sedimentos, el consumo diario, el nivel de TDS, la temperatura y el mantenimiento pueden acortar o prolongar el período real de servicio.
Guía del usuario
Installation & Usage Guide

How to Use the K8680 Portable RO Water Filter System

Follow these steps to inspect the purifier, install the RO cartridge, connect the water pipes, complete the initial flush, produce purified water, and store the system correctly.

Before Installation

Prepare and Charge the System

Inspect the purifier, cartridge, pipes, intake pre-filter, faucet, seals, and charging connection before outdoor use.

  • 1
    Check All Included Parts Confirm that the purifier, composite RO cartridge, white RAW pipe, blue PURE pipe, red DIRTY pipe, intake pre-filter, faucet, and charging cable are ready.
  • 2
    Inspect Seals and Connections Check that the fittings, seals, pipe connections, cartridge ports, and quick connectors are not loose, damaged, or detached.
  • 3
    Charge Before Outdoor Use Use the matching charger and allow approximately 2–3 hours for charging before extended outdoor use.
Factory-test notice: A small amount of residual water inside the purifier is normal because each unit is tested before leaving the factory.
Filter Installation

Install the Composite RO Cartridge

Install the cartridge vertically and align it with the three connection points inside the purifier.

  • 1
    Unlock the Top Cover Rotate the top cover to the unlocked position and lift it upward carefully.
  • 2
    Remove the Protective Film Remove the outer plastic sealing film from the new composite RO cartridge before installation.
  • 3
    Align and Push Down Align the cartridge with the three bottom ports and push it downward until it clicks securely into place.
Important: Do not reverse the cartridge position or force it into the compartment. The cartridge should sit flush with the internal panel after installation.
Water Connections

Connect the Color-Coded Water Pipes

Push each 1/4-inch pipe straight into the matching port until the pipe is fully inserted and securely held.

  • 1
    Connect the White RAW Pipe Attach the intake pre-filter to the white pipe, place it in the freshwater source, and connect the opposite end to the RAW inlet.
  • 2
    Connect the Blue PURE Pipe Connect the blue pipe to the PURE outlet and direct it to the included faucet or a clean water container.
  • 3
    Connect the Red DIRTY Pipe Connect the red pipe to the DIRTY outlet and direct the opposite end to a suitable wastewater drainage area.
White · Raw Water Blue · Pure Water Red · Drain Water
To disconnect a pipe: Press the quick-connect collet inward and gently pull the pipe outward. Do not pull the pipe without first pressing the collet.
First Use

Power On and Complete the Initial Flush

Allow the automatic cleaning cycle and initial cartridge rinse to finish before collecting drinking water.

  • 1
    Hold the Button for 3 Seconds Press and hold the ON/OFF button for approximately three seconds to power on the purifier.
  • 2
    Wait for Automatic Cleaning Automatic flushing begins after the system is powered on. Wait until the flushing indicator turns off.
  • 3
    Discard the Initial Water Run and discard the first filtered water for approximately 3–5 minutes before drinking.
First-use note: Slightly yellow water during the first rinse may be normal. Continue flushing until the water runs clear.
Daily Operation

Produce Water and Monitor Performance

Start filtration, collect water from the blue PURE outlet, and use the control display to monitor operating status.

  • 1
    Press Once to Start Filtration After the purifier is powered on, press the main button once to start or stop water production.
  • 2
    Collect from the PURE Outlet Direct the blue pipe into a clean container or use the included faucet to dispense purified water.
  • 3
    Compare Raw and Pure TDS Monitor both raw-water TDS and purified-water TDS. Small reading fluctuations during normal use are expected.
Testing tip: Run purified water for 1–2 minutes before evaluating the TDS reading. Consistently elevated readings may indicate that the pre-filter or RO cartridge requires inspection.
After Use

Clean, Drain and Store the System

Proper cleaning and dry storage help protect the pump, pipes, intake pre-filter, cartridge, and charging connection.

  • 1
    Stop Filtration and Power Off Press once to stop filtration, then hold the main button for three seconds to turn off the purifier.
  • 2
    Drain and Clean the Pre-Filter Remove the intake from the source water, drain the remaining water, and rinse or backflush the reusable intake pre-filter.
  • 3
    Air-Dry Before Long-Term Storage Remove the filters, allow the parts to dry completely, and store the purifier in a cool, dry location.
Cleaning restriction: Do not submerge the purifier. Do not pour liquid into the cartridge compartment or Type-C port. Do not use steel wool, abrasive cleaners, gasoline, acetone, or corrosive liquids.
Main Power Hold for 3 Seconds

Turn the purifier on or off.

Water Production Press Once

Start or stop filtration.

Work Light Press Twice

Turn the built-in light on or off.

SOS Light Press 3 Times

Activate or deactivate SOS flashing mode.

Raw Water Temperature 41°F–100°F / 5°C–38°C

Do not use hot water.

Charging Time Approximately 2–3 Hours

Use the matching charger.

Rated Runtime Up to 6.5 Hours

Actual runtime varies by operating conditions.

Recommended Source General Outdoor Freshwater

Choose the clearest available source.

Water source notice: Use the clearest available freshwater source whenever possible. This system is not designed for seawater, industrial wastewater, chemically contaminated water, or water outside the recommended temperature range.
Cómo funciona
Working Principle

How the Portable RO Water Filter System Works

The system draws source water through the white RAW water line, moves it through multiple filtration and treatment components, separates purified water from concentrated drain water, and sends each water stream to its corresponding outlet.

Water Treatment Path From Source Water to Purified Water
Input General Outdoor Freshwater

Source water enters through the white RAW pipe and intake pre-filter.

Raw Water TDS
Pure Water TDS
01
Intake Pre-Filtration Stainless steel mesh and medical PP cotton help capture larger debris, sediment, rust, and suspended particles.
02
Activated Carbon Treatment Helps reduce chlorine, color, unpleasant taste, odor, and selected organic substances.
03
Reverse Osmosis Separation The RO membrane separates purified water from dissolved solids and concentrated drain water.
04
UV Treatment Built-in UV treatment provides an additional stage targeting bacteria and viruses during operation.
Blue PURE Outlet Purified Water

Sent to the faucet or a clean water collection container.

Red DIRTY Outlet Concentrated Water

Directed away from the system through the drain-water pipe.

White · RAW Blue · PURE Red · DIRTY
01
Draw Water Through the RAW Inlet

The electric pump draws source water through the intake pre-filter and white RAW water pipe. The intake pre-filter helps prevent larger outdoor debris from entering the system.

02
Complete Pre-Filtration and Carbon Treatment

Medical PP cotton helps capture sediment and fine particles. Activated carbon then helps improve water color, taste, odor, and chlorine-related characteristics.

03
Separate Water Through the RO Membrane

Pressure moves the pretreated water through the reverse osmosis membrane. Purified water passes through the membrane, while concentrated water is directed toward the DIRTY outlet.

04
Apply UV Treatment

The built-in UV system operates as an additional treatment stage while water is being produced. The UV indicator shows its operating status on the control display.

05
Monitor Raw and Purified Water TDS

The display shows the TDS level of both the incoming source water and the purified water, helping users monitor changes in system performance.

06
Collect Pure Water and Drain Concentrated Water

Purified water exits through the blue PURE line for collection. Concentrated water exits separately through the red DIRTY line and should be directed to a suitable drainage location.

Automatic cleaning: When the purifier is powered on, the system begins an automatic flushing process. Wait until the flushing indicator turns off before evaluating normal water production.
System Type Pump-Driven Portable RO System

Uses electric pressure instead of gravity alone.

Main Treatment Path Pre-Filter + Carbon + RO + UV

Groups the primary functional components of the system.

Water Quality Display Raw TDS & Pure TDS

Displays incoming and purified-water TDS readings.

Separate Outputs PURE Water + DIRTY Water

Purified and concentrated water leave through separate pipes.

Filtration-stage note: The product manual identifies the complete K8680 system as a 10-stage filtration system. For easier customer understanding, this working-principle module groups those stages into the main functional components: intake pre-filtration, activated carbon, reverse osmosis, and UV treatment.
Water source notice: The system is designed for general outdoor freshwater sources. It is not intended for seawater, industrial wastewater, chemically contaminated water, or water outside the recommended operating range.
Reemplazo del filtro

K8680 Filter Replacement & Maintenance Guide

Regular cleaning and timely filter replacement help maintain water flow, purified-water TDS performance, drinking water taste, and long-term reliability of your Portable RO Water Filter System.

RO
!
Track Capacity, Time & TDS

Actual filter life varies according to source-water quality, sediment load, TDS level, filtered volume, and maintenance.

Purified-Water TDS Stays High

Consistently elevated purified-water TDS may indicate reduced pre-filter or RO membrane performance.

Water Flow Becomes Slower

Reduced flow may be caused by a blocked pre-filter, saturated PP cotton, or an aging RO cartridge.

Taste or Odor Changes

Replace the cartridge when unwanted taste or odor returns after normal flushing and cleaning.

Rated Capacity or Time Is Reached

Use both filtered-water volume and recommended replacement intervals when planning maintenance.

K8680 Filter Components

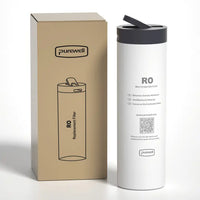
The K8680 uses an intake pre-filter, replaceable PP cotton, a composite RO cartridge containing activated carbon and an RO membrane, plus a built-in UV treatment module.

Intake Pre-Filter

Stainless Steel Mesh

Reusable

Helps block twigs, leaves, weeds, and other larger materials before source water enters the purification system.

Maintenance Clean Monthly
Replacement If Damaged
Pre-Filter Element

Medical PP Cotton

Up to 500 Gal

Helps capture particles larger than 5 μm, including fine sediment, rust, insect eggs, and mineral debris.

Recommended Time 3–6 Months
Replace When Flow Declines
Main Cartridge

Composite RO Filter

Up to 3,000 Gal

Combines activated carbon and an RO membrane to support taste improvement, odor reduction, TDS reduction, and high-precision outdoor freshwater purification.

Recommended Time 6–12 Months
Monitor Pure-Water TDS
Final Treatment

UV Germicidal Lamp

Lifetime Listed

Operates automatically as an additional treatment stage. The UV indicator remains illuminated during normal operation.

User Maintenance Not Required
Service Trigger Fault Indicator
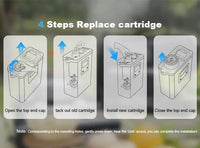
How to Replace the Composite RO Cartridge

Turn off the system and disconnect the water supply before opening the cartridge compartment. A small amount of residual water during replacement is normal.

01 Turn Off the System

Stop filtration, turn off the main power, and disconnect the water supply before replacement.

02 Unlock the Top Cover

Rotate the top cover to the unlocked position and lift the upper panel carefully.

03 Remove the Used Cartridge

Hold the cartridge handle and pull the cartridge vertically upward without twisting the internal connection.

04 Install the New Cartridge

Remove the protective film, align the three slots at the bottom, and push down until the cartridge is securely seated.

05 Flush Before Drinking

Close the upper panel, reconnect the pipes, and run the system for approximately 30–60 seconds to rinse the RO membrane.

Installation reminder: Make sure the cartridge is fully aligned with the three bottom connection points. Do not force the cartridge or operate the system when the cartridge is not completely seated.
How to Use TDS Readings

The front display shows both raw-water TDS and purified-water TDS. Use the purified-water reading as a performance trend rather than judging the cartridge from one isolated reading.

Correct Testing Method Run Water for 1–2 Minutes

Collect purified water from the blue PURE outlet in a clean container. Small fluctuations are normal; consistently elevated readings are more useful for maintenance decisions.

Below 50 ppm Excellent

Listed in the manual as an ideal purified-water TDS range.

50–100 ppm Typical RO Range

May be acceptable depending on the original source-water TDS.

Below 200 ppm Acceptable Reference

Continue monitoring the reading and compare it with raw water.

Consistently Above 200 ppm Inspect the Filters

Clean the pre-filter and consider PP cotton or RO cartridge replacement if performance remains reduced.

Maintenance Before Replacing Filters
Clean the Intake Pre-Filter

Rinse or backflush the stainless steel pre-filter monthly to reduce blockage caused by outdoor debris.

Check All Three Pipes

Make sure the white RAW, blue PURE, and red DIRTY pipes are correctly connected without sharp bends or obstruction.

Check the Source Water

Heavy sediment, high TDS, or visibly dirty source water may shorten PP cotton and RO cartridge life.

Run the Automatic Flush

Allow the automatic cleaning process to finish after the system is powered on before evaluating normal water production.

Record Replacement Dates

Track the installation date, filtered-water volume, and typical purified-water TDS for each new cartridge.

Store the System Dry

For long-term storage, drain the system, remove the filters, air-dry all components, and keep them in a cool, dry place.

Filter Replacement Checklist
Component Material / Type Rated Life Recommended Maintenance Main Replacement Trigger
Intake Pre-Filter Stainless Steel Mesh Reusable Rinse or backflush monthly and remove visible debris. Replace if the mesh or connection is damaged.
PP Pre-Filter Medical PP Cotton Up to 500 gallons or approximately 3–6 months. Check flow rate, sediment buildup, and source-water quality. Slower intake, heavy discoloration, or rated life reached.
Composite RO Cartridge Activated Carbon + RO Membrane Up to 3,000 gallons or approximately 6–12 months. Monitor purified-water TDS, taste, odor, and water production. Consistently elevated TDS, taste changes, or reduced flow.
UV Treatment Module UV Germicidal Lamp Listed as lifetime in the manual. Confirm that the UV indicator operates normally. Internal fault or service indicator requires inspection.
Actual replacement frequency: Rated gallon capacities and recommended month ranges are reference values. High sediment, higher source-water TDS, frequent outdoor use, improper storage, and limited pre-filter maintenance may shorten the actual service life.
Lista

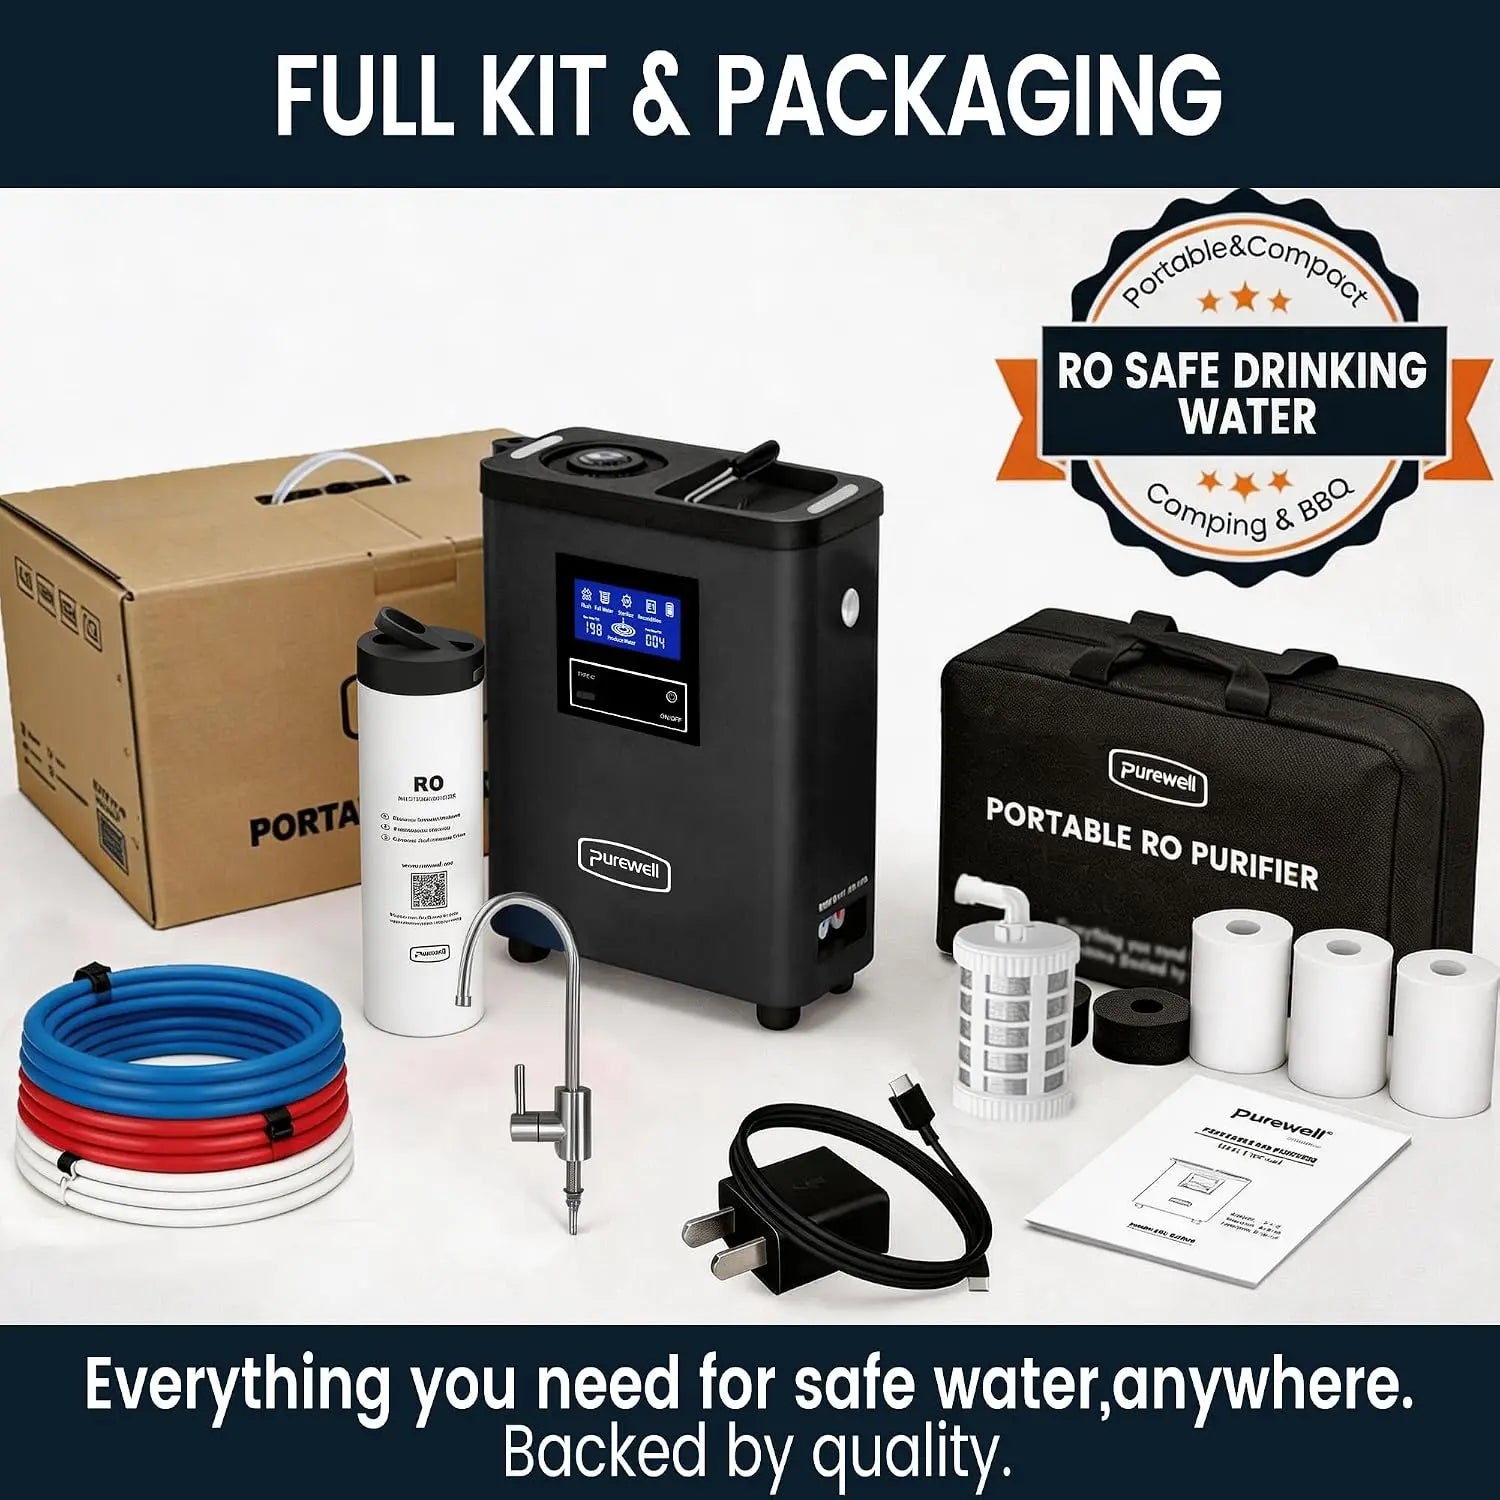
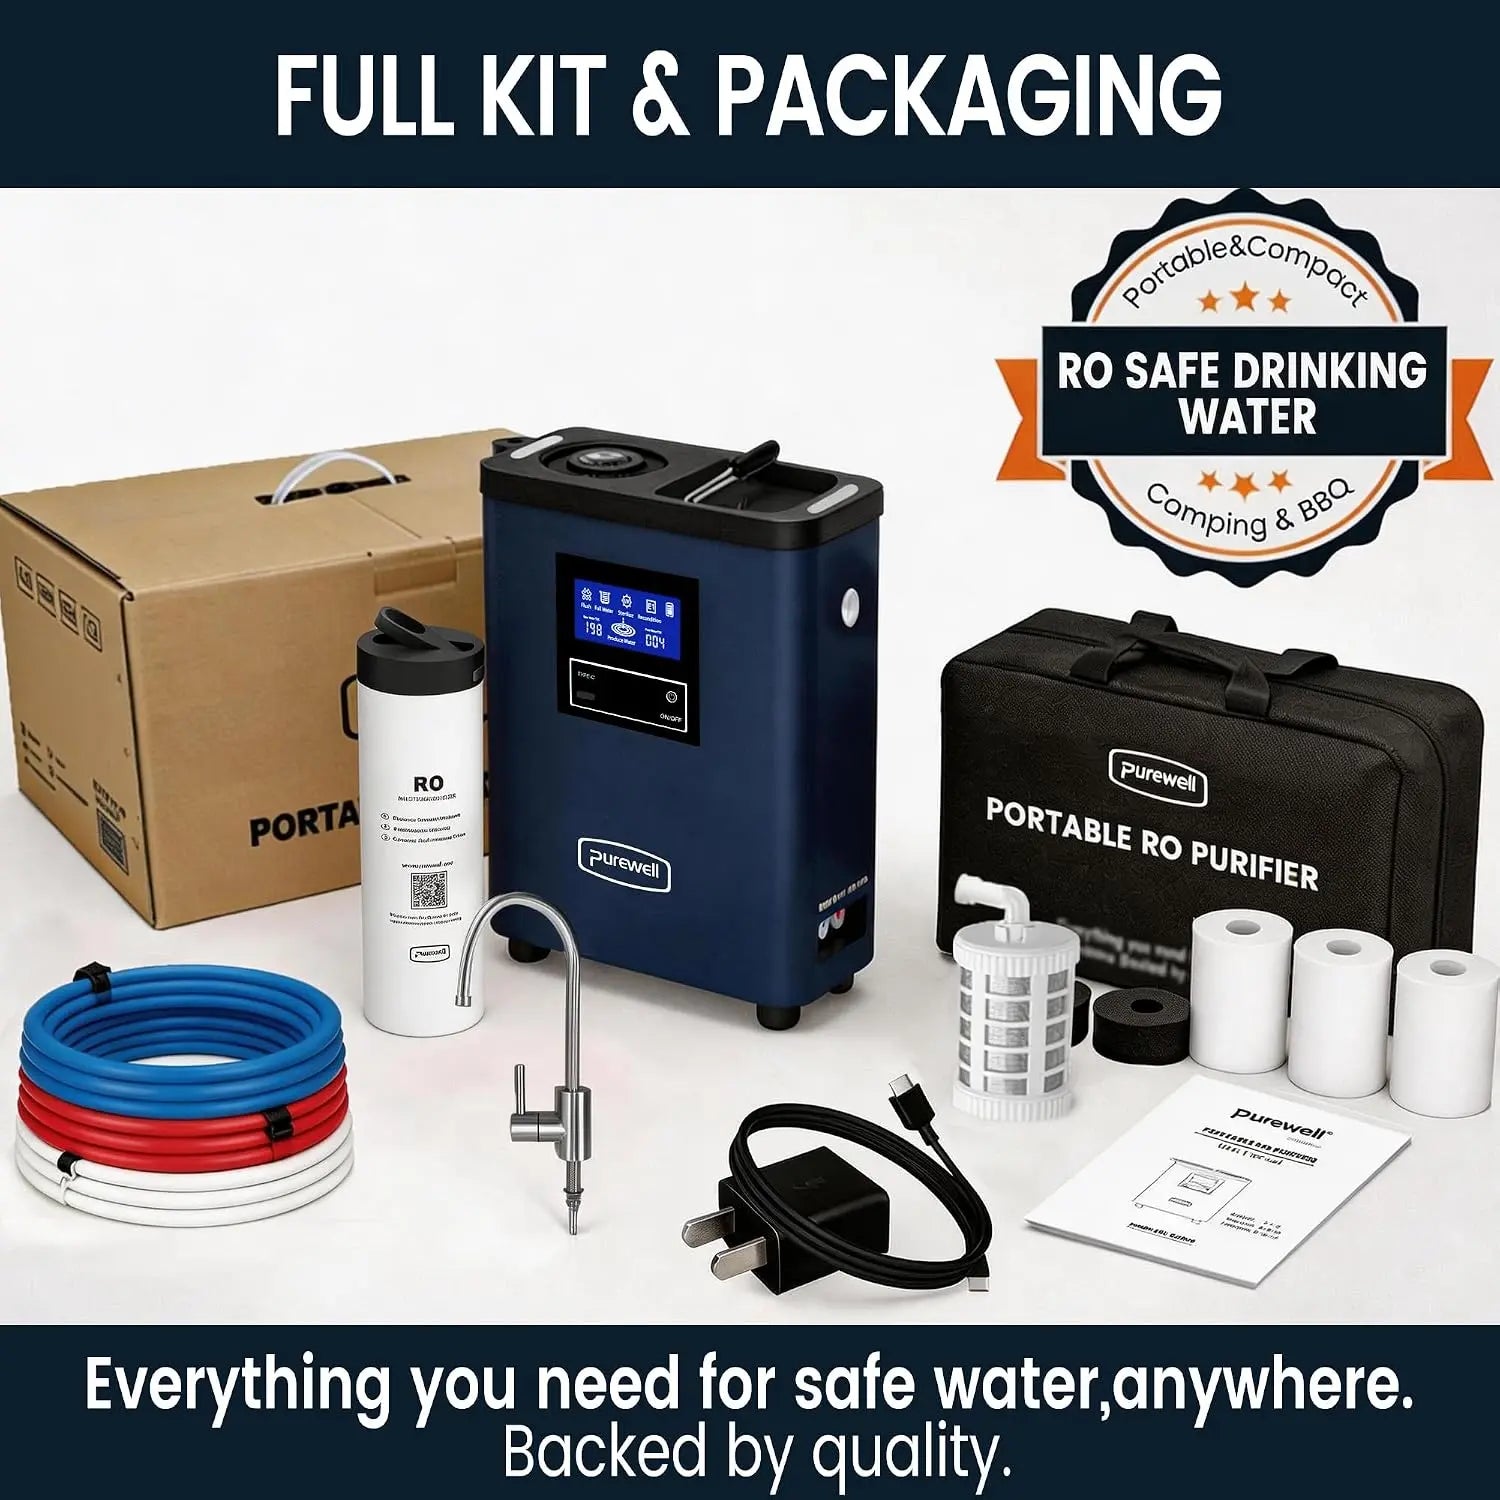
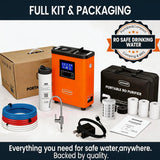
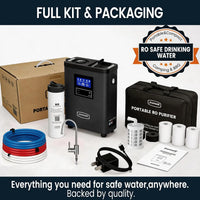
Main System Package

Main equipment and operating accessories included with the K8680 Portable RO Water Filter System.

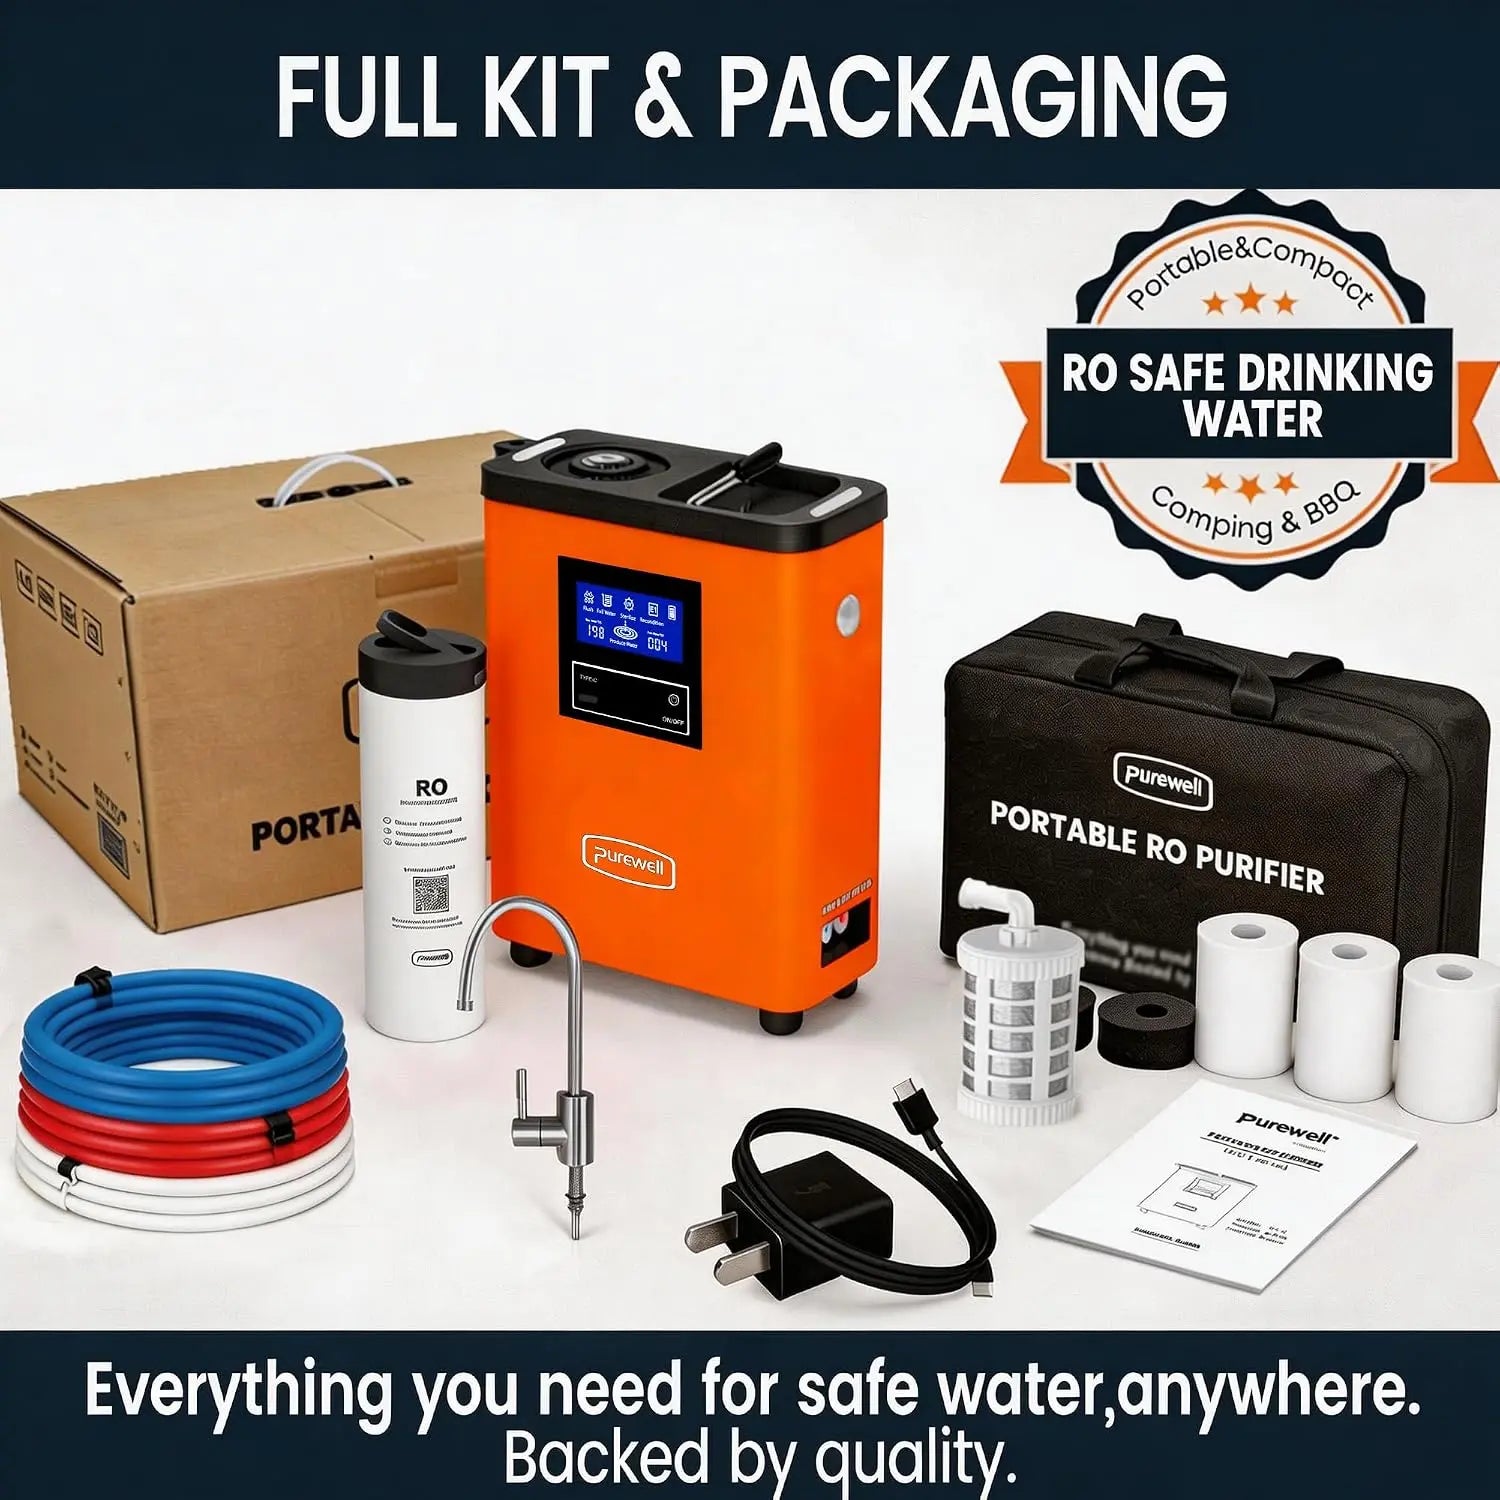
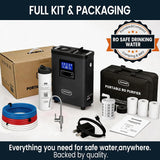
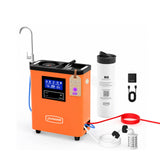
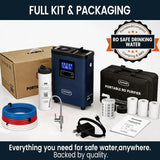
  • K8680 RO Purifier Main electric water purification unit. × 1
  • Composite RO Cartridge Activated carbon and RO membrane cartridge. × 1
  • Drinking Water Faucet Used with the blue PURE water outlet pipe. × 1
  • Type-C Charging Cable For charging the built-in rechargeable battery. × 1
  • User Manual Installation, operation, and maintenance guidance. × 1

Water Connection Kit

Color-coded pipes, intake parts, and pre-filter elements used to connect and protect the water intake system.

  • White RAW Water Pipe Draws source water into the purification system. × 1
  • Blue PURE Water Pipe Delivers purified water to the faucet or container. × 1
  • Red DIRTY Water Pipe Drains concentrated wastewater from the system. × 1
  • Intake Pre-Filter Connects to the white RAW water pipe. × 1
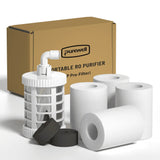
  • Medical PP Cotton Replaceable elements installed inside the intake pre-filter. × 4
  • Water Intake Floats Help position the intake pipe in the water source. × 2
  • 1/4-Inch Quick Connector Used for the intake pre-filter connection. × 1

Integrated System Features

These features are built into the K8680 purifier body and are not packaged as separate loose accessories.

  • Water Monitoring Control Display
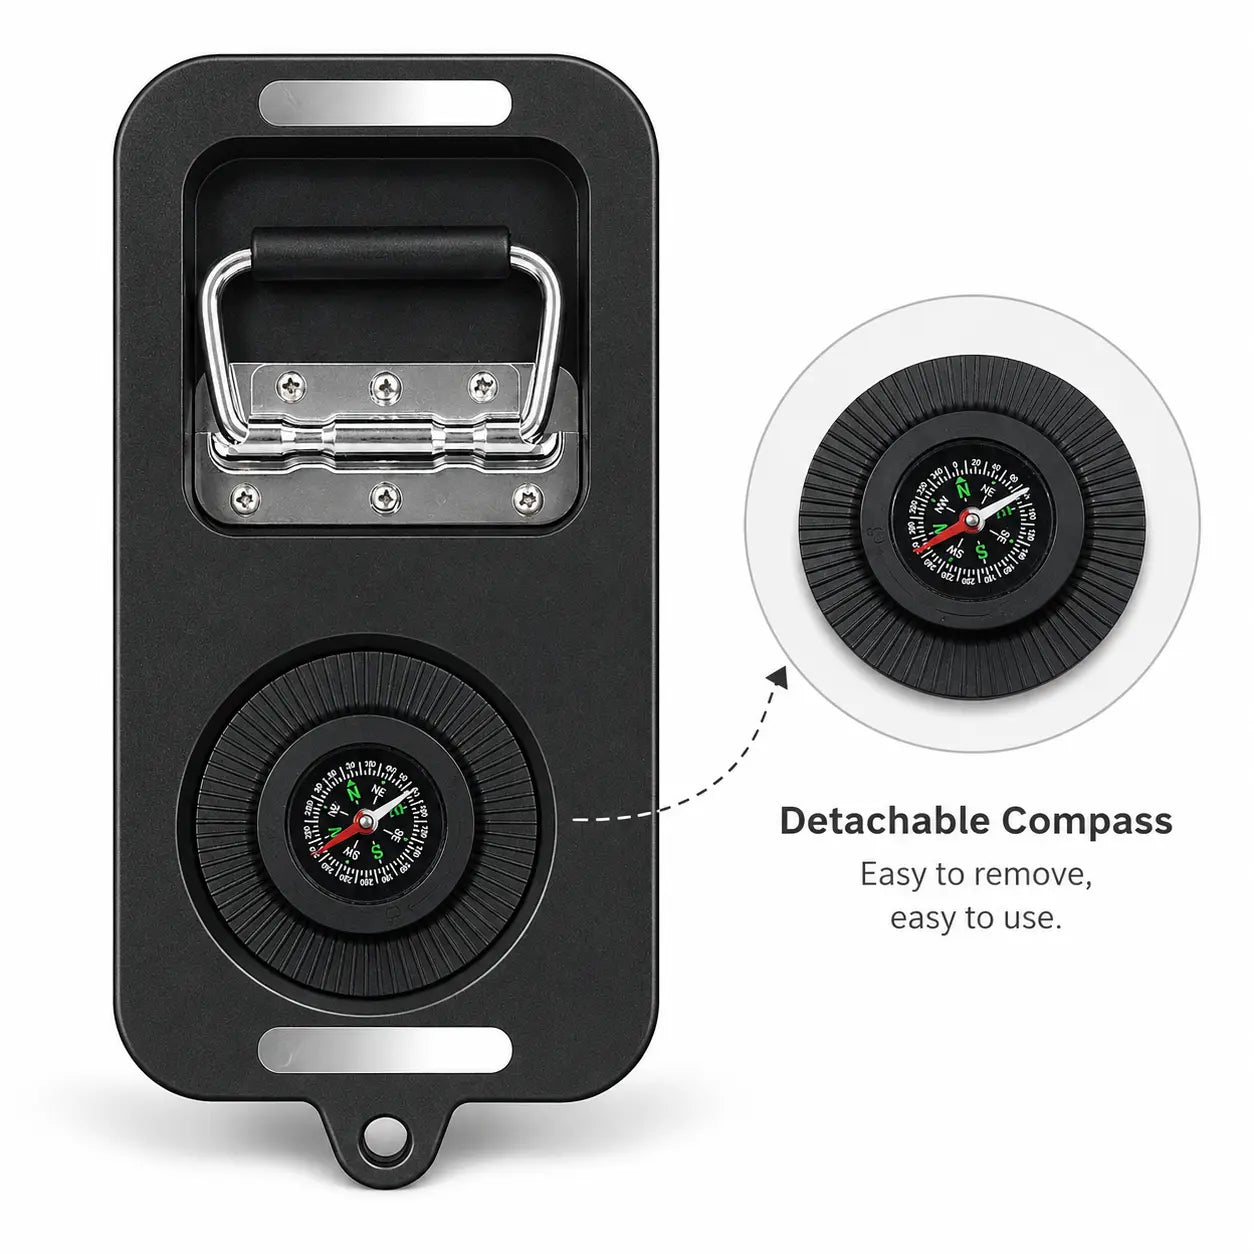
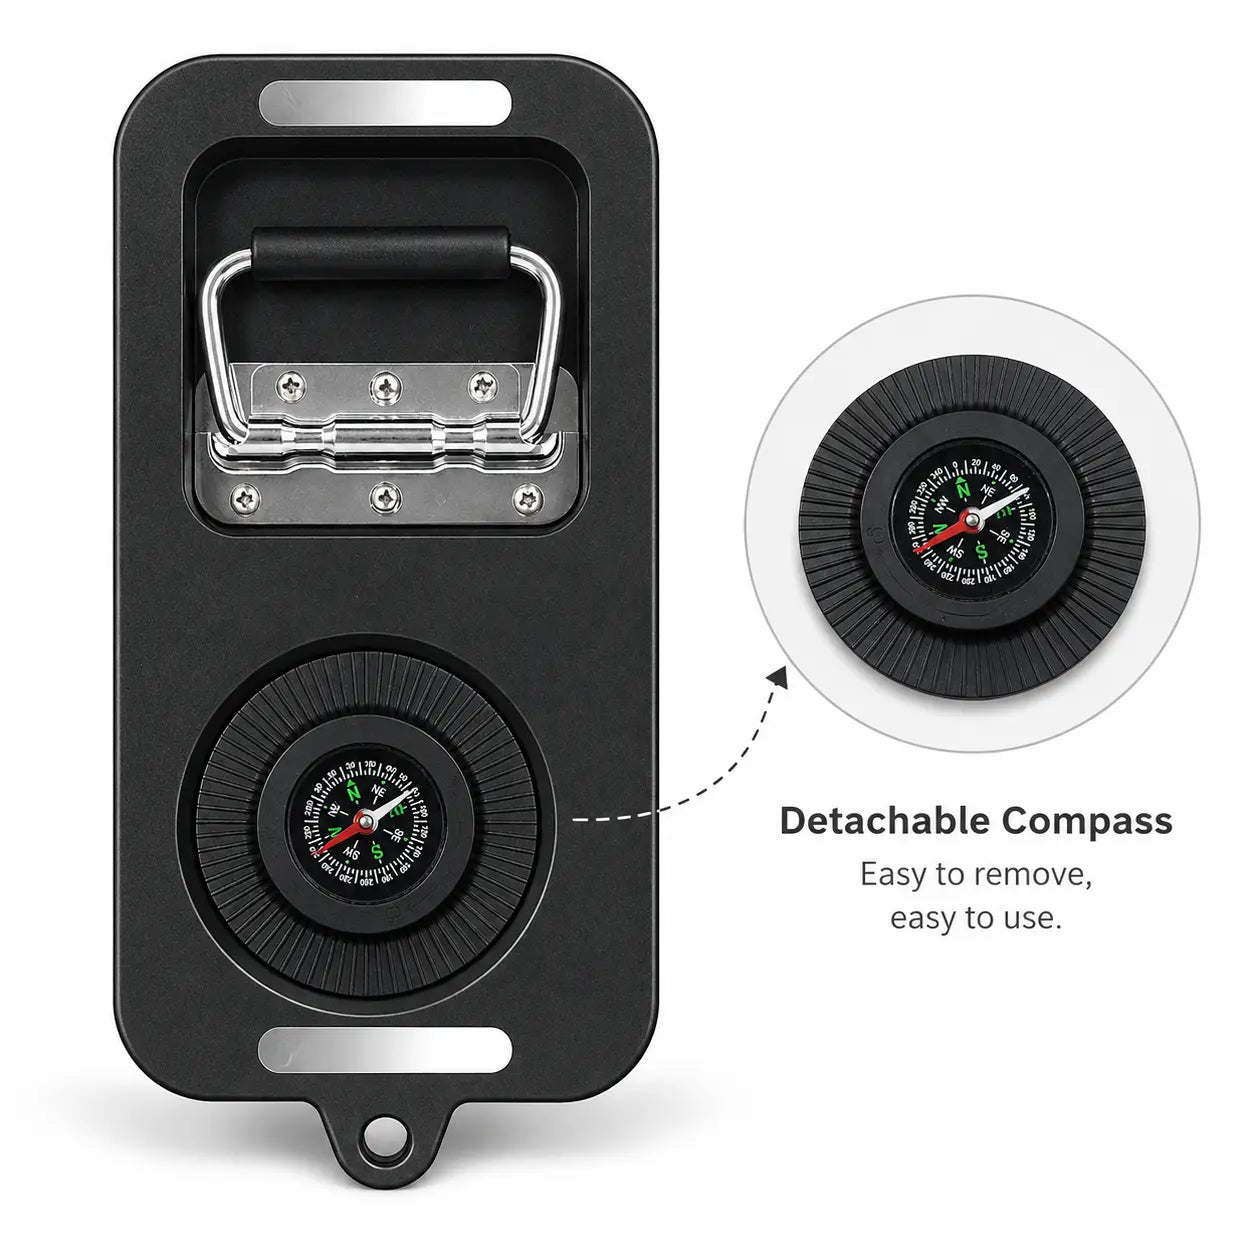
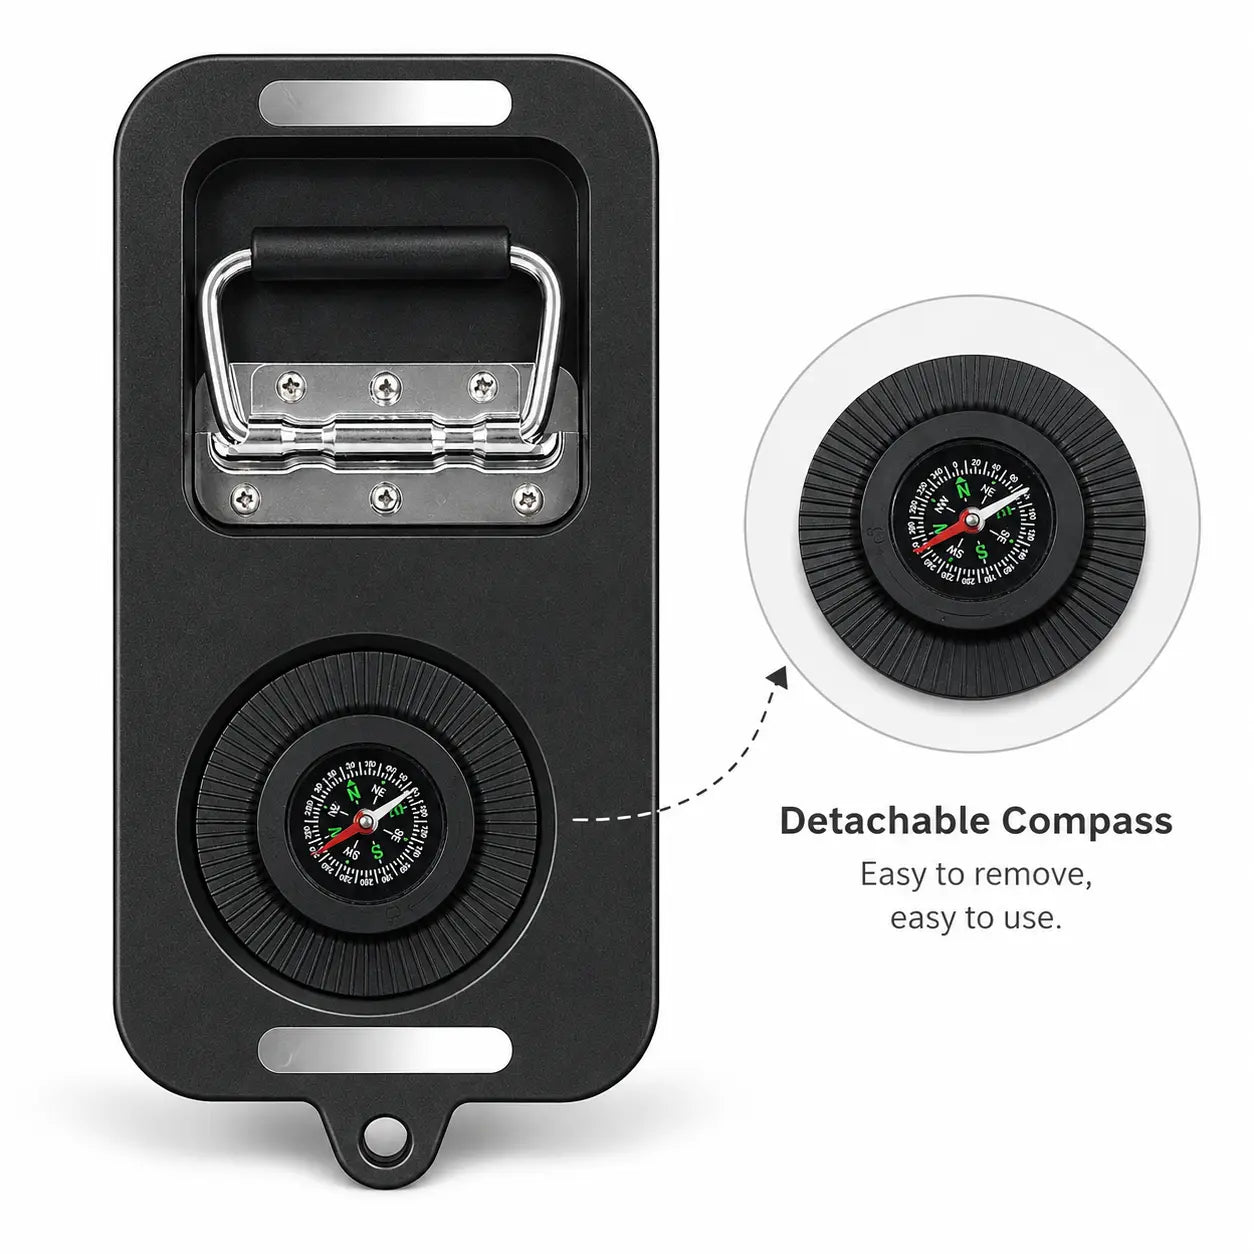
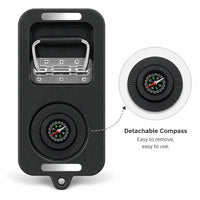
  • Outdoor Carrying Metal Handle
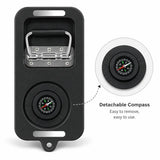
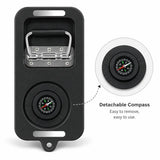
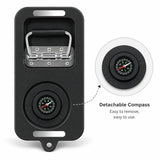
  • Navigation Support Built-In Compass
  • Emergency Lighting LED & SOS Light
  • Stable Placement Non-Slip Foot Pads

Included Filtration Package

The system includes the filtration components required for initial installation and operation.

  • Main Filter Composite RO Cartridge
  • Cartridge Material Activated Carbon + RO Membrane
  • RO Rated Capacity Up to 3,000 Gallons
  • Installation Quantity Install One RO Cartridge
  • Intake Filter Stainless Steel Mesh
  • Pre-Filter Material Medical PP Cotton
  • Pre-Filter Capacity Up to 500 Gallons
  • Final Treatment Built-In UV Lamp
Package note: The included items should be checked before initial installation. A small amount of residual water inside the purifier may be present because each unit is tested before leaving the factory.
Filter-life note: Rated capacities are reference values. Actual filter life varies according to source-water TDS, sediment level, water quality, filtered volume, usage frequency, and maintenance.
Video

Portable RO Water Filter System Setup Video

Watch this step-by-step guide to set up the K8680 Portable RO Water Filter System, install the filter cartridge, connect the water pipes, and prepare the purifier for first use.

Installation & Usage Guide

K8680 System Setup & First Use

This video explains the basic installation and operating process for the K8680 Portable RO Water Filter System. Follow the guide before first use to confirm that the cartridge and color-coded water pipes are connected correctly.

Recommended before first use Shows how to install the composite RO cartridge Explains RAW, PURE, and DIRTY pipe connections Covers initial flushing and basic operation Helps confirm correct system setup

Certificado NSF para su salud

Probado de forma independiente para cumplir con normas NSF/ANSI 42 & 372, el más alto nivel de confianza en la filtración de agua.

Garantía libre de plomo (NSF/ANSI 372)
Materiales certificados sin plomo para que su agua no le preocupe.

Ver detalles

Revise nuestros documentos de conformidad eléctrica

Explore los informes de pruebas disponibles de CE EMC, FCC Parte 15 y seguridad eléctrica aplicables para los productos eléctricos Purewell. Consulte los documentos para obtener más información sobre las normas evaluadas y el alcance de la evaluación.

Ver detalles

También le puede gustar

Instrucciones especiales para el vendedor
Coupon Code